Bang seats…
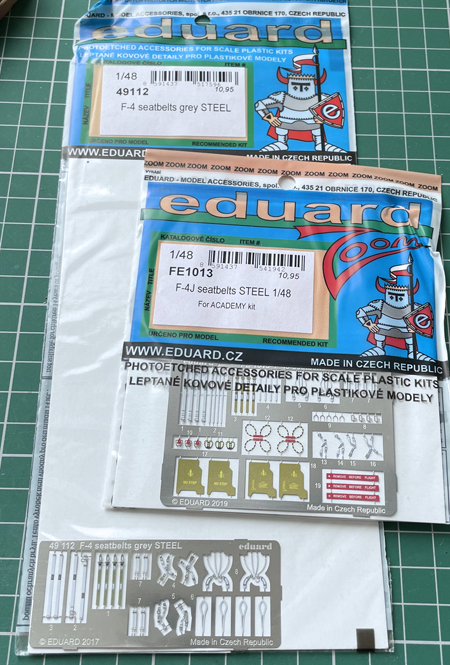
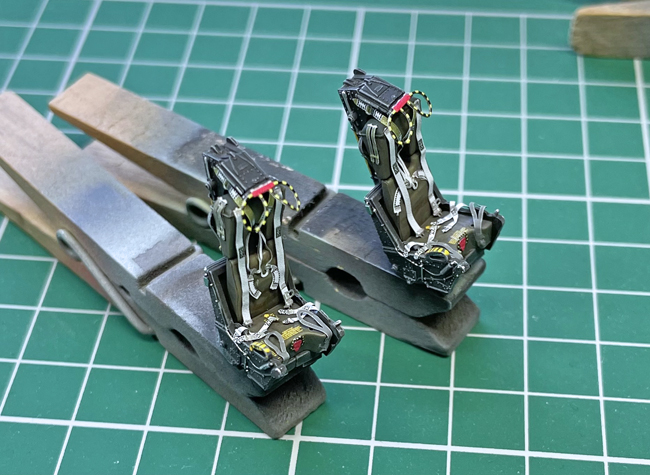
The Martin Baker Mk.7 seats provided are a good base on which to build. They need a harness and again, although the overhead ejection handles are provided in plastic, I just found it impossible to remove and clean these up without damaging them. So eduard comes to the rescue with a nice pre-painted detail set (FE1013).
I think the seats look realistic enough when done…
Final bits and bobs…
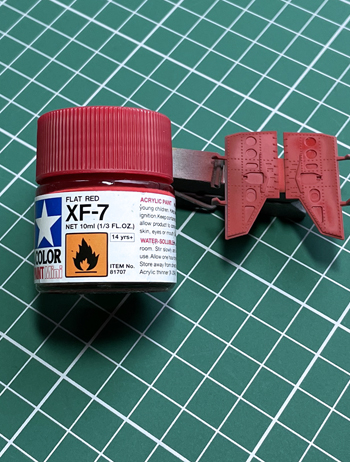
The speed brakes are painted Tamiya Flat Red XF-7, have their decals applied and weathered with pencil graphite.
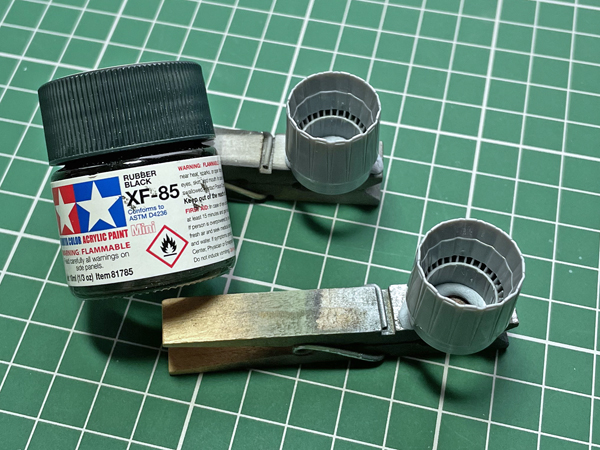
The burner cans are sprayed Tamiya Rubber Black XF-85 and some chipping using a silver pencil, graphite pencil, some pastels and pushed into place.
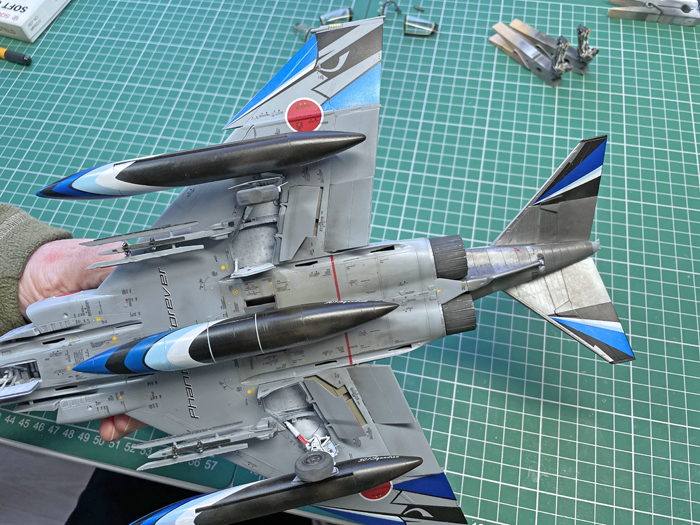
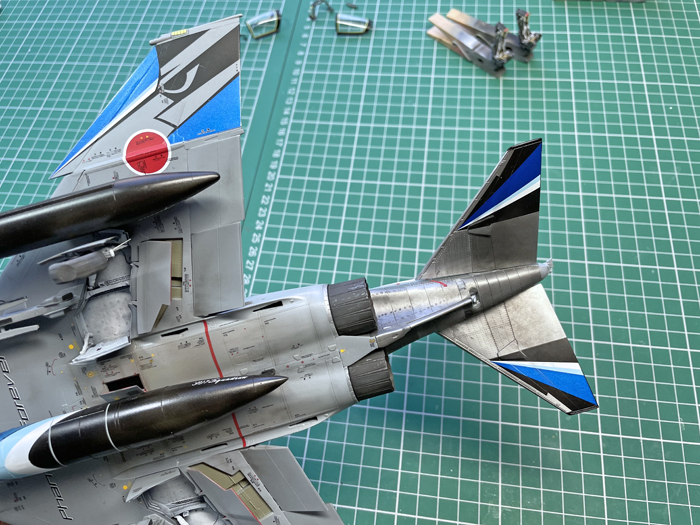
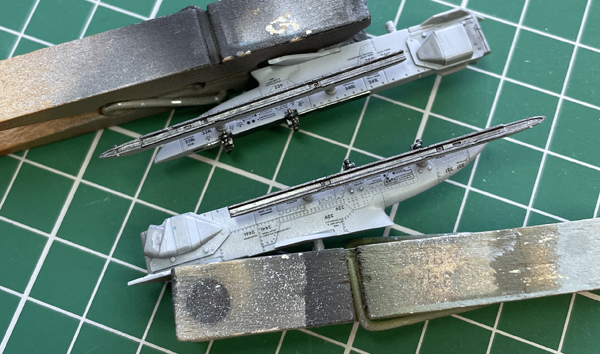
Pylons and AAM-3…
The pylons are weathered in just the same way as the rest of the grey areas.
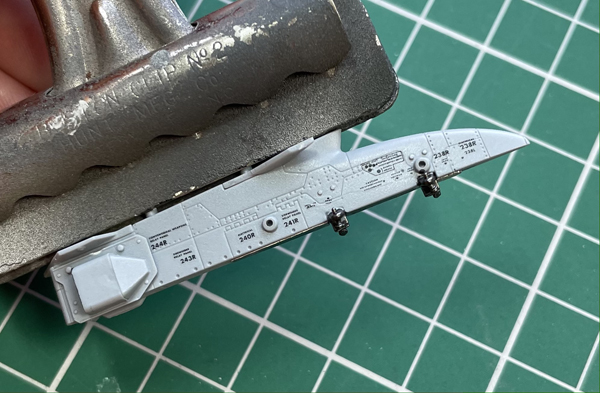
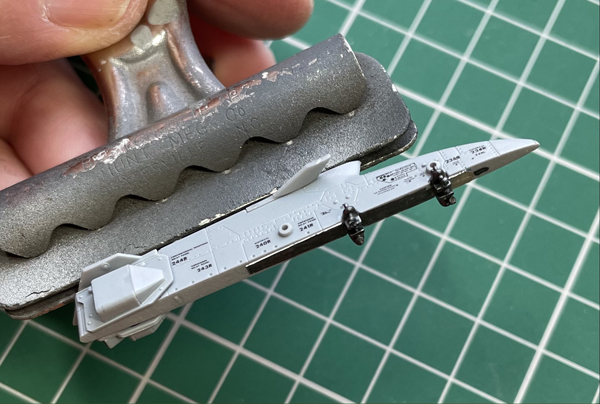
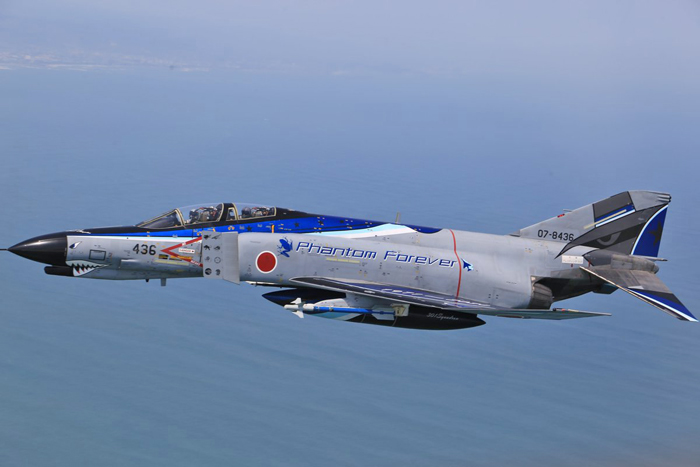
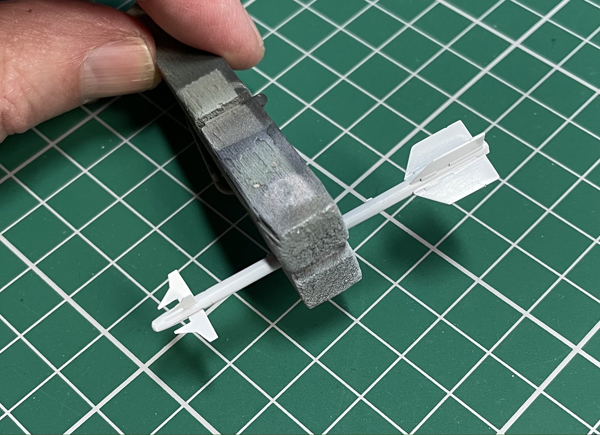
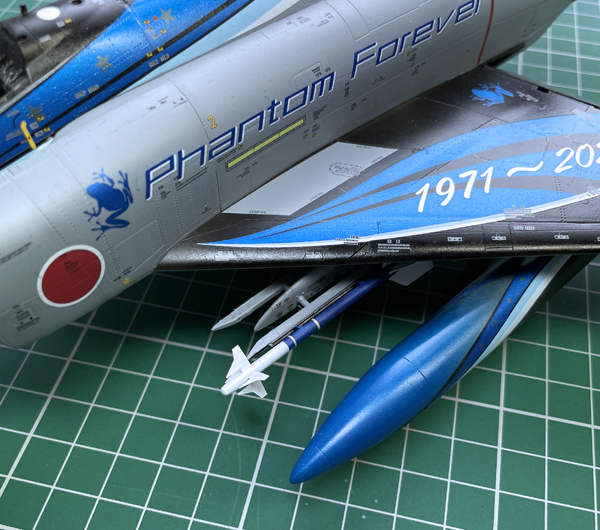
I notice that in many photos of ‘436’ that she carries an AAM-3 drill round.
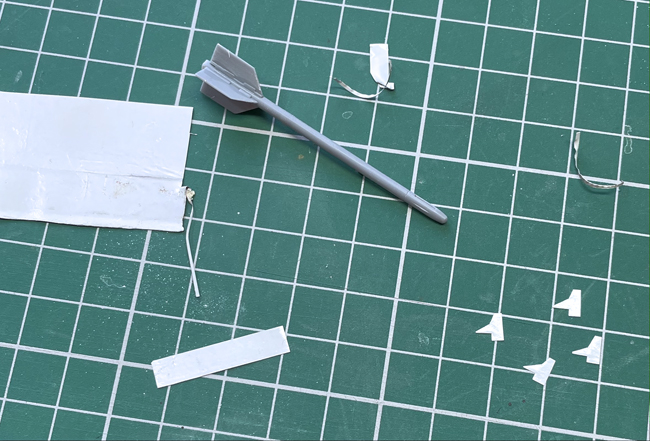
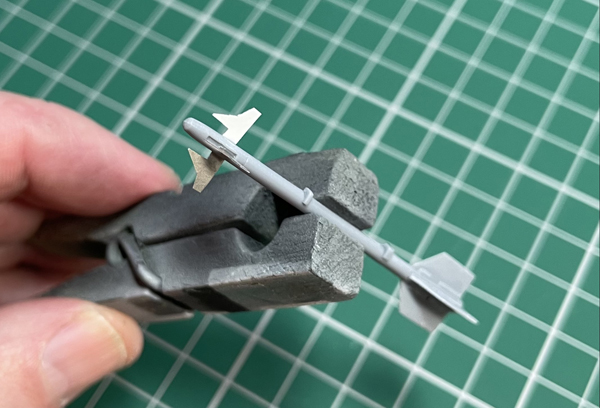
I think this looks really good and you can adapt one of the AIM-9’s included in the kit by sanding the rear fins to shape, shortening and making the nose a bit more blunt and finally fabricating new front fins from thin placard or metal foil as I have done here. Notice too the design of those forward fins. I made one that looked right and then used that as a template for the other three. If using foil, take great care when handling to avoid bending the delicate fins – in fact I added the AAM-3 right at the end of the build because of this.
Paul Ainsworth says
She’s looking superb,Geoff!


Geoff Coughlin says
Hey, thanks Paul. Right in the middle of decaling now and what a scheme – I never thought I’d make a model with such striking markings – incredible! That will all be in the next update and I reckon you need to allow 3-4 long sessions at the bench to get through the decaling stage – I’ve only just added all the large ones and lots of small ones now! It’s still fun though :) GC
Paul Ainsworth says
You’re more than welcome,my friend.I love all the ‘special schemes’ worn on the JASDF Phantoms with just one exception and that’s the ‘Digital’.I know that’s just my personal opinion and whether it’s the colour combination used I’m not sure.

That said,I must admit it’s very striking to the eye.
I’m following your excellent work with great relish and hope your back issue is on the wane as well,Geoff.
Steve Piggott says
Hi Geoff ,good to see You back at the bench ,and I hope You’re back problems are easing up for You. Great start to this Phantastic Phantom, and I’m really looking forward to see how You approach the painting and decal stages. With immaculate timing Mine arrived this very morning ,and I was blown away by the quality of this great model. Looking forward to the next instalments, all the best and take care,
Steve.
Geoff Coughlin says
Hi Steve – thanks for that and back is much improved – physio worth all the effort :)
Yes, all the decaling is done now and there’s a weekly update on this one now until it’s all finished. Keep a close eye out for the next update… Geoff C.
Manuel Magrinho says
Great job Geoff!
You nailed it, and the work on the tanks is just beautiful.
Waiting to the unveil :-)
Geoff Coughlin says
Thanks Manuel! Much appreciated. GC
Toby Page says
Hi Geoff,
I recently joined, mainly to see what phantoms are being built. I have a couple of ZM phantom kits and the cockpit detail seems really good. What’s the rationale to using the Eduard PE?
Geoff Coughlin says
Hi Toby – the eduard PE gives you the canopy detail as that’s basic on the kit parts. You also need a seat harness as that’s not included. Apart from that I just added some eduard RBF tags (1:72 scale is more realistic). Apart from that just some scratched detail for all the wiring behind the seats. A fair representation is provided in the kit for behind the RIO but plenty to go in behind the pilot. Cheers, Geoff
Steve Piggott says
Hi Geoff, what a Phantastic Phantom ! One of Your best builds to date ,and huge inspiration to all of Us lucky enough to have
bought one. Great tips through the build as ever, and a really useful guide on applying those Phantastic decals. I’ve been watching this beautiful Phantom on You Tube all week,and the other anniversary F-4’s ,and You’ve captured the look and Spirit
of Her perfectly. I’m looking foward to seeing what You make of the new Tamiya F-4B when it arrives , it will have to go some to be as good as this one ! Many thanks for a cracking start to the new year, All the best, Steve.
Geoff Coughlin says
Hi Steve
Thanks very much for your kind words here – it’s really appreciated. As you say, It’ll be great to get my hands on the new Tamiya F-4B that’s due our I think in June 2021 – can’t wait for that! I’ll prioritise that build as soon as it comes in so everyone won’t have long to see just how good it is. And again Steve, you’re right, it will have to be out of the top drawer to be on a par with this ZM kit – Oh I do love a competition between manufacturers :) GC
Geoff Coughlin says
14.11.22 A small update everyone… Thanks to Dan B, you can now get a paint that pretty much exactly matches the metallic blue you need: Mr Color 76 Metallic Blue :) Happy days, GC (PS: Albion Alloys is a great source for these paints – see Contents page for link to their page in SMN and their website details)
Richard Allen says
Fantastic build and video! just managed to pick up this kit for a decent price, going to stick to plan and build my 1/48 Meng F-4G first but this kit is quite an exciting prospect!
Definitely something to look forward too this winter!
Geoff Coughlin says
Hi Richard,
Thanks very much for that – really did enjoy the build and you will too I’m sure :) Cheers for now, Geoff C.