
Feature Article by Alan Kelley
A note from Geoff…
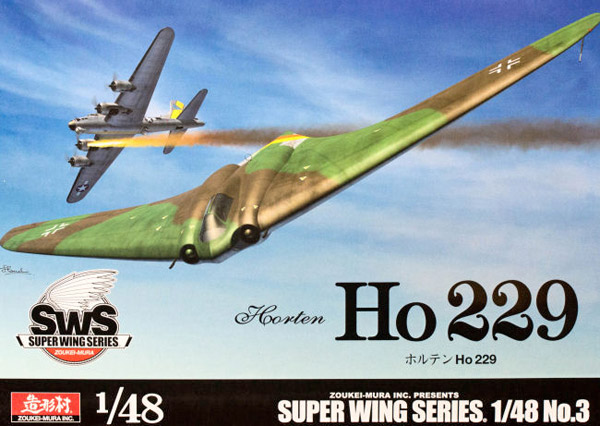
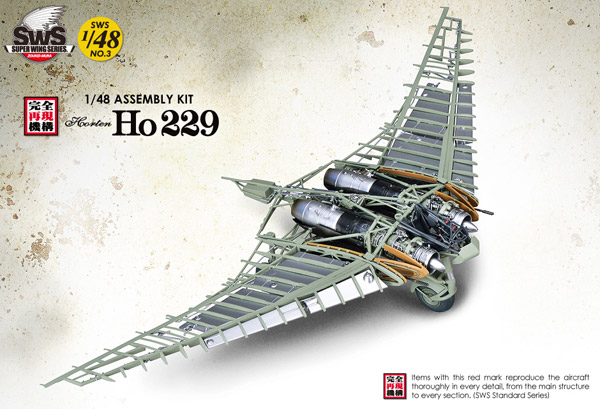
The relatively recent release of the Ho 229 in 1:32 by ZM and then subsequent release in the smaller 1:48 scale genuinely shocked the modelling world because of the vast levels of detail, precise engineering and almost perfect parts-fit of these kits and we’ve built both already in SMN – here are the links:
1:48 Ho 229 build by Dave C.
1:32 Ho 229 build by Aaron S.
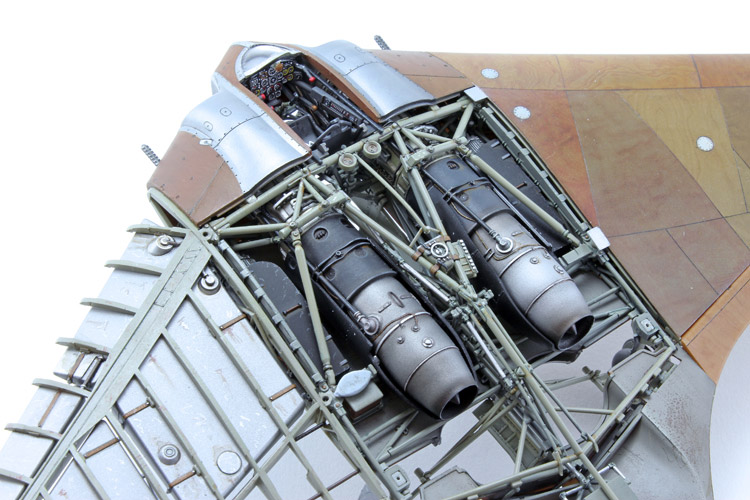
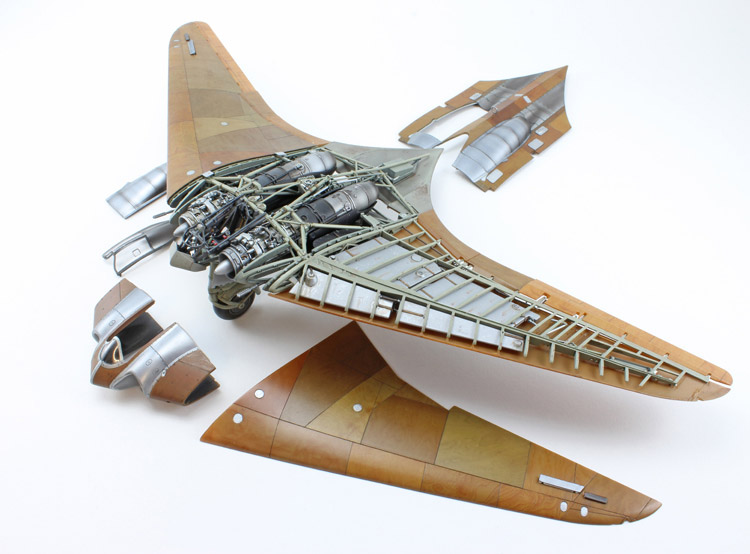
and just before we get going, take a look at Alan’s completed Ho 229 – superb scale modelling, again, from Alan and thanks to him for sharing his work with us all – excellent stuff.


Here’s a link to where you can buy this model at Zoukei-Mura
Over to you Alan…
Before Starting:
• Tamiya Extra Thin Cement
• Tamiya Masking Tape
• Xuron Cutters
• Tamiya Tweezers
• Swann Morton No 11 & 20 Scalpel & Blades
• Gunze Sangyo Mr Surfacer 500
• Deluxe Rocket Super Glue
• Micro-Mesh Sanding Pads
• Microscale Microsol Decal Solution
• Formula 560 Canopy Glue
• Badger Stynylrez Black Primer
• Tamiya X-20A Thinner
• Mr Color Self Levelling Thinner
• Winsor & Newton Series 7 paint brush
• Zoukei Mura size 000 paint brush.
Airbrushes Used:
• Iwata Revolution CR ( for Priming/Alclads)
• Iwata HP-C Plus.
Paints Used:
• Mr Hobby H70 RLM 02
• Mr Hobby H116 RLM66
• Mr Hobby H341 Mud
• Mr Hobby H30 Clear
• Mr Hobby H20 Flat Clear
• Tamiya XF-59 Desert Yellow
• Tamiya XF-60 Dark Yellow
• Tamiya XF-64 Red Brown.
• Tamiya XF-85 Rubber Black
• Alclad Colours- Aluminium, Aircraft Aluminium, Dark Aluminium, Dull Aluminium
• Steel, Stainless Steel, Burnt Iron
• Alclad Hogwash Dirt & Grime
• Alclad Flat Black Enamel
• Lifecolour Liquid Pigments Burnt Umber, Black Umber, Colonial Dark Sand.
Extras Used:
Uschi Van Der Rosten Woodgrain decals
Airwaves photo-etch seat belts.
A little bit of background to the Horten Ho 229
The Horten Ho-229 was a German prototype fighter/bomber designed in response to the call for a “3×1000” light bomber. This required an aircraft capable of delivering 1000kg of ordnance a distance of 1000km away at a speed of 1000kmph. Due to the speed requirement, the only engines that could generate this were the early experimental Junkers Jumo 004 turbojet engines, but these were extremely thirsty in fuel consumption.
Based on a flying wing design, the HO-229 lacked the separate control surfaces associated with normal aircraft, in an attempt to reduce drag. It was the only design that even came close to matching the “3×1000” design, and thus won the approval of Hermann Göring.
Only 3 of these aircraft were built with only one flying- H.IX V2 , tested by Leutnant Erwin Ziller. He managed to fly 3 test flights, in the second one the aircraft undertook a simulated “dog-fight” with a Me-262, and was rumoured to have outperformed it. On the 3rd test flight disaster struck when one of the engines caught fire mid-flight. The aircraft crashed and was completely destroyed. Ziller died two weeks later from his injuries.
The Third prototype under construction, V3, was captured by the U.S. Military as part of “Operation Paperclip”- an effort to capture advanced German weapons research- this aircraft is still in storage at the Smithsonian National Air and Space Museum in Maryland.
The Ho-229 has retrospectively been called the “first stealth bomber”, due to its similarity to the B-2 Spirit stealth bomber, operational since the 1990’s. The composition of the wings, constructed using two thin carbon-impregnated plywood panels glued together with a charcoal and sawdust mixture, meant that the radar cross section would have been significantly reduced the effectiveness of the “Chain Home” radar system used to defend Great Britain.
The Zoukei-Mura kits
Zoukei Mura(ZM) first released their 1:32 version of the HO-229 in October 2014, as part of their Super Wings Series. They have now released a down-scaled version of this in 1:48. On opening of the box you are greeted with a box packed with sprues- all the internal structures and components moulded in grey stryrene, whilst all the outer surfaces and control elements are clear styrene. Due to the construction of the kit, the modeller will need to build up all the internal elements to be able to finish the model. On first inspection of the kit parts there are an abundance of ejector pins that will have to be removed when cleaning up the kit parts prior to assembly, but ZM have been very clever with the location of the ejector pins as there are none appearing on the visible surfaces of the model.
When I was asked to build this model, I was asked to make it interesting. This kit is that detailed it is interesting straight from the box, and I wanted to show as much of the internal structural detail that I could, but also have the option to put the outer covers on. I decided to finish the outer surfaces in wood, as it would have left the factory, also showing the natural metal surfaces- all unpainted. I am going to leave the surfaces off one of the wings altogether showing the ribs of the wings, all the fuel tanks and control mechanisms, and speed brakes deployed.
The first stage of the build for me, as in every project I undertake, is to remove all the parts from their sprues and clean up. I use a pair of Xuron sprue cutters for this. The kit styrene is very soft, and the cutters made easy work of this. As the plastic is so soft care needs to be taken around the many parts that make up the internal framework as these are very fragile.