Feature Article with Jamie Haggo
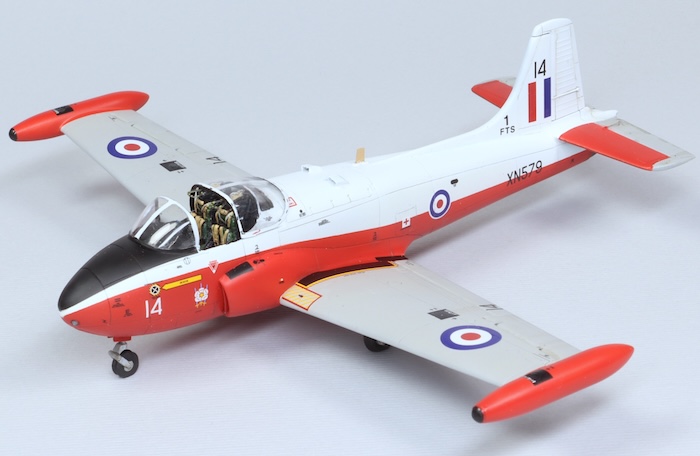
Just before we get started, here’s a look at how it all turned out…

Introduction
I’ve always wanted to build this kit, there are so many great builds of this on the internet, it always looks like one of the most refined Airfix kits so finally I’ve taken the plunge. I decided to enhance the kit with an Eduard PE set which was really hard to track down but as I was also going to use the resin Barracuda Studios seats. In hindsight, I’m not sure the PE set is worth it if you’re replacing the seats, the photo etch will go a long way to improve the kits seats so I’d recommend it if you’re sticking with the kit ones.
Markings wise I’ve always liked the red/white/Light Aircraft Grey schemes, it wasn’t particularly effective at being highly conspicuous compared to the gloss black but it does look nice. When I was going through flying training the transition was well on the way, Bulldogs and Tucanos were predominantly in this scheme whereas the Hawks were mainly black but when we got to Tac Weapons there were still enough grey jobs to make it more exciting!
Airframe preparation
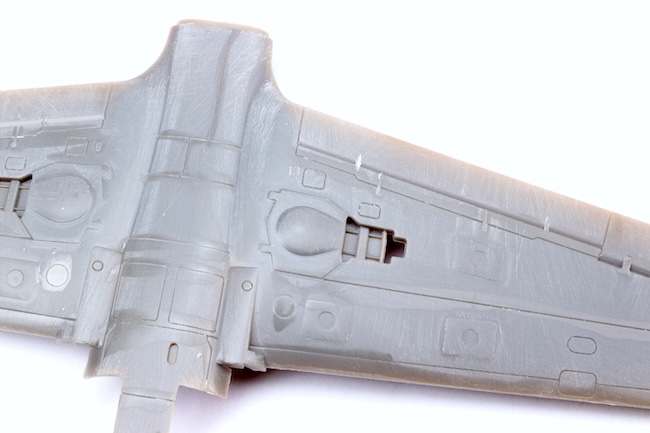
Airfix are renowned for having overly wide panel lines however the transition to the current, harder darker grey plastic has resulted in crisper mouldings but as with most of my Airfix projects I decided to sand mine down and run a very fine scriber over all the panel lines. The Airfix panel lines are a V cross section with a rounded bottom so by sanding them the width is reduced, running a scriber through them will sharpen them up too. A toothbrush and airbrush cranked up will remove dust before some fast-setting Tamiya extra thin is touched in to melt any stubborn bits and get rid of any ragged edges. It’s a lot of work and it does make a difference but only the individual modeller can answer the question as to whether it’s worth it.
