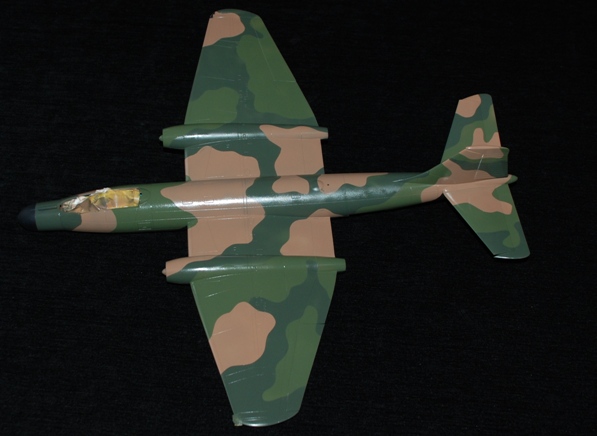
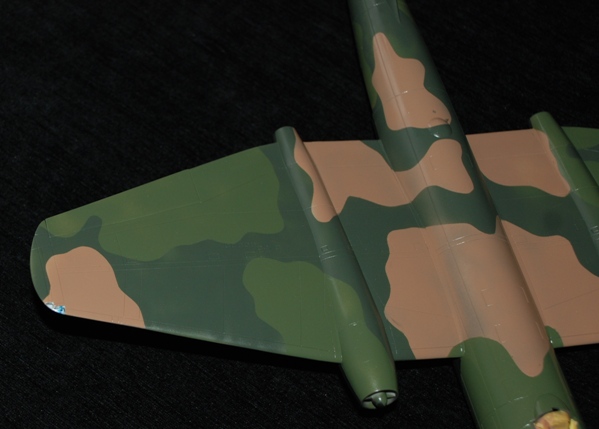
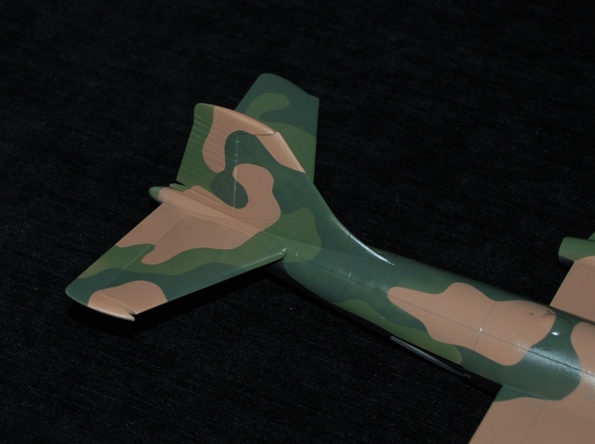
This is all left to dry thoroughly before removing the masking tape to reveal the full effect of that Vietnam camo scheme – looks impressive doesn’t it? Not half as good as I hope it will after all the weathering to come, but before that – decals! You may notice that in some places the paint scheme looks thinner than in others with the tan slightly showing through – this is deliberate as it is the first stage of weathering. All I’ve done is spray more heavily in some places than in others, but I have one eye on that fairly dirty, slightly faded weathered finish and this will make that job a little easier later.
Also… when fully dry, it’s a good idea to use Micro Mesh polishing cloths to remove any ridges and seams between the colours because if you don’t and apply decals over the top you can get that horrible result where a ridge runs right under the decal when its dry and clearly isn’t a panel line! Not good… again, there’s more in your TB on this (look under Surface Preparation).


Decals…
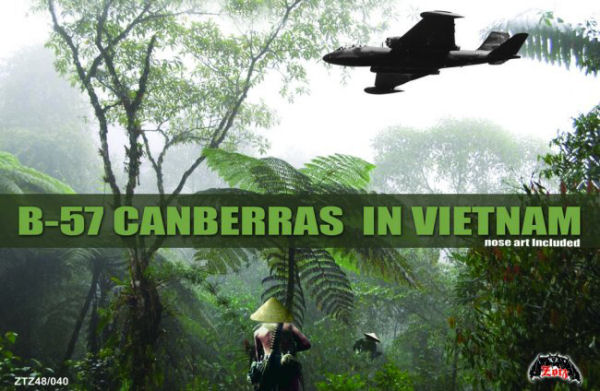
Really not sure about those included in the kit – they just look a bit oversize and not the best quality – nothing like those supplied in the latest releases by Airfix. So, I have had to source some aftermarket decals and luckily Zotz produce a great set of markings for this kit. Set ZTZ48040 Martin B-57 Canberras in Vietnam fits the bill and I’m waiting for that to arrive as I write this.
