More on the decals
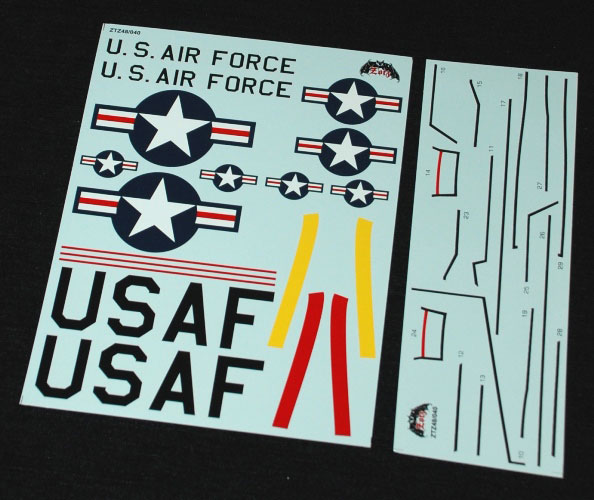
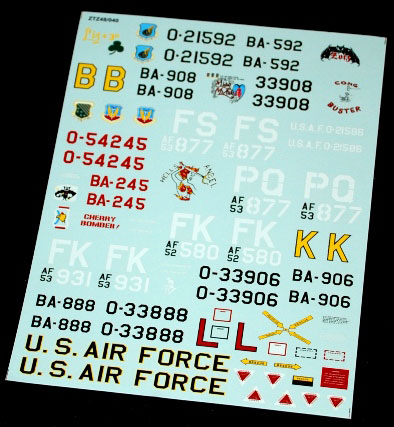
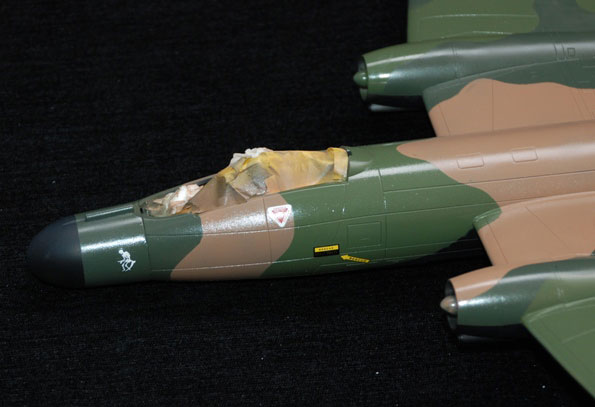
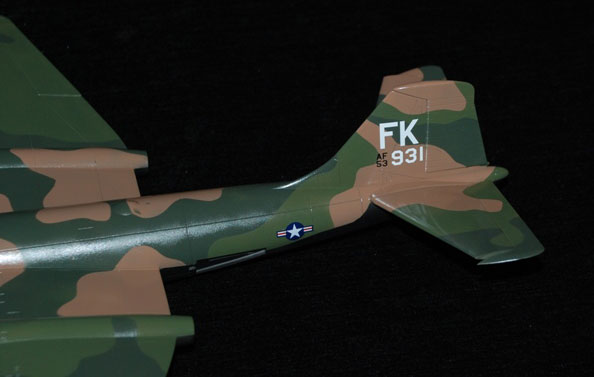
As you can see they arrived and it’s a bit of a shame that I’ll be using so few of them! Other versions and schemes are available on the Zotz sheet but we’ll only be using the small stars and bars, tail codes and a very few stencils. The instructions say that this particular aircraft (FK-931) was in fact a training aircraft that was kept pretty clean before going East to the operational zone when some of the marking were removed. So I guess that this means that I will keep most of the weathering to fairly subtle effects of dust and some wear and tear. We’ll be covering that part in the final instalment that will be coming very soon but for now let’s look at these decals…
On the plus side, the white is nice and opaque, just what’s needed to avoid any see-through effect along camo demarcation lines. On the flip side they did show some carrier film ‘silvering’ when dry and that need some careful scalpel blade cuts in the affected areas and plenty of Micro sol decal wetting solution in 2-3 applications to get rid of it, but it did eventually disappear.
Weathering those wheels
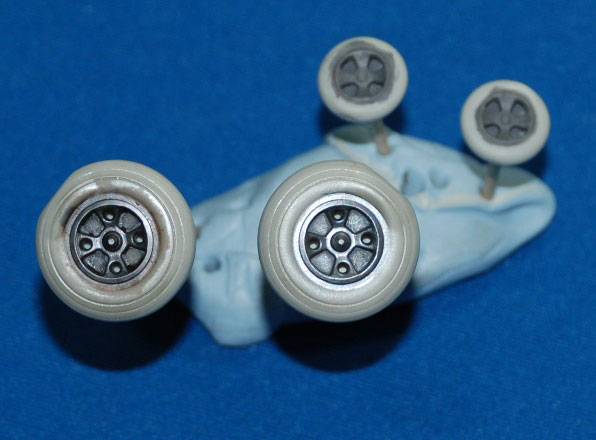
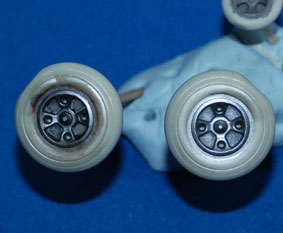
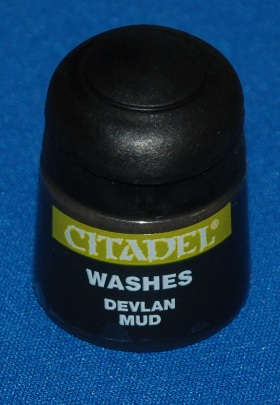
Mr Metal Colour Iron has been hand-painted as you can see (the unbuffed grey-looking nose wheel hubs can be seen in the background) and before adding a wash to grime it up a bit (using Citadel Colour Devlan Mud – a dark browny wash) the dry Iron needs to be buffed up a bit to look like metal. I have recently created an HD video demo that’s in your Techniques Bank that it worth a quick look to see how this is done if you’ve not used it before.
Zinc Chromate Yellow
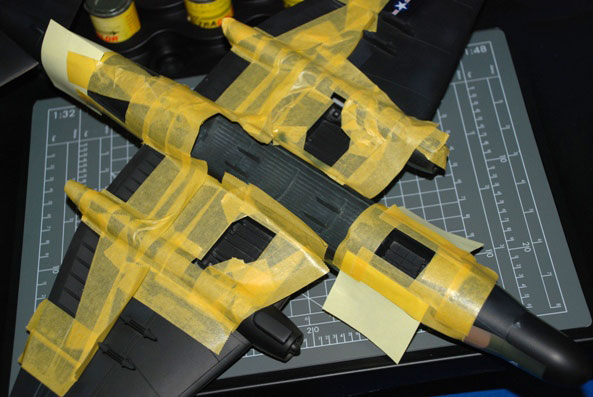
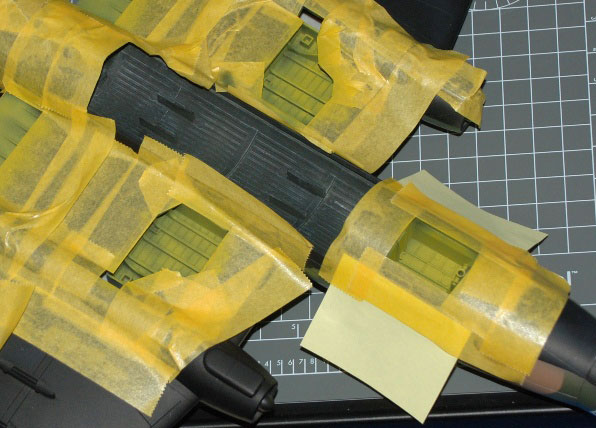
The wheel bays, inner door colour and bomb bay are all Zinc Chromate Yellow (ZCY) and Tamiya Yellow-Green XF-4 is ideal for this. Note that I have sprayed the ZCY quite thinly so as to use the dark grey base colour as pre-shading. I’ll add a wash later but for now you can see the initial effect.