Wing tip lights…
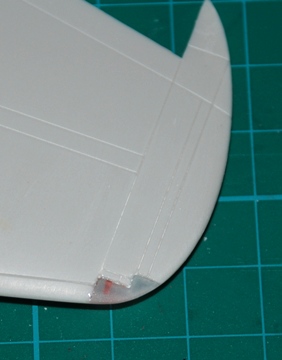
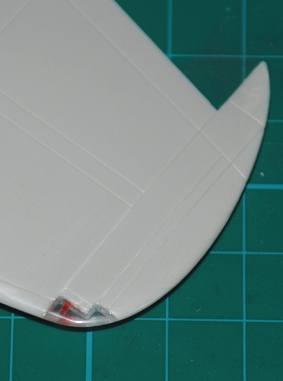
The parts supplied are a rough fit but sit too proud of the surface and need to be faired into the wing contour. Just before doing that I drilled out a small hole in each tip, adding clear red and blue to simulate the bulbs in each. You can attach the clear parts with cyano and, again, set with activator before using various grades of nail buffer to restore the clear part to full transparency. A tip here is to go easy and not pick too rough a grade, maybe something equivalent to 600 grade to start with, then 2-3 others that are progressively smoother. 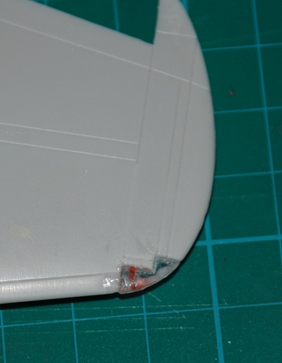
Rudder…
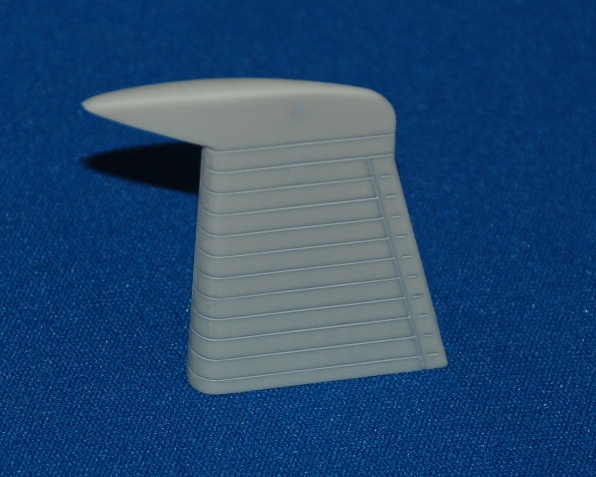
The good news is that this is separate and can be attached slightly deflected to add a bit of interest, the less good news is that it’s the same part as supplied before with way over-scale recessed ribbing. This can be easily improved by applying some Mr Surfacer 1000 over the surface, letting dry and sanding off the excess with buffers. It sands easily so this is no real effort and I remember that I did this on the PR9 and it worked a treat, so let’s hope it does so again!
On with the wings…
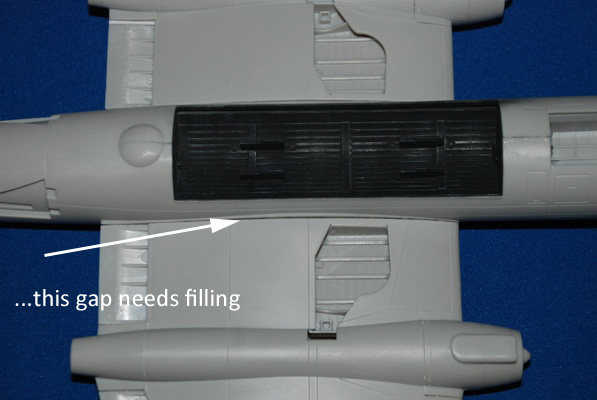
Now all the prep is done for the main wings, these go on now and the fit is average. Even when I removed any excess at all, they still either fitted at the top or bottom, but not together! Looking at the overall shape it looks better in my opinion to make them fit on top (the dihedral looks more authentic) and then fill the inner wing root on the underside. I used some shims of plasticard for this and PVA glue.
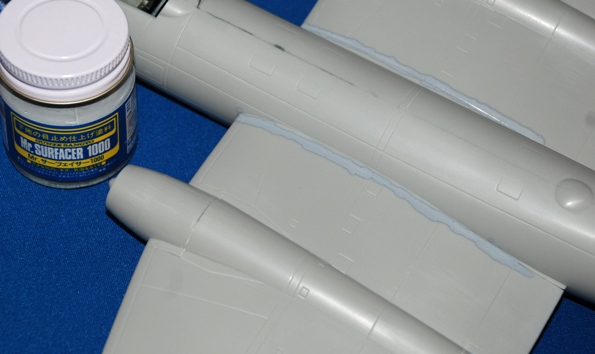
The upper side wing root joins are improved by using Mr Surfacer 1000 grade liquid filler. I just added this along the join with an old paint brush handle, smoothing as I went. This stuff sands easily and after a couple of hours I sanded the join back and it looked fine. The image here shows the join before sanding.