Diversion for weapons
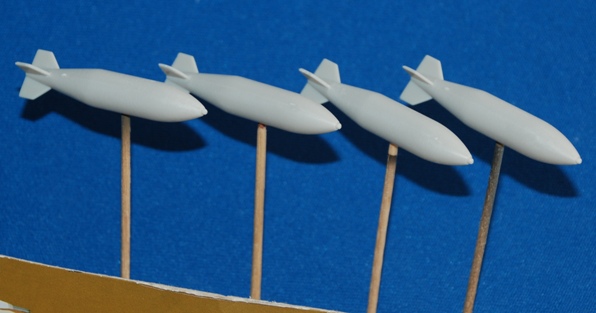
Right… I can’t put this off any longer – I’ve been procrastinating over whether to add them and what to add. I mentioned before that I wanted to add some Paveway IIs (for the under wing pylons) and freefall bombs to the bomb bay – all supplied in the kit but having assembled the Paveway IIs they really aren’t that impressive.
You can see that the fins are far too thick and over scale and it may be that you can live with them, but I just couldn’t – they have to go. The main reasoning is that they will be visible under the wing pylons and on show. The bombs destined for the bomb bay are different – visible only if you pick the model up and so those fins can stay as is.
Why pay for PE when you can easily scratch build
As ever this is your choice but all that you will need is some 15 thou plasticard (available from model shops, craft stores and I’m sure many internet mail order websites.
References to help
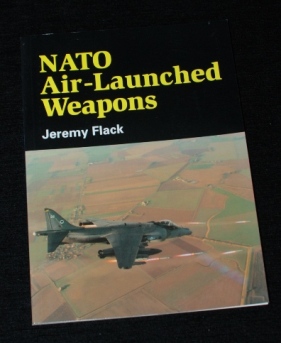
I’m sure that there are many pics that you can easily find showing details of Paveway IIs (using Google Images search facility), but this is a good book (NATO Air-Launched Weapons by Jeremy Flack) covering pretty much all ‘modern’ air-launched US weapons.
Paveway IIs – improving the kit parts
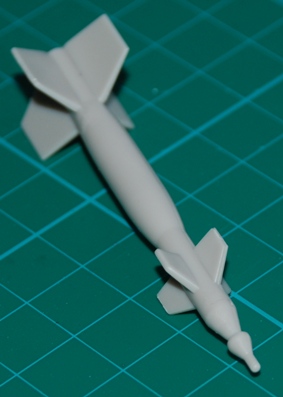
Due to the work involved I am only going to add two of these to the model – one per side. The following photo sequence shows how I improved the kit parts. The first step is to replace the front four fins on each weapon and you can see that I use masking tape to create a simple template. Just stick a length along one edge and use a sharp pencil to mark the edges on the sticky side.
Remove the tape and stick it onto the plasticard. Using a sharp pair of scissors just cut around the lines and there you have it – one new fin. I mark this with a ‘T’ and then use this to measure all the others from, ensuring you get consistent-sized fins.
Then, all you need to do is repeat the process for the rear fins. I found it easier to remove the front fins and use a straight edge to mark a line along the length at the front end four times. This makes the marks to line up the fins correctly. With the four marker lines drawn I added the front fins. These are secured with cyano.
You can then cut away and sand smooth the rear sections of each bomb and add the replacement rear fins, using the line-marker system outlined above.
Finally, I slightly drilled the back of each Paveway II to make it look more interesting and a smaller hole in the centre back to take a cocktail stick to act as a hand-hold for painting.
Nose sensor
The nose sensor on each bomb can be improved by cutting a thin strip of metal foil and wrapping this around the nose to create a sharper edge and demarcation similar to the real thing and loads better than the kit part. The join is located on the underside so that when your bomb is attached to the pylon and located into the slot on the bomb the join won’t show.
You can see a comparison of the before and after effect by looking at the kit part on the right and modified Paveway II on the left.
You can see in the following image the weapons headed for the bomb bay prepared for spraying
