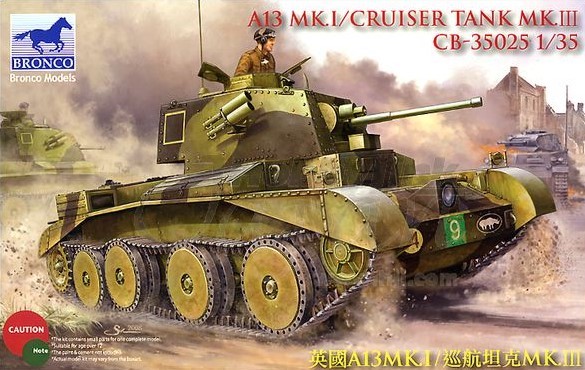
Kit Ref: 35025
Full Review with Dai Williams
The subject of this project was the Bronco 1:35th Scale A13 Cruiser Tank Mk. III.
Whilst the kit originates from 2008 it has been released several times since then in different guises, allowing a Mk. IV and a Mk. IV(a) to be built along with captured vehicles pressed into service with the Wehrmacht.
And just before we get started, here’s quick look at how it all turned out…
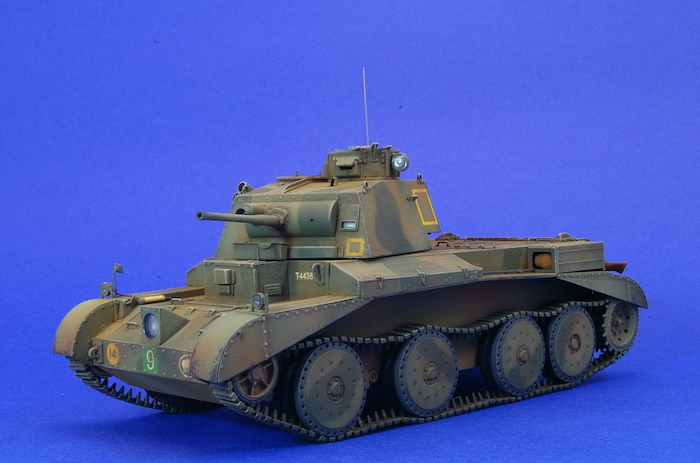
There was a considerable amount of mould release agent on the plastic parts of my kit. To remove this the sprues were carefully washed with warm soapy water, rinsed well and allowed to dry naturally before assembly began.
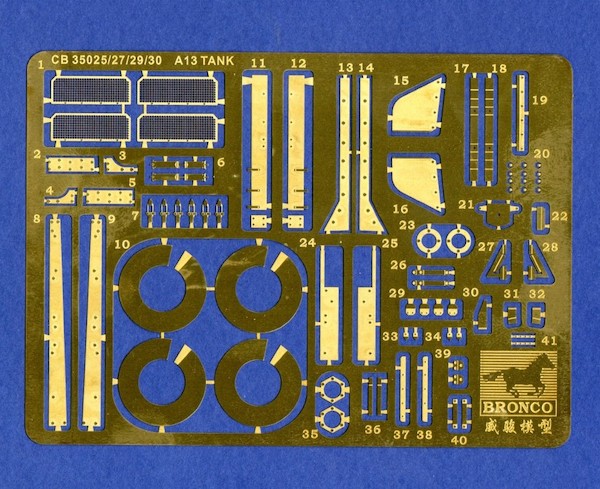
I thought that the kit was reasonably easy to build although in typical Bronco fashion there are quite a few parts in etched brass. Some of these needed to be folded or bent to shape.
I must admit that I found the etched parts for the fairings inside the drive sprockets particularly difficult to handle. They needed to be bent from a flat cross section into a cone shape and once assembled they did not seem to fit inside the wheels (though this may just have been because of my rather limited brass folding skills). I eventually decided to leave these off deciding that not having them there at all would look better than ill-fitting parts. In the end with the mudguards and tracks in place I felt that they were not really that visible on the finished model.
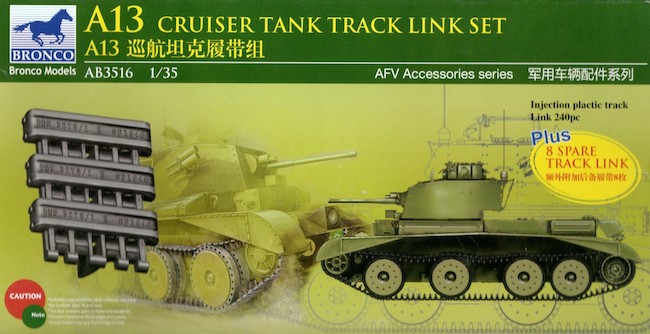
I think that perhaps the worst parts of this kit are the tracks. These are of the flexible vinyl variety. On my example there was some flash on the edges of the tracks which I think would have been impossible to remove.
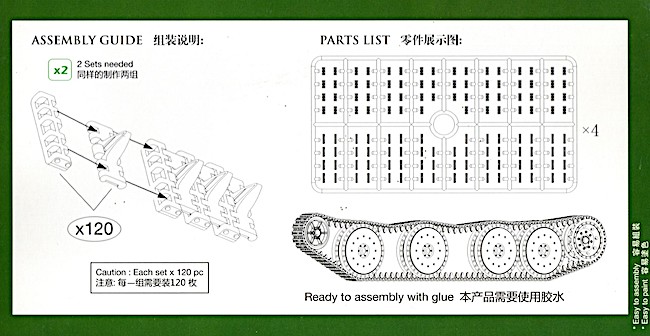
I have seen several reviews of this kit which showed that the tracks were too short leading to some serious strain on the delicate suspension parts and making it impossible to represent any track sag (which seemed from wartime photos to be a noticeable feature of these vehicles). Because of this, when I bought the kit, I picked up a set of separate track links (also made by Bronco) which I hoped would solve this problem.
Having tried to assemble the tracks that came with the kit and fit them around the suspension I found that this was indeed the case.
I thought that the instructions in this kit looked decidedly strange and, after scratching my head for a while, this turned out to be because the construction stages were actually illustrated out of sequence.
Having said that, it was not a major problem because I usually use the instructions in an armour kit just as a guide to part placement rather than as a construction sequence. This is so that I can assemble the main parts of the kit before any of the delicate parts are attached. I do this to make any clamping or taping of the larger parts easier should that be necessary (as was indeed the case here).