Full Review with Dai Williams
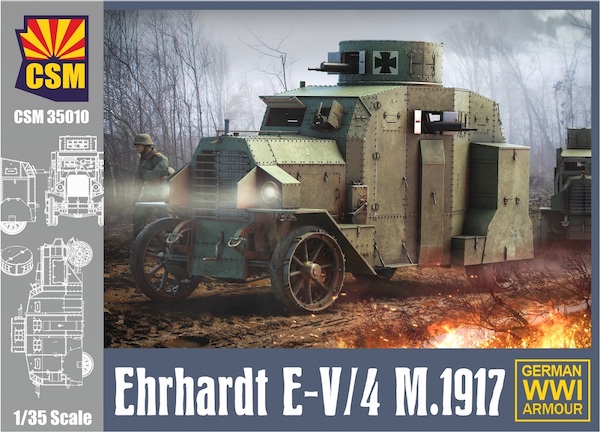
The subject of this project is the Copper State Models 1:35th Scale Ehrhardt Armoured Car.
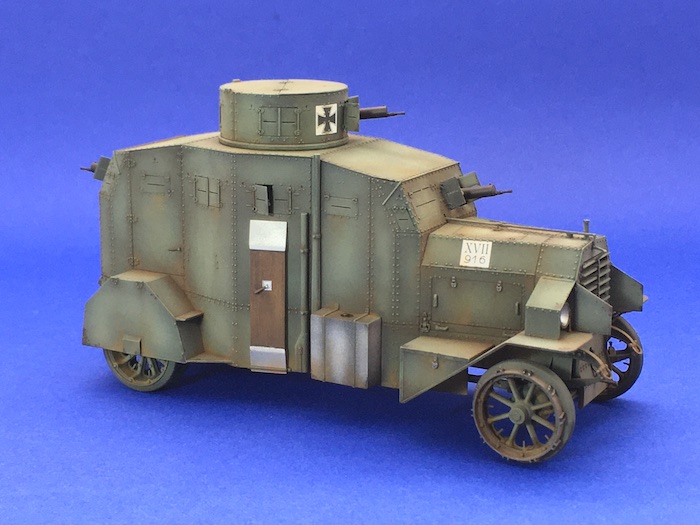
And just before we get going, here’s a look at how it all turned out…

The potential for the use of armoured cars in mobile warfare was first demonstrated by the Belgian Army who used their Minerva armoured cars to great effect against their German opponents during the early years of the first world war. Having suffered somewhat during encounters with these vehicles the German army ordered the development prototype vehicles from several commercial automobile manufacturers so that they could have similar vehicles of their own.
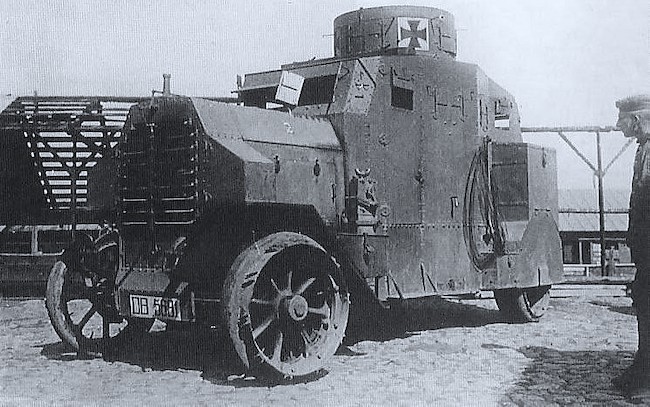
One of these manufacturers was the Ehrhardt company. The Ehrhardt vehicles first appeared in 1917 and it quickly became apparent that conditions on the Western Front were so bad that they could not be used successfully. They were therefore transferred to the Eastern Front where their mobility could be used to greater effect.
They were fairly successful in their intended roles but were not without their problems. Their height made them somewhat unstable and the numerous apertures in the hull complicated the production process.

The Kit
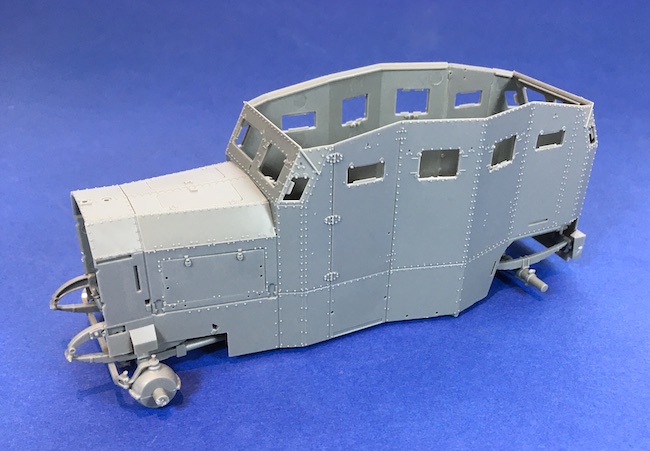
The kit is moulded on five sprues with around 170 parts in medium grey plastic. The detail on the plastic parts is very good with recessed panel lines and some fine rivet detail on the armour plates making up the hull and turret.
There is also a small clear fret for the headlight lenses. There are no photoetched parts in the kit.
Markings are provided for over a dozen vehicles with various styles of national markings and vehicle names along with some interesting looking skull and crossbones motifs!
Some of the marking schemes call for large crosses to be applied to the cooling louvres at the front of the vehicle. There are different parts allowing these louvres to be modelled either in the open or closed position. For those wanting to model the cooling louvres in the open position, Copper State Models has helpfully included some guide marks on the transfer sheet allowing the transfers to be cut to fit.
The instructions are well produced and being printed on thick paper look rather classy! They are clear and while the construction sequence looks sensible, I deviated from this (as usual) to get the larger parts of the kit together before some of the smaller parts were added.

The instructions also include several well printed wartime photos.
The modeller needs to drill several holes to attach items such as the jack and the unditching boards. The positions of the holes are clearly shown in the instructions and there are recesses on the insides of the relevant parts showing the modeller where to drill. The presence of the un-ditching boards and position of the jack differed between vehicles and so the particular vehicle being modelled must be chosen early in the construction phase so that the appropriate holes can be drilled.
If any of the double doors and / or cover flaps over the apertures in the hull are to be left open, their locating points will also need to be removed before the main parts of the kit are assembled. Again, this is clearly shown in the instructions.