Short feature article on painting and weathering
By Bill Curtis (November 2014)
Intro from Geoff…
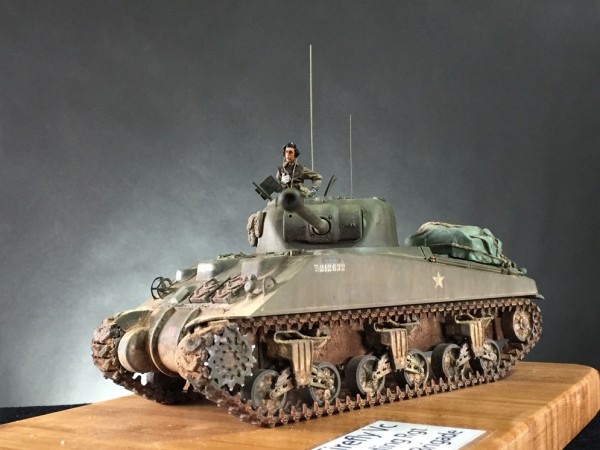
This is a really interesting addition to Finished Now and also Techniques Bank, so thanks Bill for that. One of the main things I like and hope that you do too is that Bill has resurrected an old kit given to him by a friend at his local club and Bill has turned it into a cracking model with all the muck and grime you would often see on a wartime Sherman.
Bill’s simple step by step approach gives you a quick insight into his approach to painting and weathering the model from start to finish.
Many of you will realise the steps involved, to some of you reading Bill’s approach you may find something new but what I learned from it is the need for looking at the whole painting and weathering of a tank as a series of layers, each carefully building onto the next over a number of days but ending up with a very convincing and authentic-looking model. Here’s a sneak peek of Bill’s completed Sherman Vc.

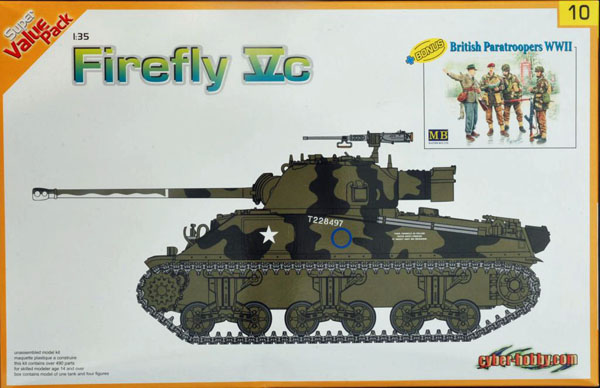
At the time of writing, this older Dragon kit is available under the Cyber-Hobby.com packaging, Orange Series.
This is not an in depth build/finishing article but rather a collection of photographs taken through the finishing processes. This model was given to me by Neil who has moved to 1:48th scale modelling and came three quarter built with missing parts. It was no problems to scratch build the odd parts and also I got the mantlet from the importer.
The model was washed and then allowed to dry inside a large box to stop dust falling on it. This is also a good idea to do as the paint dries.