Shurzen:
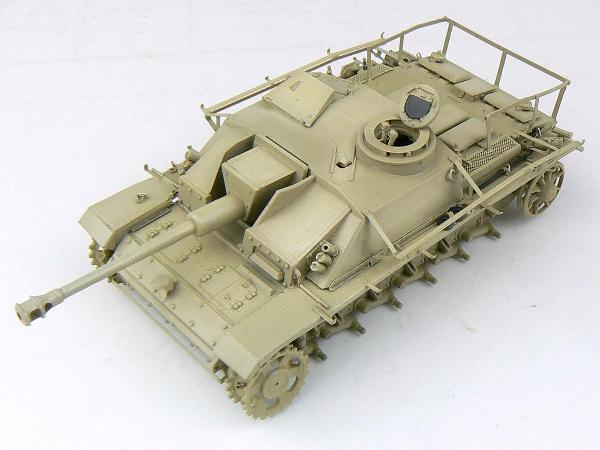
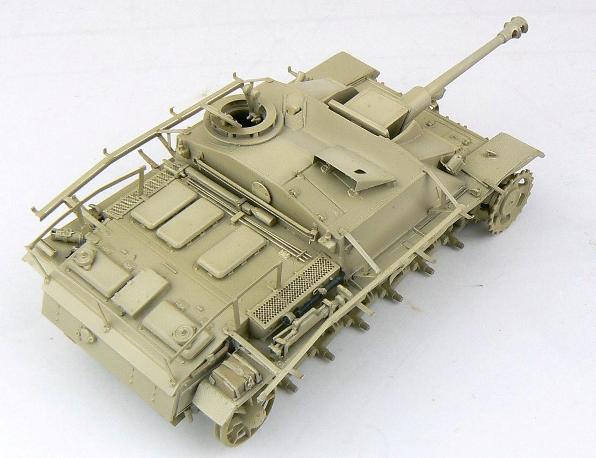
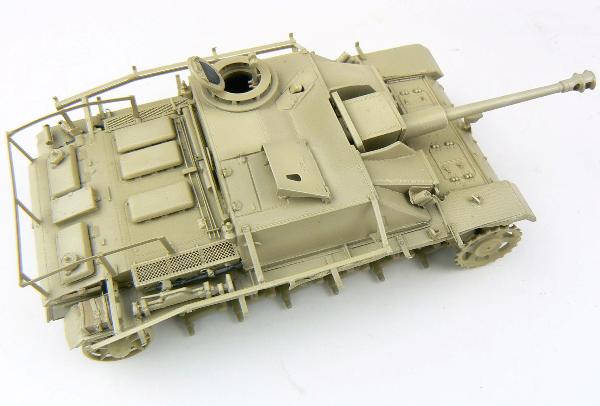
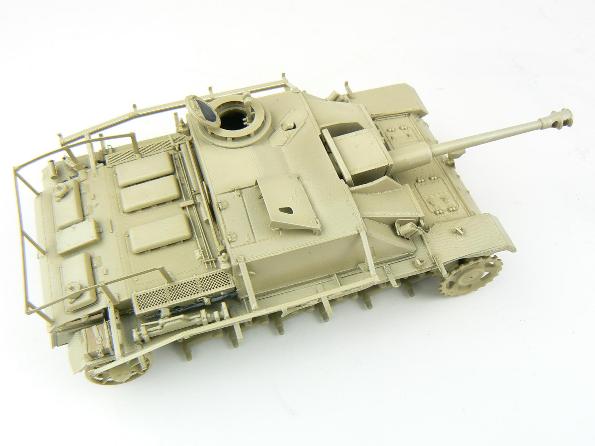
The Shurzen is not included in the main detail set and has to be purchased separately. When it arrived I got to work straight away. The mounts are fiddly but go together OK, the plates are also very fine indeed however they are fiddly to mount as well. Also some of the mountings aren’t quite long enough so it can all be a bit of a juggle. I won’t be using all of the plates as quite often they got lost during combat and it makes the vehicle more interesting to look at.
Conclusion:
So far this has been a rewarding if frustrating build. The photo etch is by no means essential as the base kit is very nicely done however it really is a fantastic addition and will hopefully add that extra bit of refinement and scale effect. So, next up is the painting.
Painting and chipping
Now for the painting. My model was going to be in a dark yellow with winter white wash blotches from the Eastern front, this would give me a vehicle on which to practise some serious weathering!
First off was the base coat of dark yellow. I don’t use the ready made colours as I find them too dark as the weathering is going to considerable alter them, therefore I mix my own. The base is Tamiya buff to which I add about 20% Gunze dark yellow and a splash of white. This is suitably pale which is exactly what you need. I really don’t like the current fashion for colour modulation, I think modellers (and I include the blokes who came up with the idea) take things far too far. I prefer to subtly lighten and highlight the upper parts by adding more white to the mix. Also, I took some Vallejo buff and thinned this to a wash consistency, then using a brush certain raised detail was brush painted. All this may sound like modulation but it’s no way near as you can see from the photographs.


