Wash, filters, streaking…
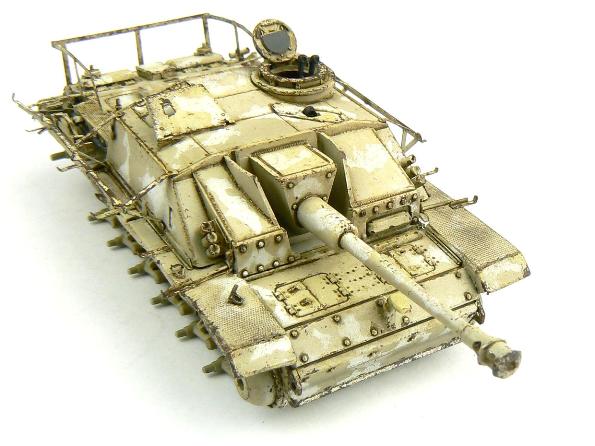
With the chipping done it was time to add contrast and depth by the use of filters and a wash. I like to do this step after the chipping as I find it blends the chipping slightly which makes them less stark and more subtle. They’re still there but less obvious.
For the filter I thinned AK Interactive DAK wash until it was translucent, this was then applied with a thin wash. AK Interactive produces many shades designed for specific camouflages and I find them very useful and versatile.
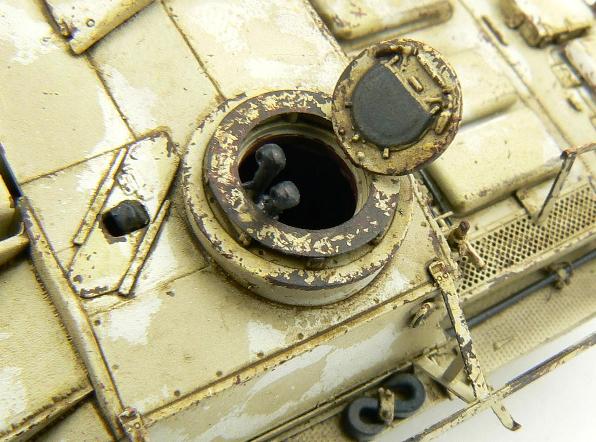
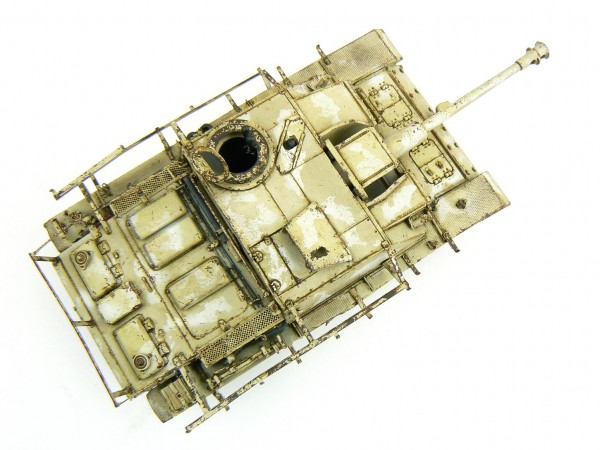
The wash is designed to create false shadow which adds depth to raised detail. The AKI DAK wash is touched into the crevices and low points and after a few minutes when it’s dry it’s blended and the excess removed with a clean brush moistened in white spirit. This step really brings the model to life, it may look a bit too much in the photos, that’s because this is a really small model so the close ups exaggerate the effect. But also, the contrast needs to be a little bit more or the effect is lost with such a small canvass. Again there is a video in the Techniques Bank you may wish to watch showing this process.


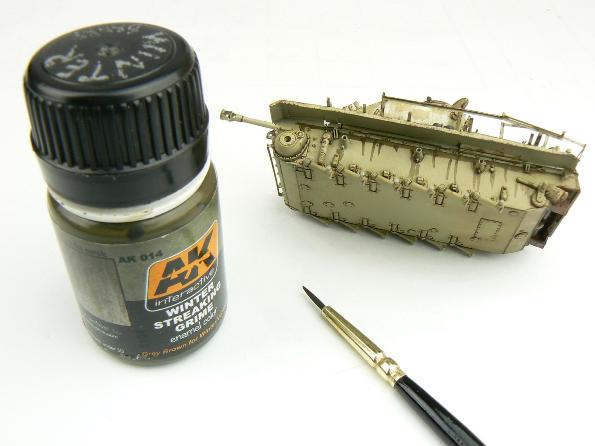
Streaking is an important step as it imparts a realistic finish. Grime, mud, dirt and gunge gets washed down the vehicle by rain, condensation and general splashing. For this step I again turned to AKI but used their winter streaking grime which has a nice greenish/grey tint to it, the standard streaking grime would be too orangey/brown for this camouflage.
Take a small brush and draw the grime in vertical lines. Try to be random with the spacing and length. I also used the product for more shadow.
