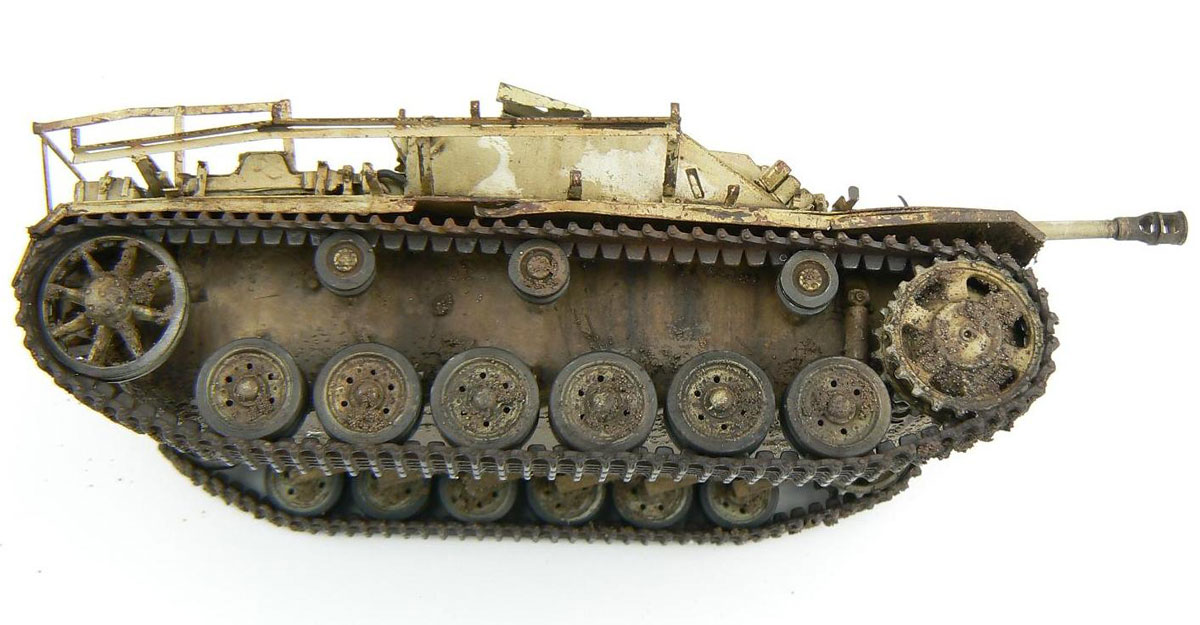
Taking a flat brush moistened with white spirit, the lines are blended to give the final effect. The beauty of this product is if you don’t like the effect you can modify it as you go along or even remove it entirely and start again.
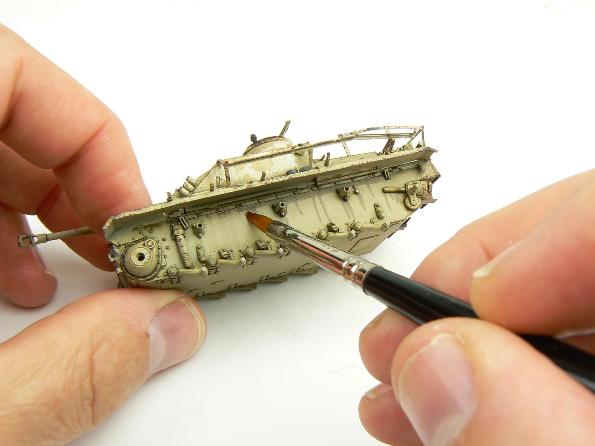
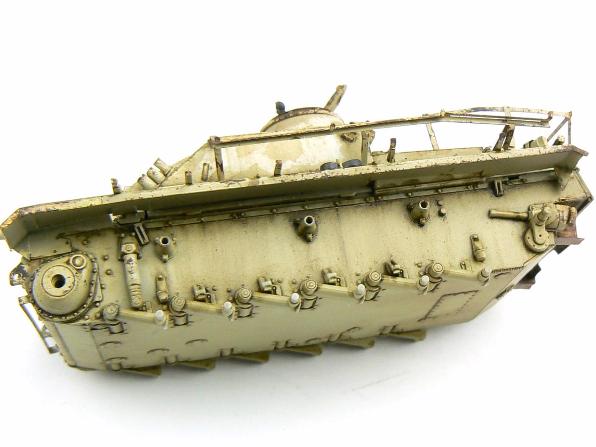
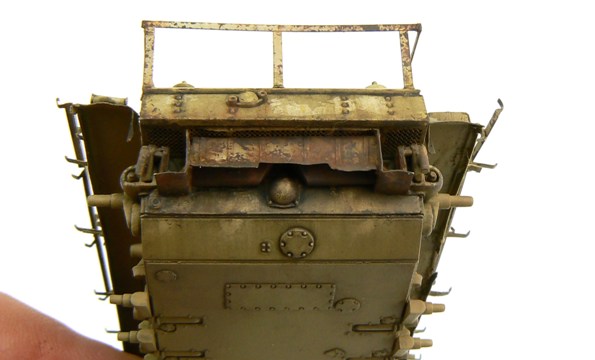
The same effect was used at the rear of the vehicle. I also used rust oil paint and AKI rust effects to weather the exhaust guard.
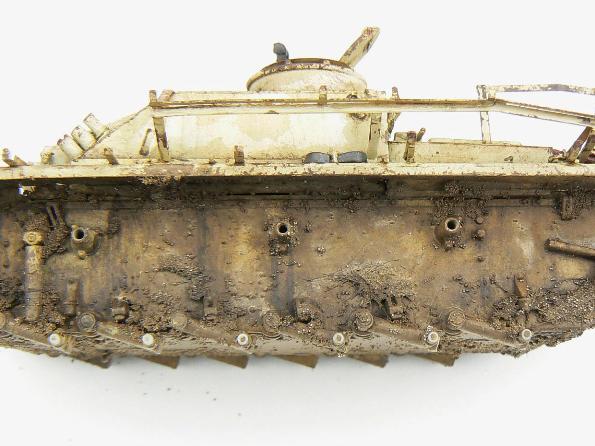
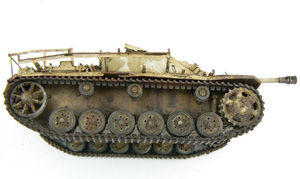
Mud, pigments and finished
We’re almost there, but before we can call the model finished we need to do the mud. This step can be quite daunting for modellers as poorly done mud can undo all the hours of good work done up to that point.
The first stage is to spray on a base for the pigments, this was a mix of Tamiya chocolate brown, dark earth and buff. It has to be translucent, probably a bit more translucent for 1:72 scale. It’s applied on the lower hull but also in the nooks and crannies.
With the base on the pigments can now be applied. I used various earth tones from Mig Productions, AK Interactive and Warpigs. Again, owing to the small scale it’s important to be subtle and not to go overboard. Pigments were added not only on the lower hull but also on the fenders and in places where mud and filth would collect. These were blended and fixed with white spirit.
ZOOM - Move your mouse over image
Now for the mud itself and actually this was the easiest step. I used Tamiya mud textured paint and mixed in some static grass and just plopped it on.
With the wheels and tracks in place, more mud and pigments were applied to blend in the added parts.
