Short feature article
By Steve Noble
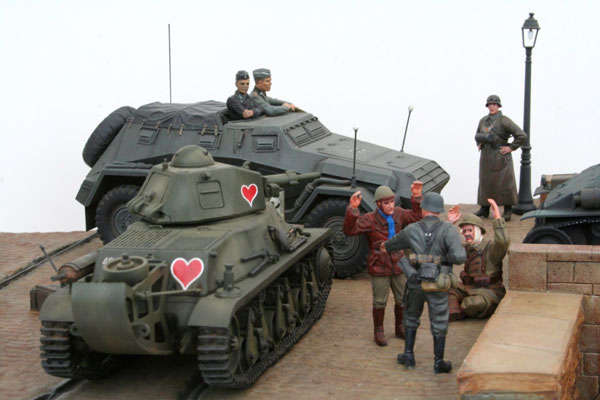
ZOOM - Move your mouse over image
Blitzkrieg
The German victory in the Lowlands and France during 1940 stands out as one of the significant campaigns in military history in that it demonstrated the true potential of the tank as an offensive weapon. The combination of the Blitzkrieg tactic of lighting armoured thrusts behind the enemy and close air support, led to the collapse of the armies of Holland, Netherlands, France and the United Kingdom within 42 days.
The Diorama
In building the diorama I wanted to give some sense of:
- The importance to the German strategy of speed ensuring the fast moving armoured columns could disrupt supply and reinforcement of the Allied forces.
- The differences in morale and attitude between the Germans and the French especially at command level.
- A contrast of the tactics and equipment used.
To represent the coordinated command structure and concentration of armour used by the Germans along with the French practice of dispersing its armour in support of infantry, I used a PzKpfw 35(t) in conjunction with a PzKpfw 247 command car passing an abandoned Hotchkiss 49 light tank. The German success was dependent on mobility with river and canal crossings being key objectives therefore the diorama was built around the capture of a bridge. The bridge is a Royal Models accessory, kit 347.
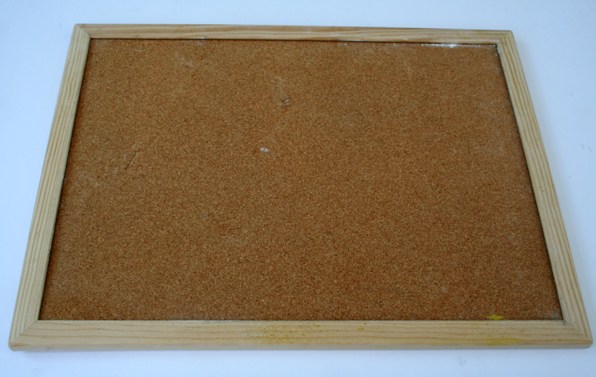
The base chosen was an inexpensive cork pin board bought from a ‘Pound’ shop with a wooden edging strip. The edging strip is an important feature, as it would help with the formation of the water.
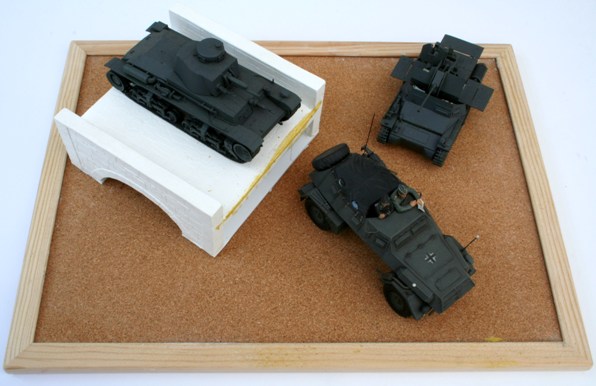
With the two German vehicles built and using a third vehicle similar in size to represent the Hotchkiss, a number of different layouts were tried. Having selected a layout, it was possible to go onto building up the rest of the base structure. The canal sides and roadways had to be built to match the height of the bridge.
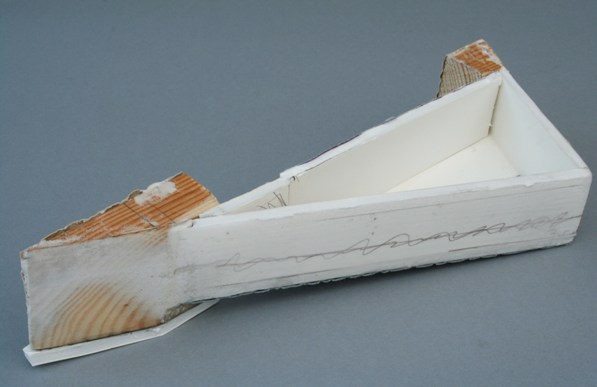
The structure for supporting the roadway was made of foam board available from any good art shop. Consisting of a foam layer coated on both sides with plastic it is strong while easy to cut with a Stanley knife. A sheet of paper was cut to fit the base and the bridge placed in the desired location and marked on the sheet. The paper was then cut to provide templates for the roadways either side of the canal. Strips of foam board were then cut to match the height of the bridge and provide the supporting sides for the roadway. Using PVA glue the sides were glued into place to form a simple triangular shaped box.
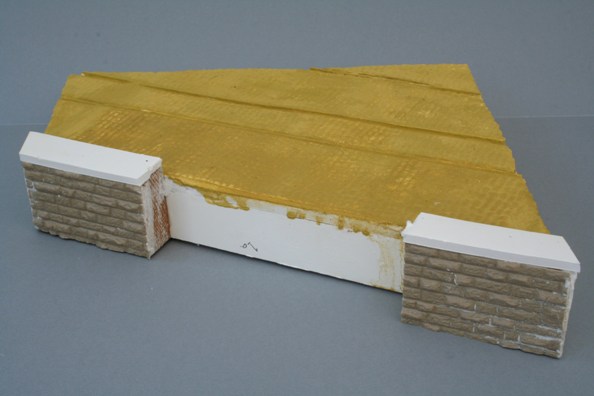
The roadway for the opposite bank of the canal is another simple shape, this time using a plaster cast section of road. Using the same techniques, the road was built up to the height of the bridge supported on a foam board box. The canal walls were built from scrap wood faced with embossed plastic card available through Squires mail order catalogue. Strips of foam board were added to the canal walls to represent copingstones.
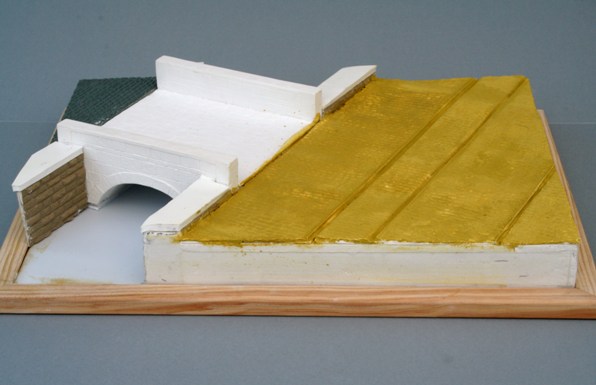
A thin sheet of plastic was placed under the structures to give a smooth surface for forming the surface of the canal water. Despite appearing complex, the structures are simple boxes relying only on good measurements aided by the use of paper templates to provide a finished article that fits together snugly.
Each of the road sections and bridge were painted separately using a base colour of dark grey followed by mixtures of dark earth, earth, sand and stone colours sprayed in thin layers working from darker lighter shades. To represent the water, the plastic card was painted in a cloud pattern using a variety of mixes of medium to dark greens before re-assembling the roadways and bridge and gluing them in place. The surface of the water was created by pouring a tin of well-mixed gloss varnish onto the card. It is important that the varnish be allowed to stand to release as much air bubbles as possible before being poured. Once set, additional layers of varnish were built up to form a gentle wave effect on the surface.
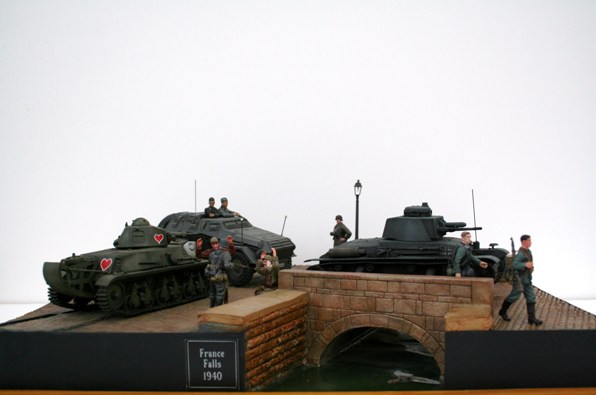
The model was “tidied up” by facing the edges with black card cut to fit and glued on with PVA glue.