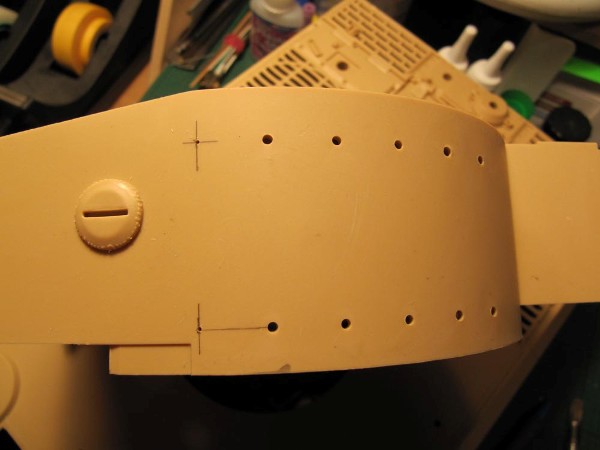
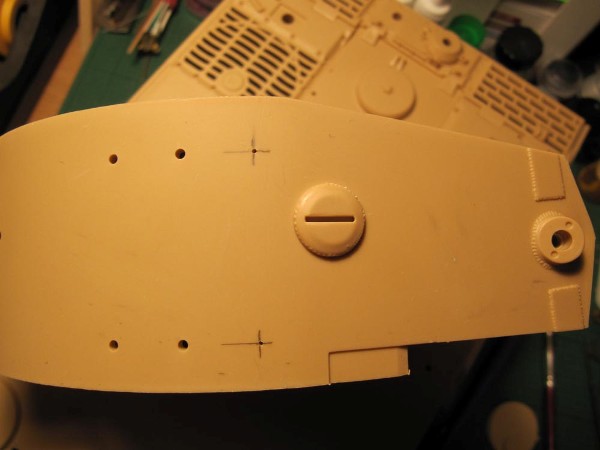
Zimmerit conundrum
I had been pondering zimmerit since the start of the build, whether to, or not.
I have never applied it before, even to a 1:35th scale build, because I don’t really do tanks, …well, not little ones anyway.
I was told by a guy in the know in our club, that certain mid-production Tigers did not have Zimmerit applied, so I had the excuse not to put it on, but then I thought, why not?
Included in the kit is a neat set of etched brass zimmerit applicators, enough to do a fairly good job of it, but just at the point of deciding to ‘give it a go’,
I noticed on the Welsh model website, an interesting set of 1:16 scale zimmerit to apply made of a type of rubber.
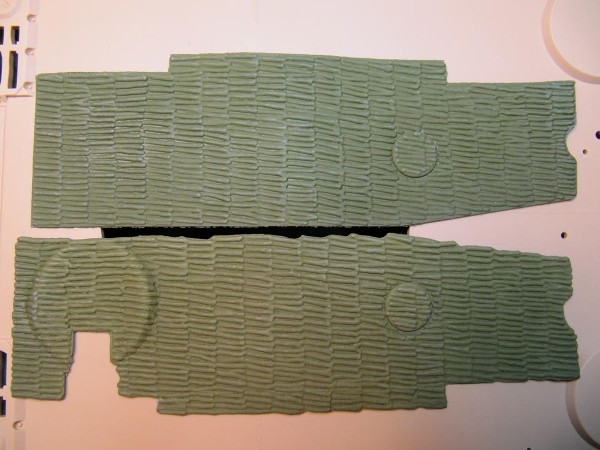
Taigon is the manufacturer’s name, and just short of £10 is the price. Amazing really, it comes in lots of pre-shaped pieces to fit on all the main surfaces, but they are mostly a little small for this kit, but definitely modifiable.
I decided to e-mail Dragon models to find out if it should fit. Apparently, it was designed for a Heng Long Tiger, but with a bit of ‘modification’, could be made to fit.
As I intended to do a very ‘scabby’ zimmerit coating, it being damaged by shells, the thought of cutting and fitting the film on the vehicle was not too much of an issue.
When it arrived, it was indeed a very rubbery flexible film, I had been advised that the only glue to use on it should be contact adhesive like Bostik, so I did, and it does a very fine job of sticking it too.
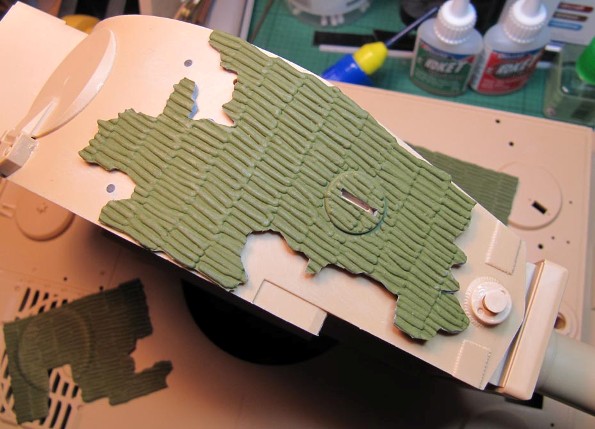
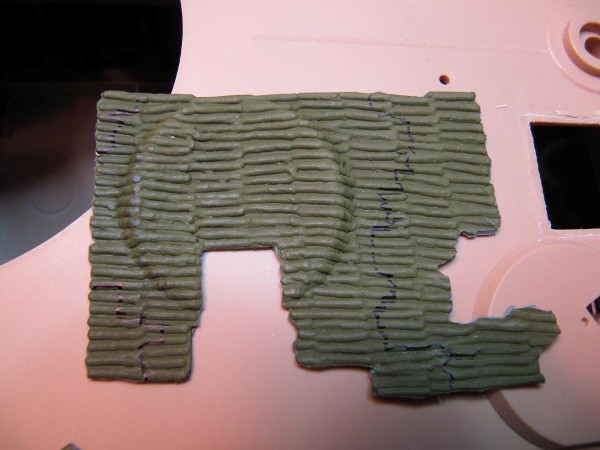
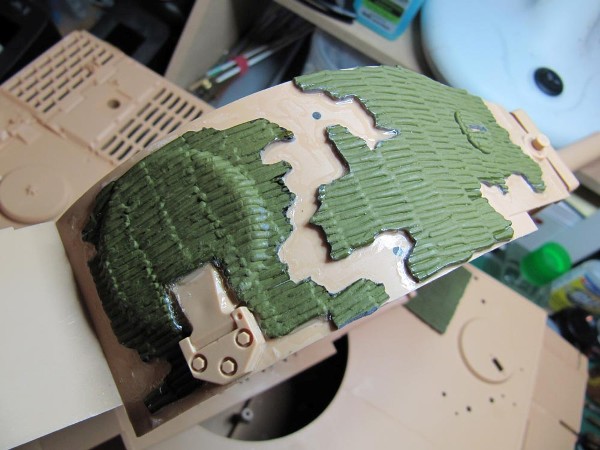
I would not really recommend this set for anyone wanting a pristine zimmerit coating, unless prepared to do a bit of blending in with some sort of filler.
As an interim, I had been looking for some steel cable to replace the plastic tow cable items in the kit. This is not to knock the quality of the kit item, but I wanted something that looked more realistic. A mate in our club managed to get a length of cable from somewhere which was a perfect replacement, thanks Rich!
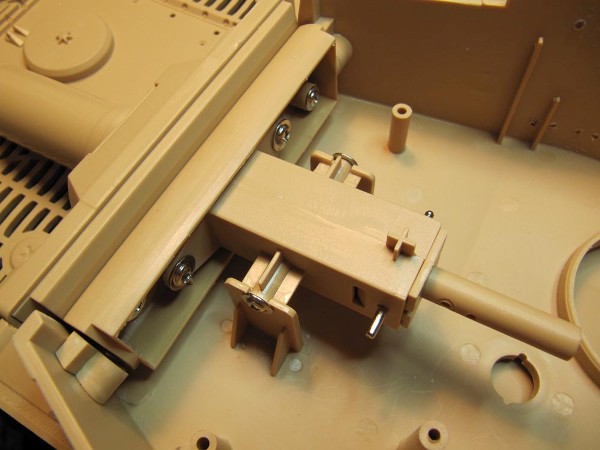
One problem with the turret assembly, just as I was thinking that this was a very good kit for an R/C model, was the hinge point of the main gun.
How this was allowed to happen I will never know, but the hinge point is behind the ‘model’ hinge point by about 10-15mm, meaning that the gun hinges very unnaturally, so it was glued in place.
Barrel
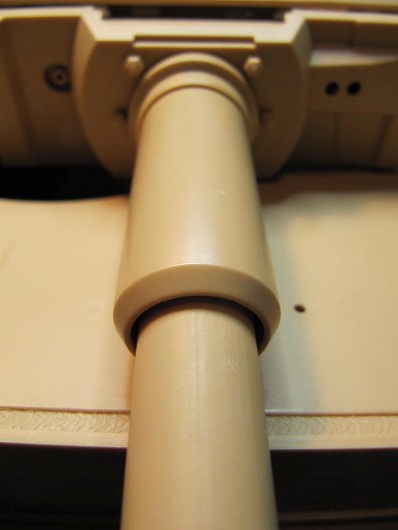
The two sections of barrel are quite a loose fit too when put together, so I applied some tape around the main barrel to make a better concentric fit.
The rest of the turret assembly was straightforward, except, when offering the track sections onto their holes in the turret. It was obvious that the spacing was too great,
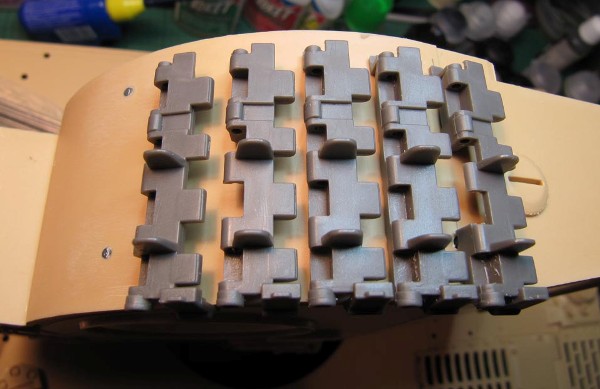
…and positioning was odd, so the holes were plugged with superglued cocktail sticks
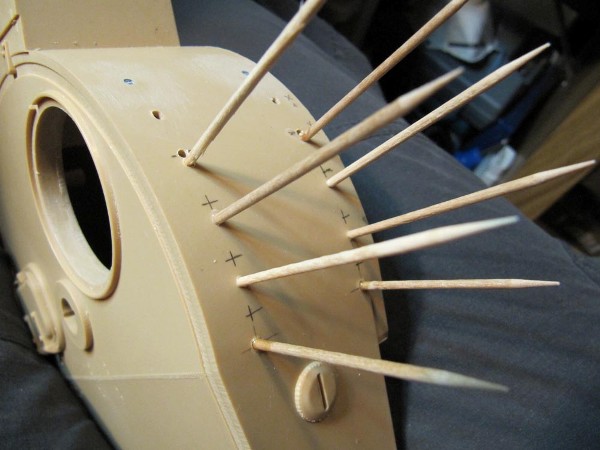
…and re-drilled according to plans found in the very good Tank Power no.14 Pz.Kpfw VI Vol.II by Tadeusz Melleman.
