Back | 1 | 2 | 3 | 4 | 5 | 6 | 7 | 8 | 9 | 10 | 11 | 12
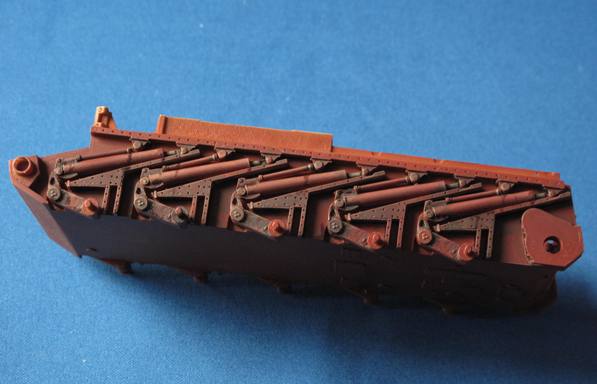
Just one more stage of work on the suspension – the lightest of weathering, invisible, when assembled, I know but I can’t leave it totally blank. As I said before I am not sure whether it was left in primer or not.

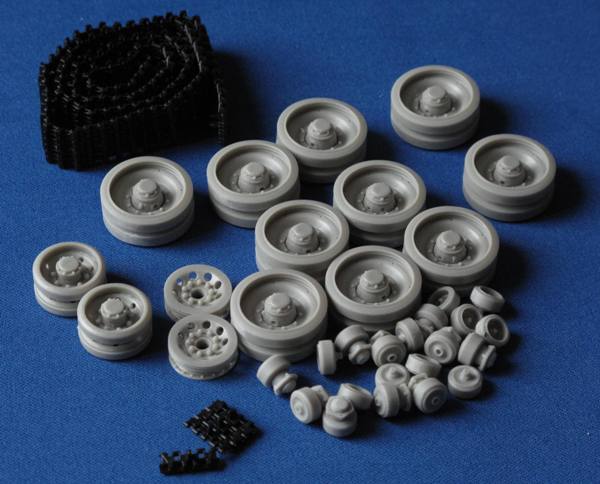
The instructions go on to the build of the wheels and track. In the two pics below all the parts are shown both unpainted and then the wheels painted and track assembled. The track just slots together – this wasn’t too bad, one or two didn’t “take” and had to be replaced with the parts supplied for the turret side.

 Here the side plates are on the hull when the bottom of the hull is painted the suspension visible will pick up the olive drab.
I need a rest from the suspension! The instructions recommend that the side fenders are placed in position to protect the running gear but as I have the vehicle in a good work position, I shall do this later as I think it would be quite easy to dislodge them as well.
So I commenced with filling the vehicle with all the parts that make the crew positions a very crowded and busy place! Careful placement is necessary here. The instructions point out the placement pads on the floor and walls to do that accurately. I hope. There is no way to test fit the later parts like the turret and gun at this stage!

All the parts in this pic will largely be hidden by the turret and its contents. So, here they are painted up quickly to give a “feel” of a well used interior before they are covered up.