Full Review with Dai Williams
Just before we get started, here’s a look at how it all turned out…
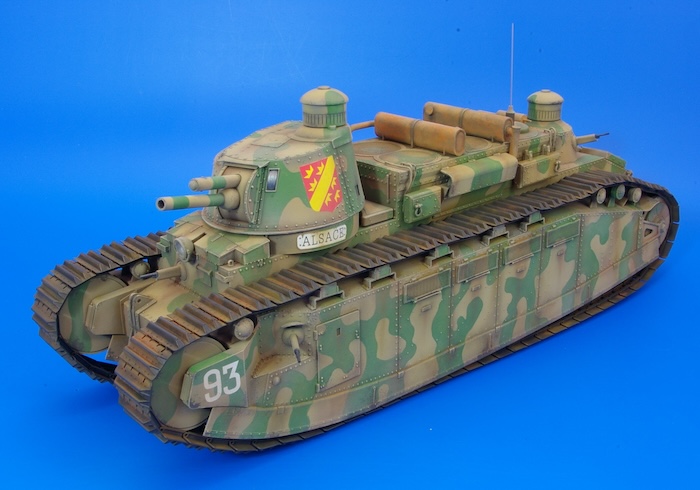
The Char 2C was a French tank that was conceived during the First World War with the first vehicles appearing in 1921.
In terms of dimensions, it was one of the largest tanks ever to be built and though it would have been an imposing weapon on the battlefield, its size and weight led to it being underpowered with mobility issues. With the end of the First World War there was no longer an urgent need for large numbers of these expensive vehicles and eventually only ten were ever completed.
By the time of the Second World War, it was realised that the Char 2C, though undeniably large and impressive, was more of a propaganda asset than a practical weapon in combat. Because of this they were actually transported away from the front line to keep them safe! Unfortunately, this exercise proved to be unsuccessful, and they were all eventually destroyed by their own crews to prevent them falling into enemy hands.
Sadly, none of these impressive vehicles survives today.
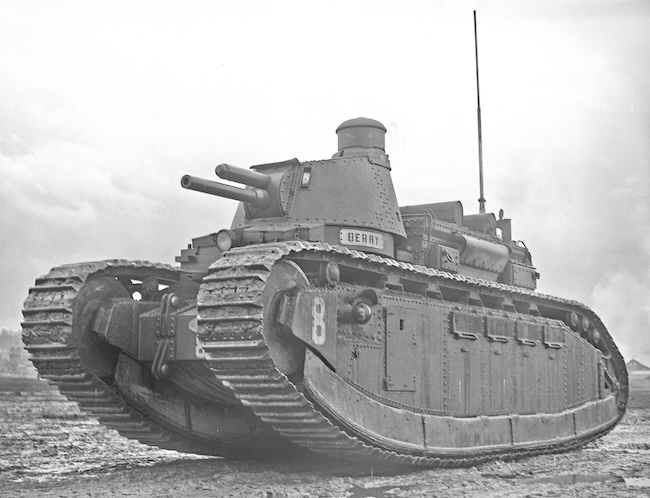
(Photo: Char 2C “Berry” 1928, courtesy Wikipedia)
At the time of writing a more complete description of the development and use of these vehicles can be found on Wikipedia at :-
Char 2C – Wikipedia
The Kit
The Meng kit first appeared in 2013 and as might be expected for a vehicle of this size, it contains some very large mouldings. Despite this I found the kit quite simple to build. The parts fit together well though due to their size I found it necessary to hold some of them in place with tape whilst the glue set.
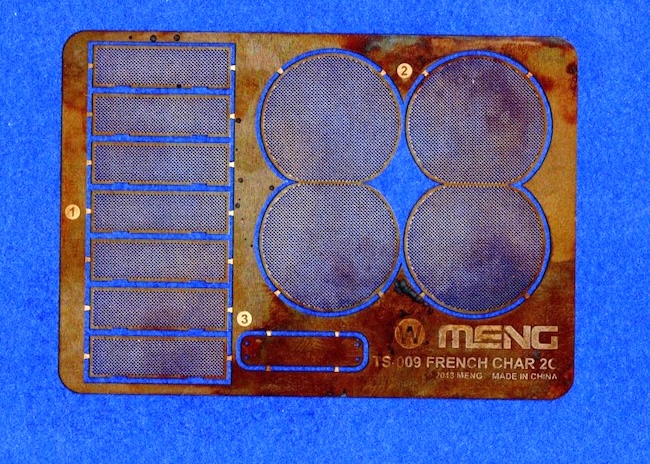
The kit contains around 400 plastic parts (many of which are for the paired road wheels) well moulded in tan coloured plastic. There is also a small etched fret, a clear headlight lens and 150 individual track links (more on these later).
The dreaded photo-etched brass fret …
I must admit that I don’t like using photo-etched brass parts. This is because I’m basically terrible at folding them and I often get problems getting paint to stick to them. Luckily there is no folding involved with the photo-etched parts in this kit (just a bit of bending that I could cope with).
To get around the problem of paint adhesion I normally use a metal primer, brush painting Mr. Metal Primer onto the parts with an old, disposable paint brush.
The grilles on the kit’s photo-etched fret are very delicate, with impressively fine mesh (particularly those on the engine deck). Unfortunately, Mr. Metal Primer is rather thick, and I thought that brush painting this onto the photo-etched parts would have ruined the fine mesh so didn’t use it.
With the primer discarded, in order to provide a ‘tooth’ for later painting, I soaked the fret for about an hour in some burnishing fluid meant for discolouring white metal track links.
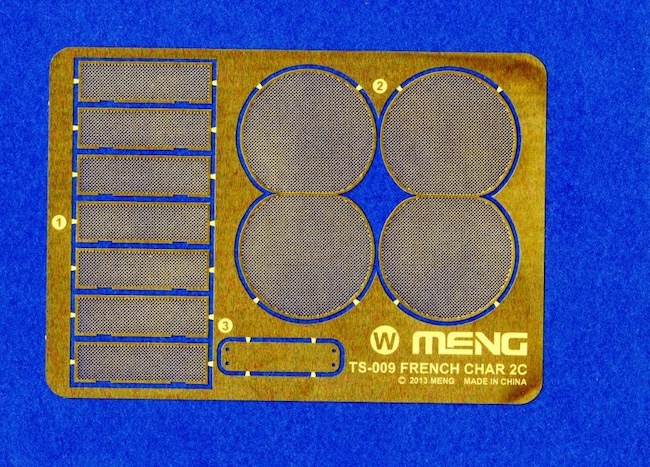
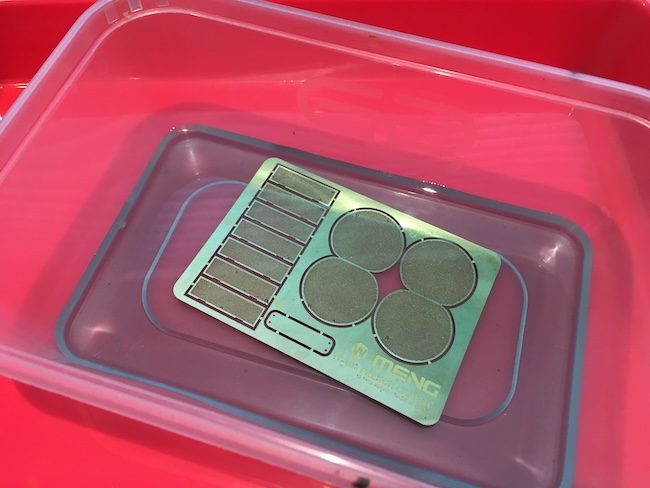
This treatment produced a ‘patina’ on the photo-etched parts and thankfully actually allowed paint to stick to them.
Note…
If you intend to try this, I’d recommend caution and suggest soaking an unused part of your etched fret (I used a piece of the frame) in the burnishing fluid first to see what effect it has on the metal. This will give an idea of how long to leave the photo-etched parts in the fluid to avoid damaging them.
