Feature Article with Roger Brown
During World War II, the Wehrmacht used three types of remotely controlled demolition tanks. The Borgward IV was the largest of the three and the only one capable of releasing its explosives before detonating.
Near the end of World War II, approximately 56 Borgwards were converted to the Panzerjäger ‘Wanze’, armed with six RPzB 54/1 anti-tank rockets.
In the last days of the war, these vehicles fought some minor skirmishes against Soviet armour and saw some action at the Battle of Berlin.
This conversion project
I first had the idea of making this model after seeing a 1:35 kit of the Borgward IV Panzerjager ‘Wanze’, which at the time was a new release but not yet available.
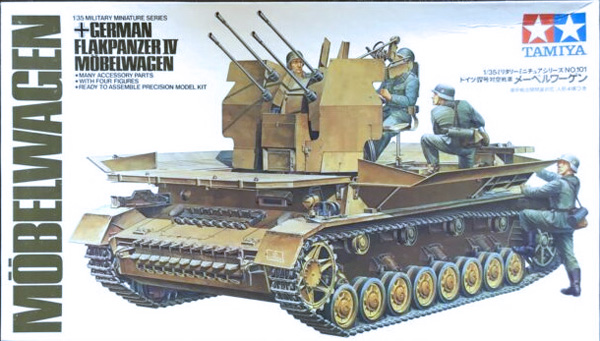
Being enthusiastic about the vehicle as well as impatient, I decided to build my own version based on a Tamiya 1:35 Flakpanzer IV Mobelwagen which I had as a spare kit (above).
So I have given the model the title, Borgward Mk.V
To build the model I used the kit, 1.5mm and 1mm plasticard, 5mm channel section and Albion Alloys aluminium tube plus a few spares from other armour kits.
Hull
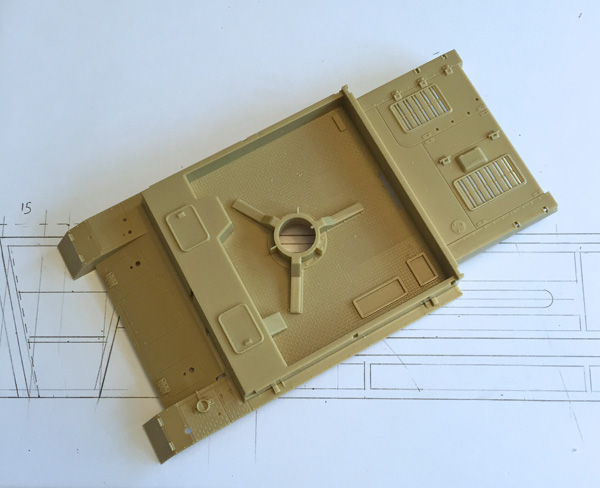
I was off to a good start with the Mobelwagen hull as it provided me with a clear open section to where I could start the construction of the driver’s armoured compartment and rocket battery mounting framework.

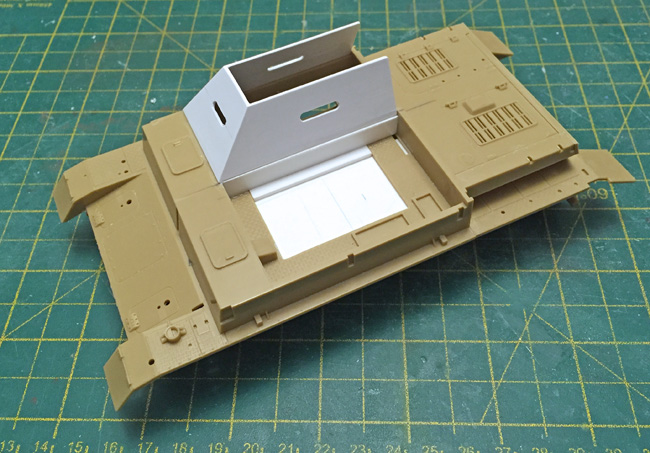
The triangular shaped mounting in the centre of the hull floor was cut away squarely from the surrounding material and a piece of 1.5mm plasticard cut to size and cemented under the remainder of the floor.

A strip of 1mm plasticard was added to the floor to separate off the driver’s compartment.
I also added a plasticard strip across the inner chassis to mount the driver’s seat on.
The driver’s armoured compartment was made up from pieces of 1mm plasticard and carefully cut and cemented to the existing upper deck and the added strip.
I cut vision ports in the pieces before cementing them in position.
I then fitted the two tool boxes within the hull as indicated on the kit instructions.
Small pieces of plasticard were added between the armour plates and existing hull to represent welded brackets.
I also added some stretched sprue to the joints of the armour plate and set to work on these with thin cement and a scalpel blade to form the weld beads.