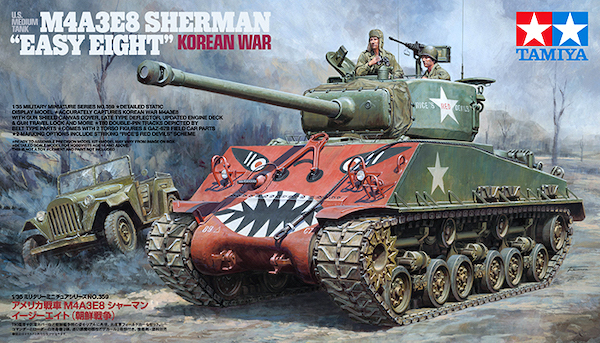
Feature Article with David Pickford
‘Under Attack’
Sometimes models can be completed very quickly and sometimes they just take time. ‘Under Attack’ started out as a project in April 2020 and was originally intended as a Sherman build only- in particular to try out the method of creating my own sandbag armour. It eventually developed into a full blown diorama complete with scratch built building and street section as well as 7 heavily converted figures. It survived one fall to the ground, requiring me to do significant repairs to the whole scene. It suffered a long period of storage, as my interest moved to other projects and was only finally completed 2 years later. The lesson is- never give up!
Sandbag Sherman
There is something very appealing to me about the Sherman tank encased in sandbag armour. Originally it was designed as a field expedient method of increasing armour protection against superior German firepower. Starting in the summer of 1944 sandbags could be laid on the hull placed in frames, or held down with netting. Eventually metal cages were welded to the hull to hold the sandbags and provided all round protection.
Although the practice became widespread the tanks became very heavy as a result making them more prone to mechanical breakdown. General Patton eventually issued an order preventing their use, although understandably this may not have been closely observed by the crews themselves!
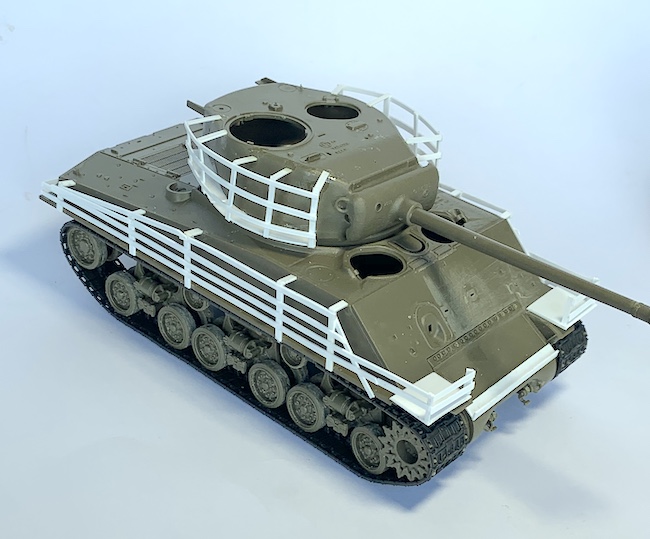
There are commercial sandbag sets available on the market but I wanted to try doing my own as well as some rear stowage. The kit I chose for modification was the Tamiya Easy Eight Sherman. Like all Tamiya kits it would prove an easy and enjoyable build.
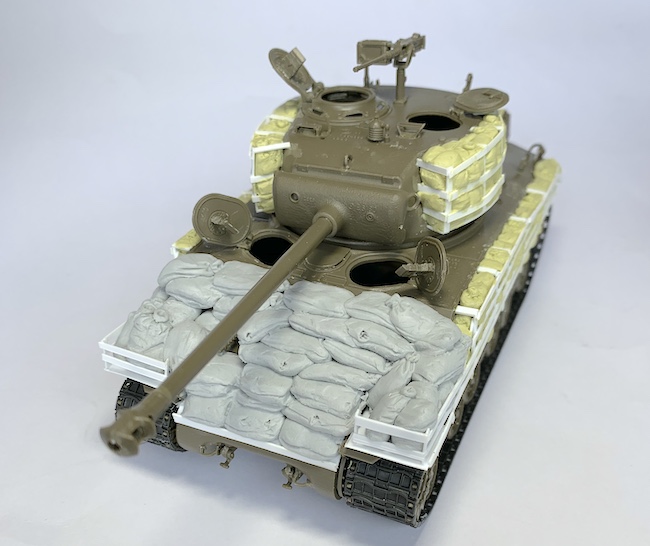
Initially, I started out building the cages with plastic strip. I looked at various period photos for the configuration and built these up quite quickly.
The sandbags were fashioned from Milliput standard epoxy putty. I rolled the basic shapes with my fingers, and after pushing them into the cages with my fingers, I could use various tools to sculpt creases and folds and add a few tied tops to the bags for a more realistic look.
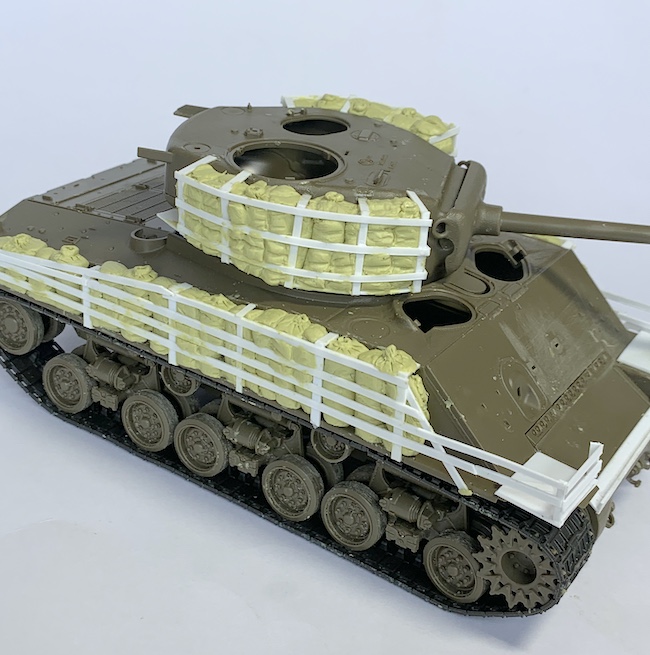
I did rear stowage also with milliput bedrolls and tarps draped over plasticard boxes tied down with ropes I had rolled out from Greenstuff putty.
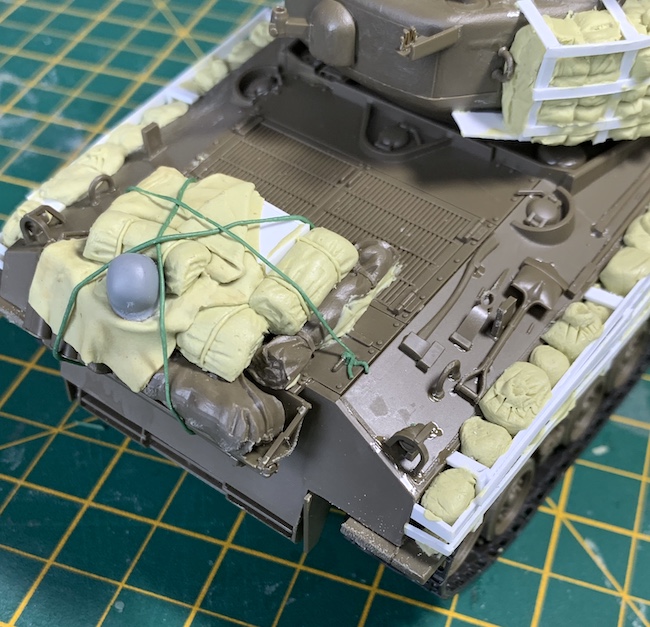
At this point I had been through 2 boxes of milliput and exhausted my supply! We were in Covid lockdown. Rather than order more I switched to Magicsculp modelling putty, which I also had, for the bags on the front hull. Again I laid down the bag shapes with my fingers and then used various tools to sculpt details including bullet hole damage!
With a coat of grey primer, I had a unique model that I was very pleased with.
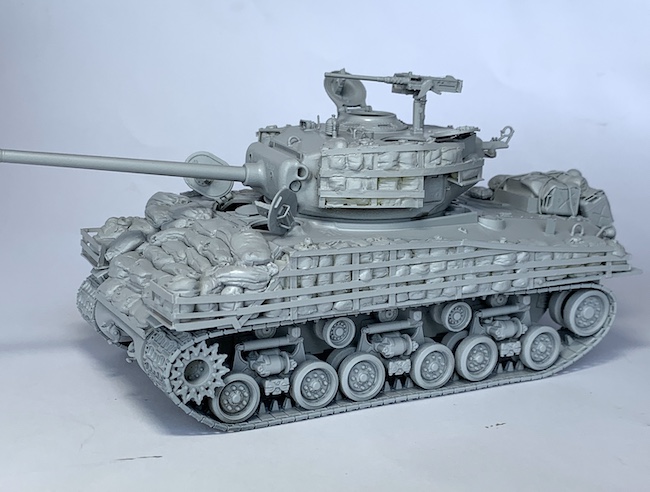
I could have obtained the same effect with aftermarket resin accessories, but this was cheaper, more individual and much more fun! It had taken 4 weeks with working on other models in between.