Weathering
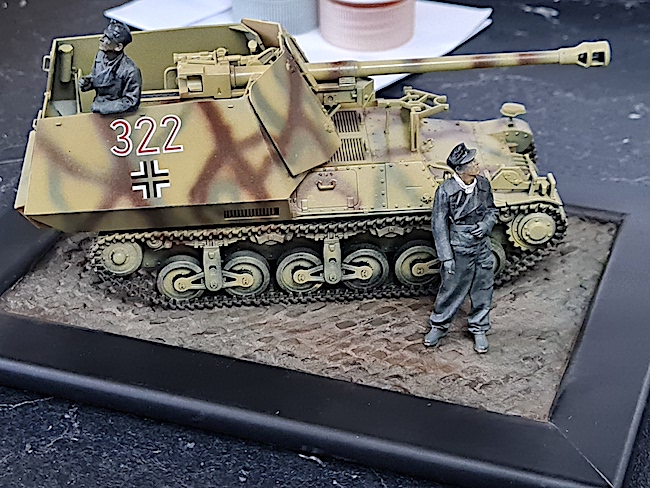
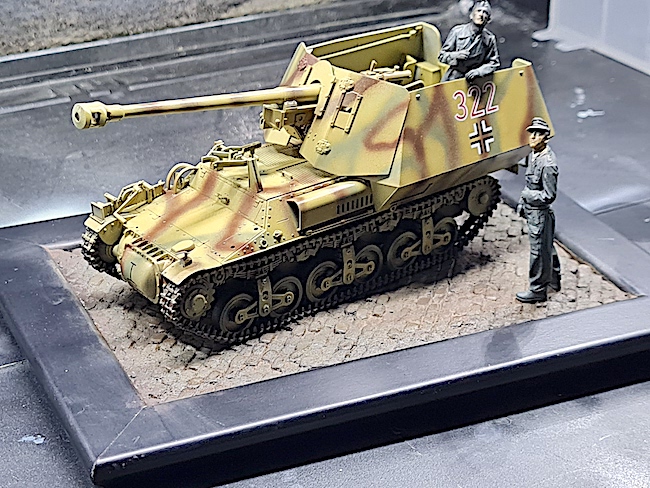
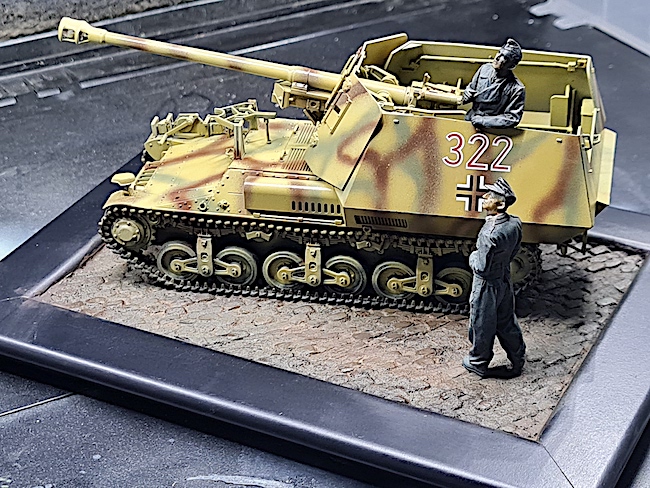
As this the first AFV since my youth I wasn’t brave enough to cover it in mud in a French rural environment. I decided on using the included figures depict a simple urban scene of vehicle finding its way to the front. To this end I was able to make use of an old box of Individual cobblestones that I had bought some time back deep in the mists of time.
More about that later and on with the weathering. I don’t have a drawer full of off the shelf armour weathering paints, pigments, washes etc. So it was a case of using what if had from building things with wings. Perhaps not what they were bought or intended for but I had fun experimenting. The products I had came from Ammo Early RAF Solution box, Abteilung aircraft oils and some Raw Umber oil paint. So a coat of clear varnish to seal everything and provide a base for decals was applied. Once dry the small number of kit decals were applied. These kit decals confirmed nicely but were a little on the thick side. This was then left overnight to dry fully. Next satin varnish. I added chipping around areas of obvious wear, a wash and a little oil streaking. The tracks and running gear were given several very light coats of various shades of light brown and tan. An oil wash some chipping, weathering powder and finishing off with a dry brushing of the tracks with steel. This was given time to settle, wiped off were required and sealed with mat varnish.

The Base…
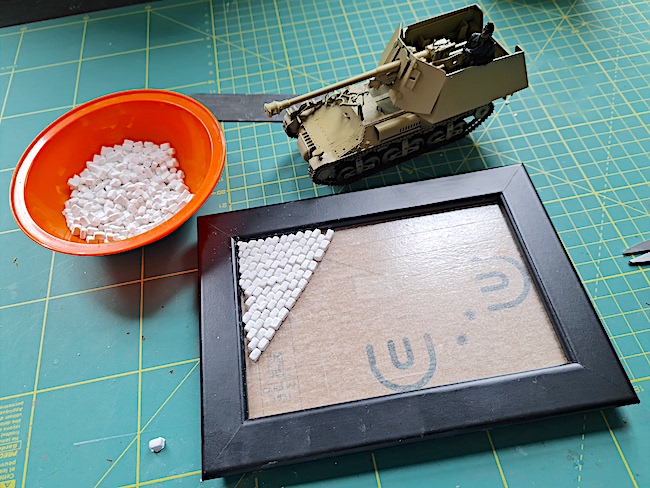
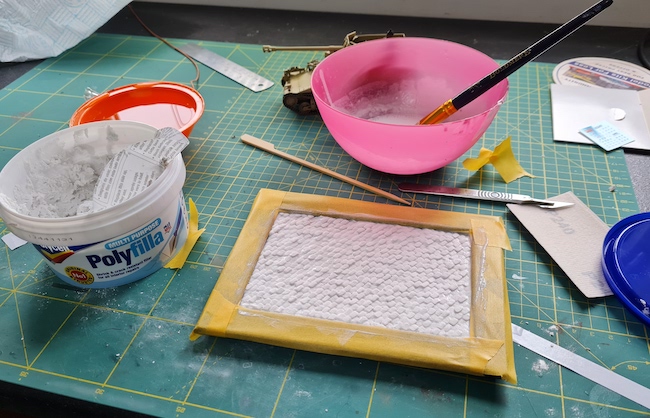
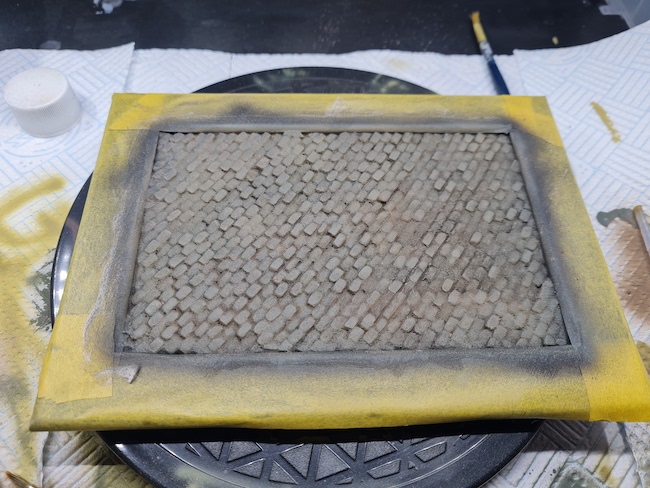
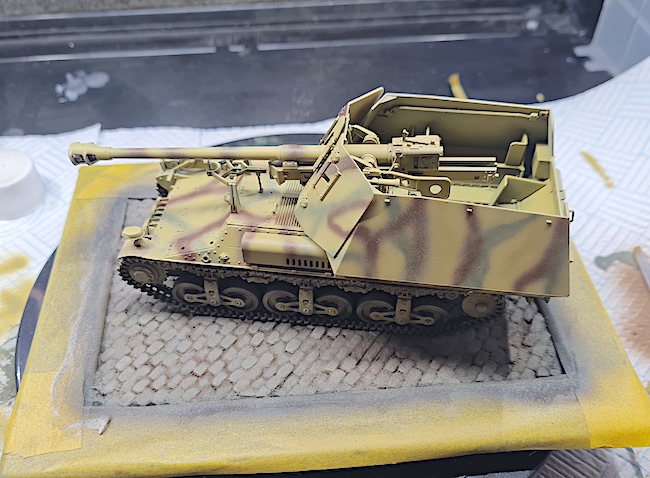
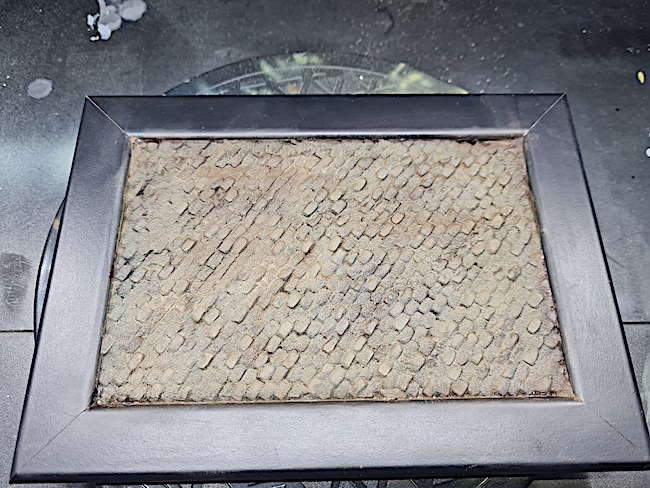
At this point the basic kit was finished. So it was time to complete the very simple base and give the vehicle a “lived in” look. During the building of the Marder I had decided to use an old photo frame that I have previously used in a grass based display of an aircraft. The fun part was laying the individual cobblestones one at a time in a hopefully convincing pattern. Once this was eventually completed I sealed them in place by brushing a thin mix of wall filler into the gaps. Once dry this was painted with a base coat of black. I then used various shades of brown, grey randomly sprayed on. This was followed up with dark washes and dry brushing. I constantly used the vehicle to check its position and how it looked.




Figures
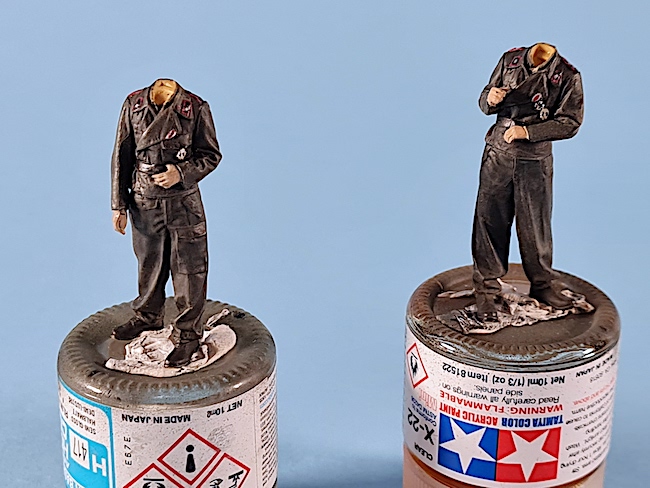
Tamiya provide two beautifully rendered crew figures in the kit. I decided to play with them. I started by spraying a dark shadow of black by holding the figure upside down. I then turned the figure the right way up and sprayed the lighter shade. This combined to provide nice contrast and volume which i hopefully added to by using a brush to highlight further the seams, creases etc. Details are painted as best I could whilst wearing prism glasses. Finishing touch to the uniform was adding badges from an accessory set. The heads were painted using an acrylic face painting set, blending the various shades to achieve a result I was almost happy with.
Ask a question or add feedback:
You must be logged in to post a comment.