The Build
The body shell
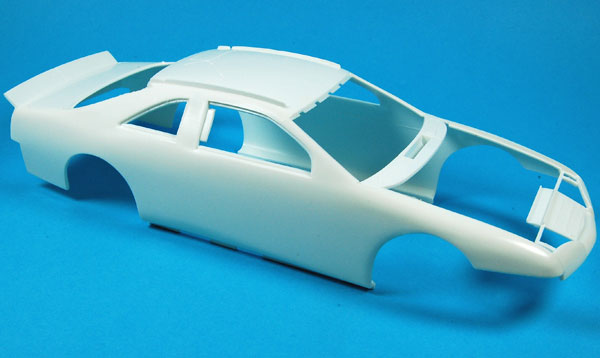
I started with the body shell, firstly inspecting it for ejection pin marks and sink marks. The former were in abundance on the interior and easily dealt with, by sanding with assorting files and sanding sticks. The latter were few and far between and were dealt with by using small amounts of putty and/or Mr Dissolved Putty.
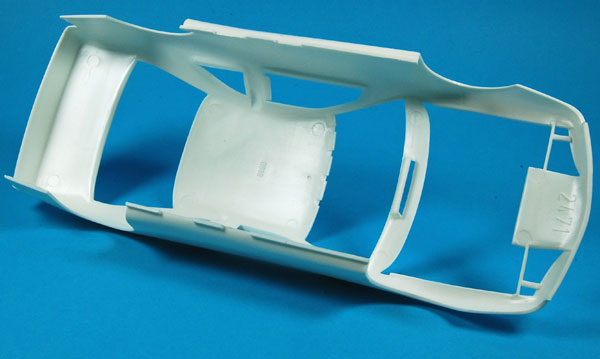
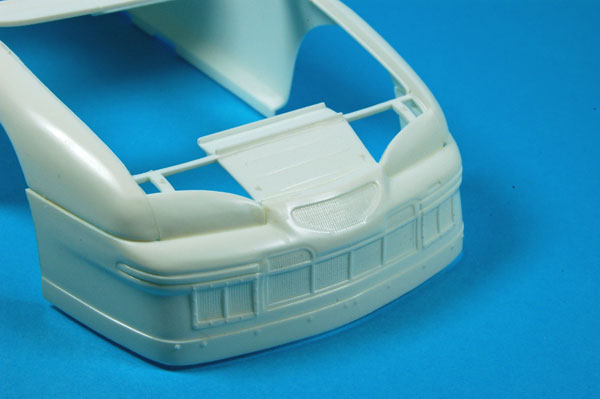
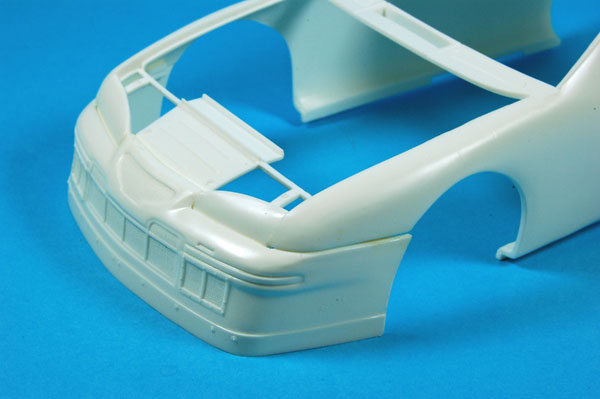
On the advice of a fellow modeller who was also building a ‘97 T Bird (see how easy I was beginning to slip into the ‘lingo’?) I attached the front and rear fenders or bumpers to us UK mortals. These needed a little filler and sanding to get good matching joins.
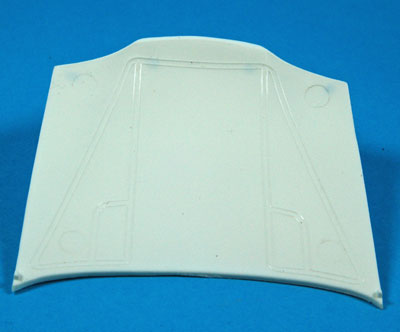 Next was fitting the hood/bonnet and decision time. Was I going to have a detailed and correct engine on display or go for what the US car modeller call a ‘Curbside or Kerbside model’? That is where you leave the hood/bonnet shut either with no engine or the kit stock engine fitted but not capable of being displayed. I opted to go with a kerbside model albeit with the engine fitted. I chose to do this for two reasons. The first being my first NASCAR and secondly the detailing parts either being in the US or being quite expensive to purchase in the UK. By this time the kit and decals had cost me in the region of £40. The kit engine has some detail but is basic and to be honest I didn’t want to spend time doing a lot of work to bring it up to my own expectable standards.
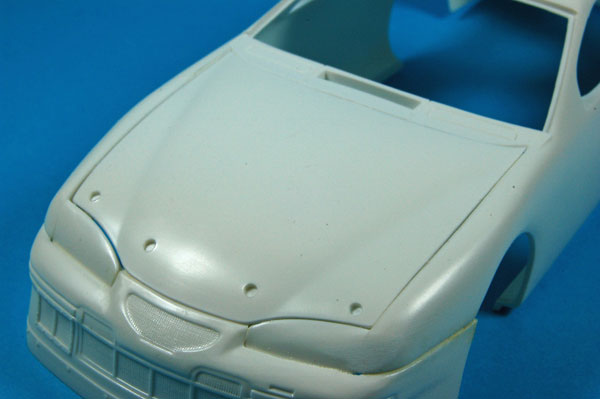
The hood was test fitted and found to have overly large gaps is some areas, so I cemented it in the closed position and lightly filled the areas when the gap was too big, making sure to leave a noticeable join line.