Construction
Like all of Bandai’s Stars Wars kits this one is designed to clip together without the need for glue. It has decals as well as sticker to allow even the most inexperienced modeller to assemble the kit. The instructions are nicely produced but can be a bit confusing initially so have a good read of them before you start in order to fully understand the construction sequence.
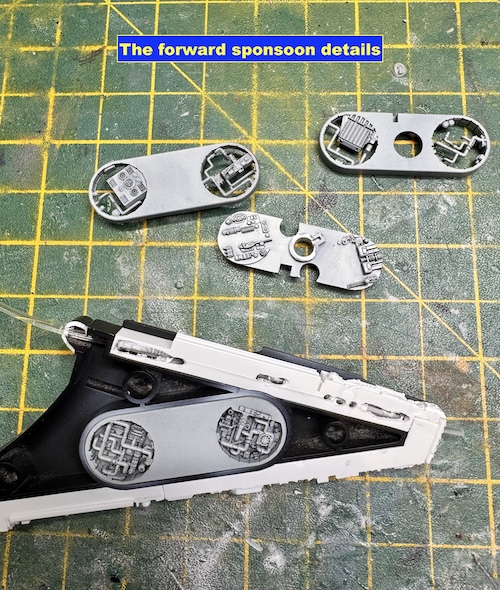
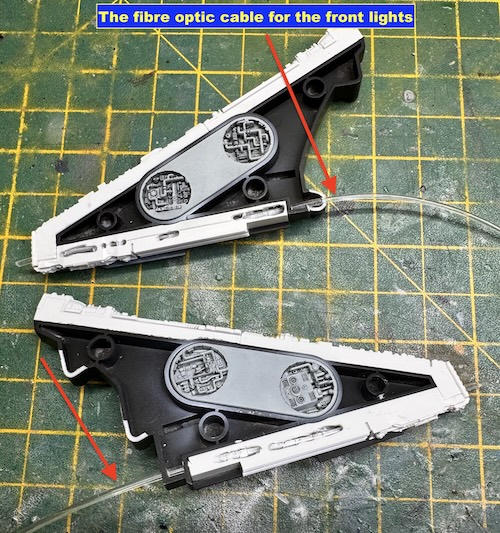
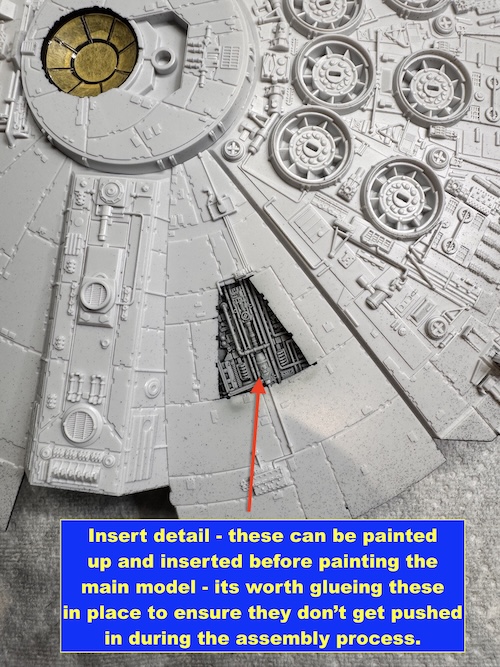
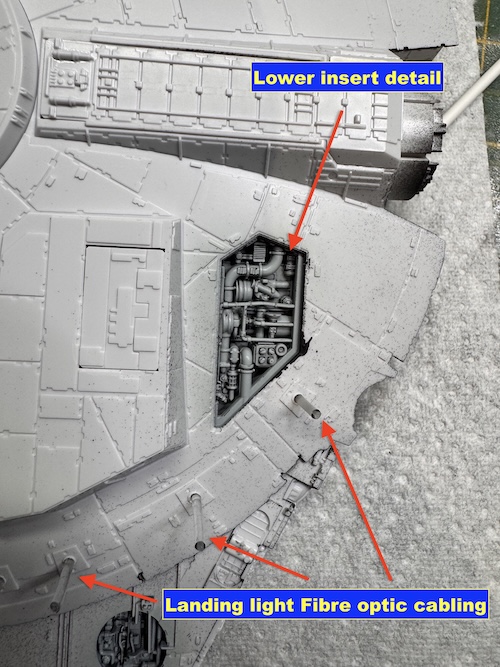
The first job is to paint up the inserts and then I would recommend that you glue them into the forward sponsons and the upper and lower main sections. I opted to do some ‘alterations’ to the lighting kit and light up some extra areas such as the lights in the forward sponsons and the landing lights. To do this I used fibre optic cable that was rooted through to the forward sponsons to the light exit points.
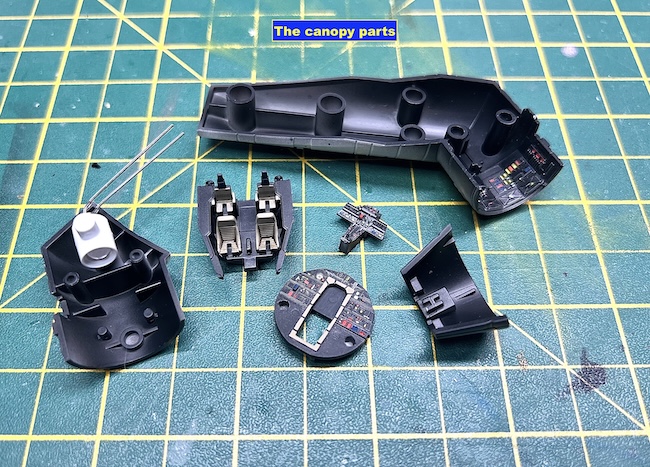
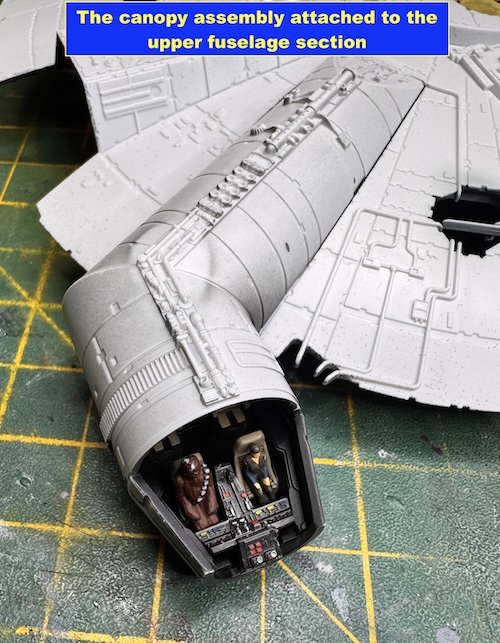
The cockpit was also painted up and the further fibre optic cabling added to light it up. The assembled cockpit was then added to the upper main section.
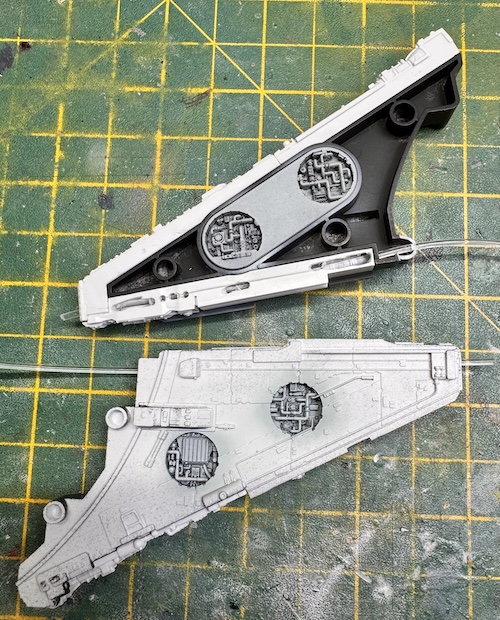
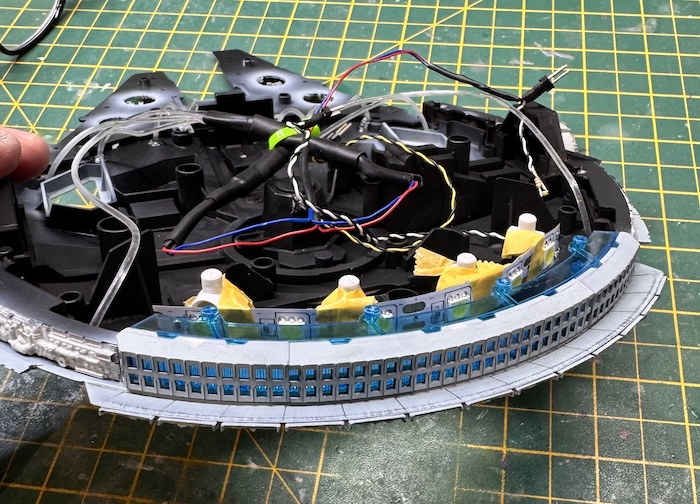
The interior of the upper and lower main sections was painted matt black to reduce / eliminate any light bleed through. The lighting for the engines and the upper and lower gun turrets could then be added. Don’t forget to glue in the inserts to stop any chance of them accidentally being pushed in and out of position. Fibre optic cabling was also routed from the LEDs to the holes that had been drilled out in the lower fuselage fort the landing lights.

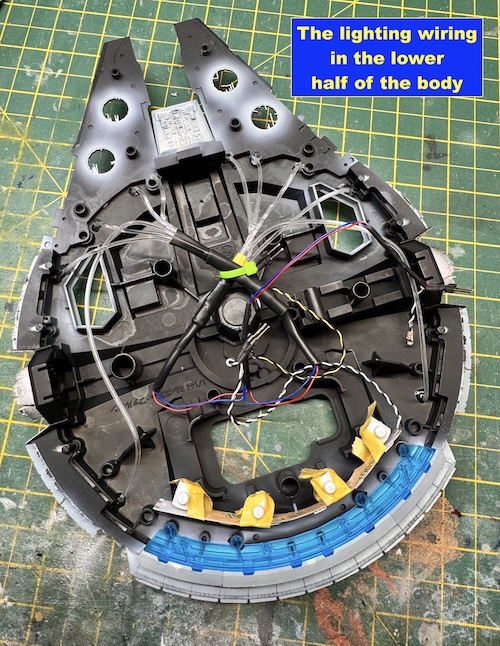
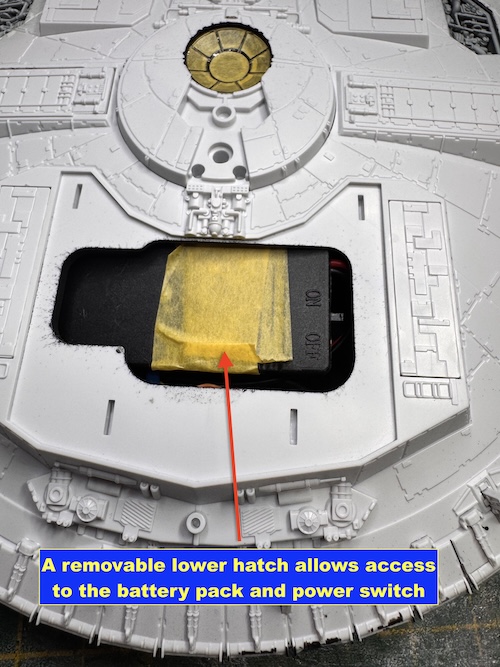
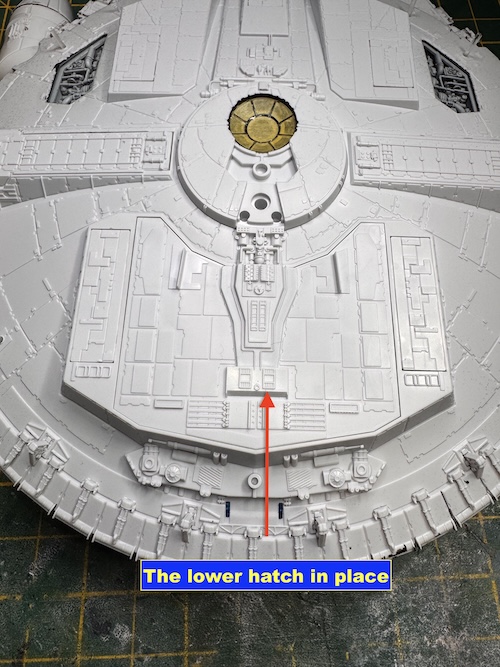
The lighting system is powered by a CR2032 battery that is housed in a battery box with the on/off switch. This battery is accessed through a removable access panel on the rear of the lower section of the model.
Ask a question or add feedback:
You must be logged in to post a comment.