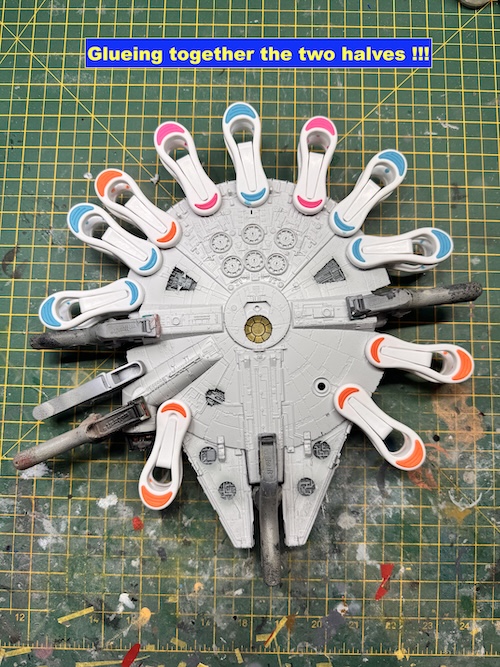
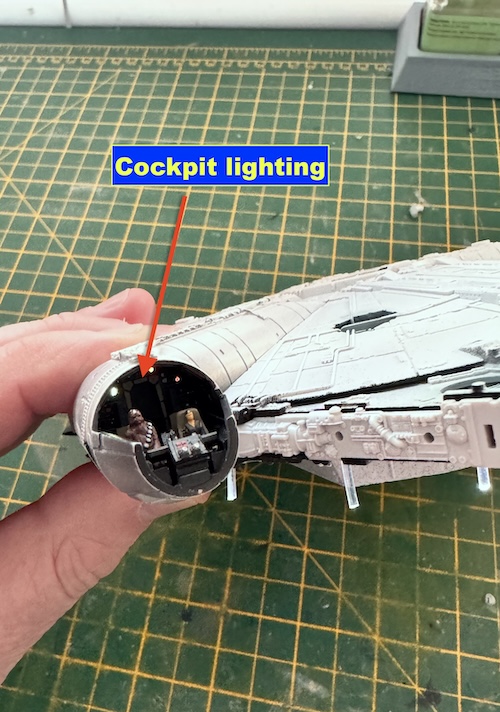
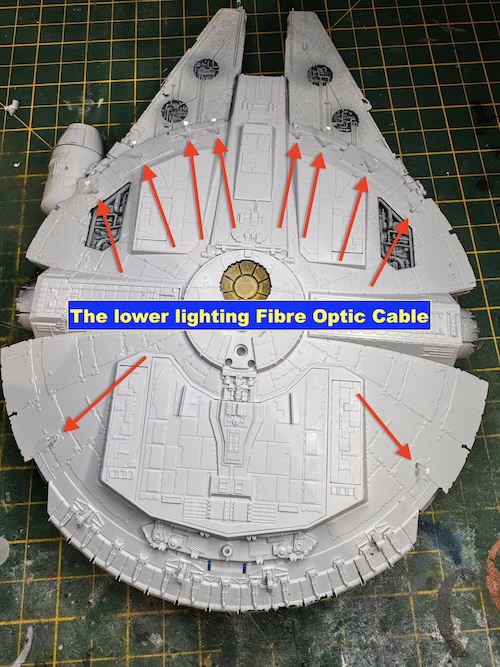
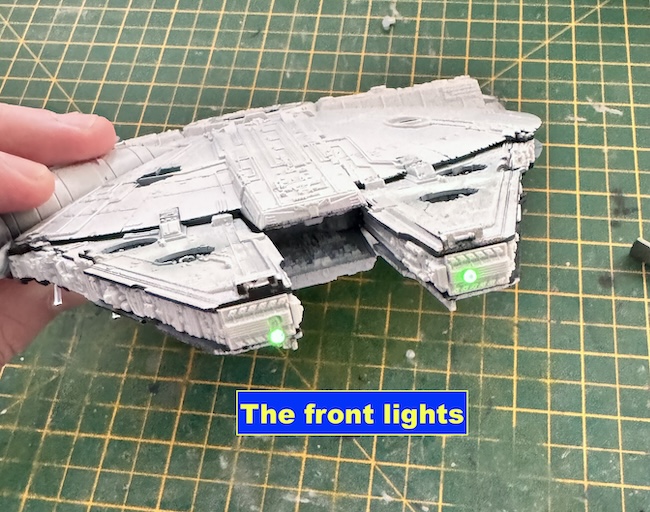
With all the lighting system fitted and confirmation that it all worked the upper and lower sections were glued together. Care needs to be taken as there is a lot of wiring and cabling that could be damaged when pushing the halves together – take you time and if you encounter any resistance open up the halves to work out why – it took me a couple of attempts to deconflict all the cabling and wiring from the locating tabs. Before the glue was dry a quick check of the lighting system ensured it all still worked.

VIDEO DEMO
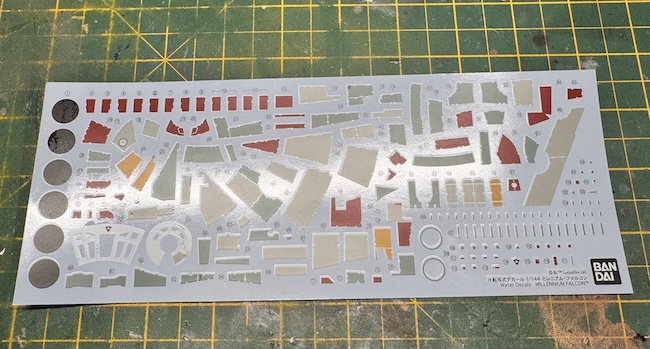
Painting and decaling
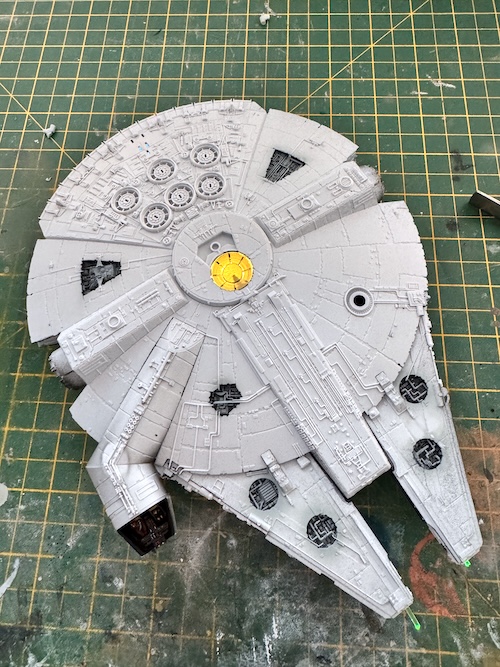
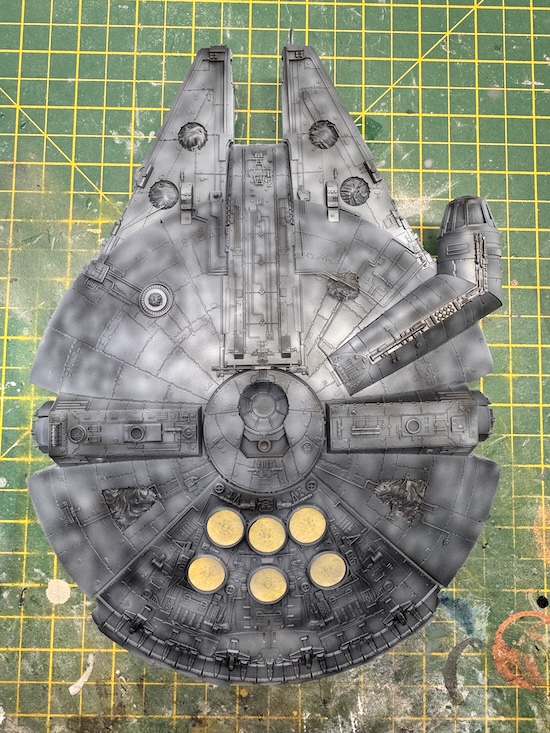
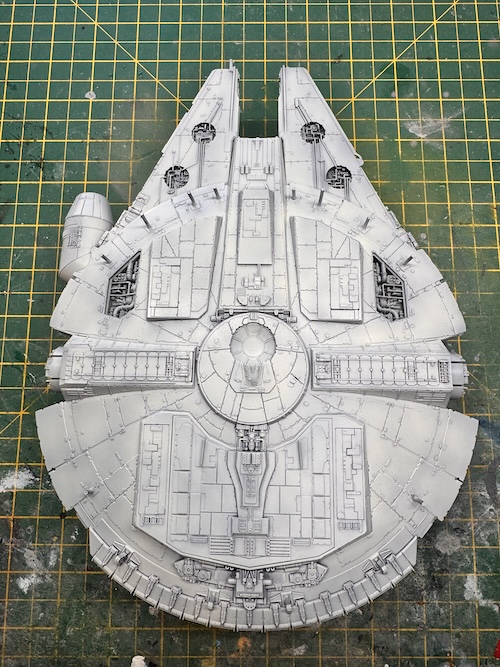
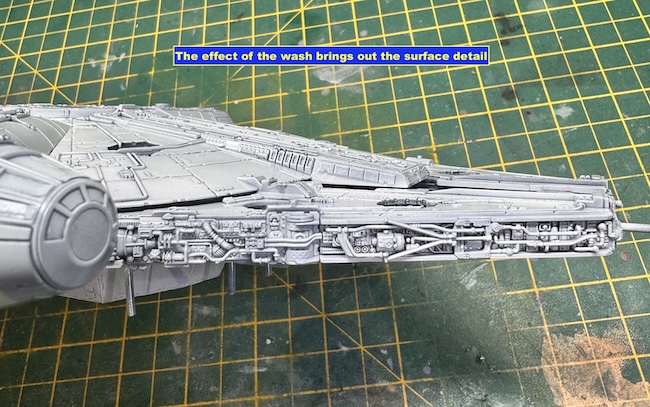
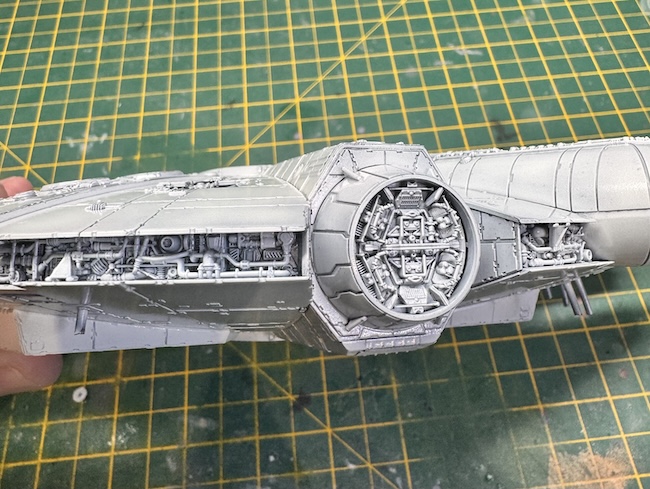
The fist stage of painting was to give the whole model a primer coat of Tamiya Fine Grey primer. I then used a dark grey to pre-shade the model before building up the grey base colour in thin layers to leave a mottled/weathered effect. With regards to the base grey I tried several colours as the grey is actually more of an off-white and the best match I could find in my paint inventory was MRP-256 Clear Bleached Dope Linen. The fine pigment of this paint allows the colour to be built up without losing the underlying pre-shading effect. I then gave the model a wash using Tamiya Dark Grey wash to bring out the detail. The surface detail picks up the wash nicely and gives a nice ‘grubby’ finish to the model.
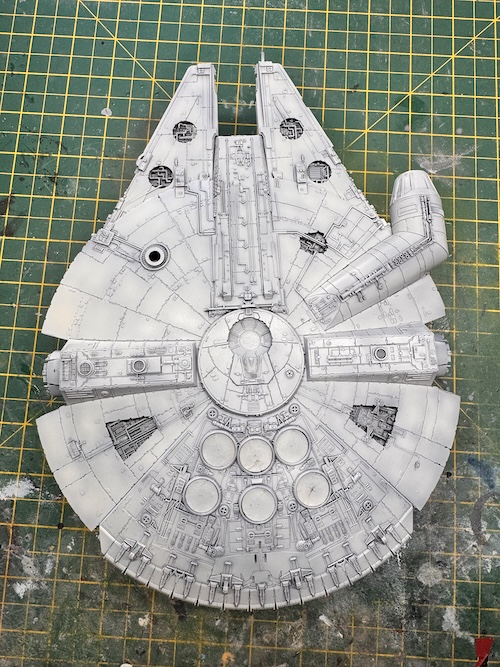
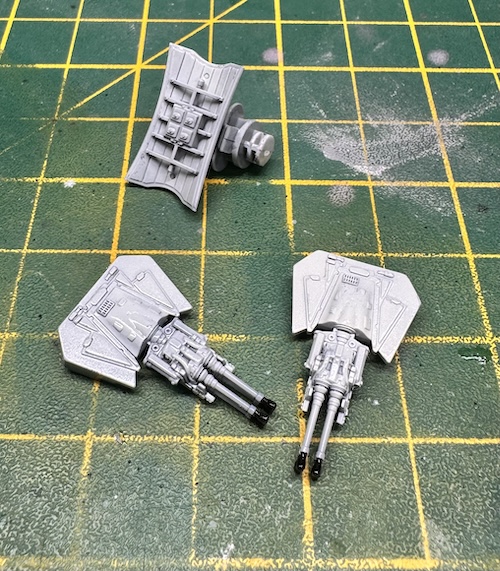
The upper and lower cannons and the comms antenna were also painted up at this stage.
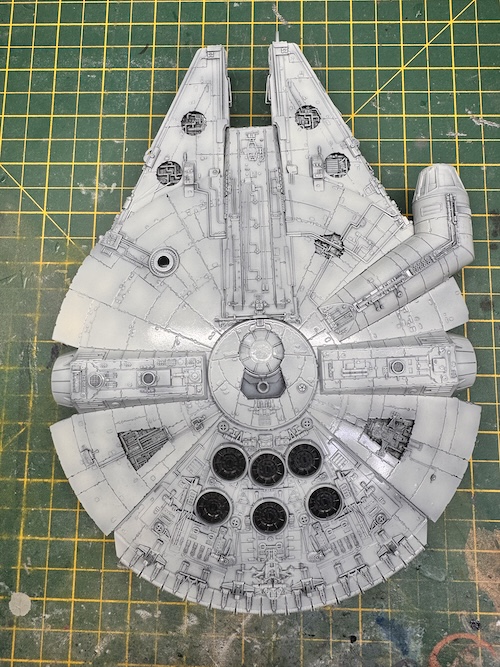
The model was then given a gloss coat of Mr Color UV gloss before adding the decals. These weren’t great and I had to cut away quite a bit of the carrier film around each one as it was excessive. They also needed a lot of decal solution and direct heat to get them to settle down into the surface detail.
Ask a question or add feedback:
You must be logged in to post a comment.