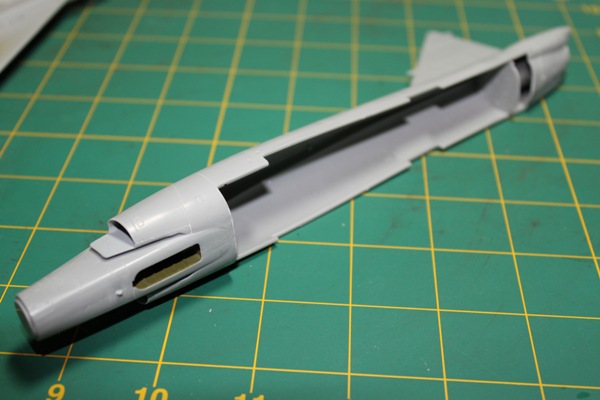

I then joined up the two fuselage halves and by using Mr Cement S was able to eliminate any unsightly join seams that needed any filly as it melts the plastic so well. Just a light sanding was needed to iron out the melted plastic from the now non-existent seams.
Also added at this point are the engine air intakes that fitted to the fuselage halves and needed sanding to eliminate join seams.
Wings and Weapons Bay
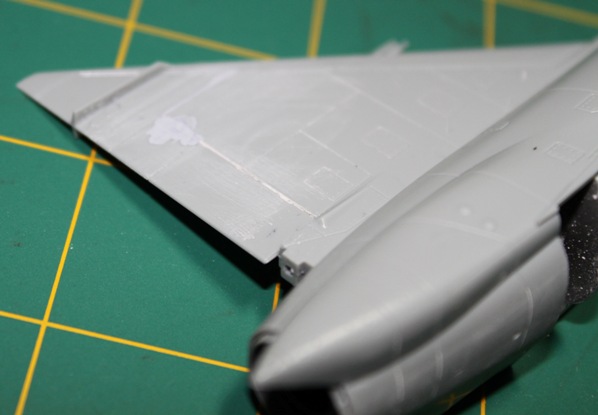
The prominent delta wing was added next and the large one piece wing moulding fitted with a little bit of a struggle but nothing too bad. The top halves couldn’t have been a better fit to be honest, leaving no gaps between the wing and fuselage! The large weapons bay was added next, and as I’m displaying this aircraft with it open I added the bay door closed moulding for a mask, which fitted flawlessly onto the bottom half of the fuselage.
Canopy masking
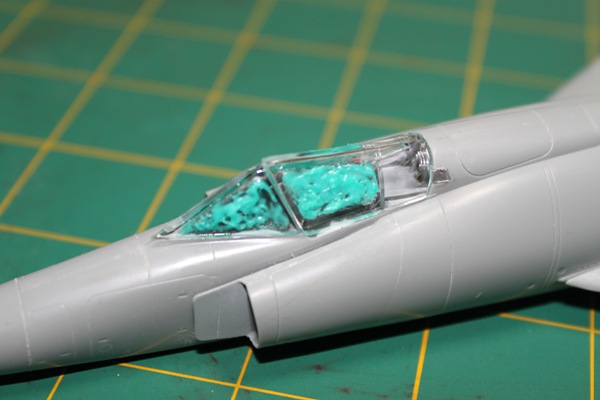
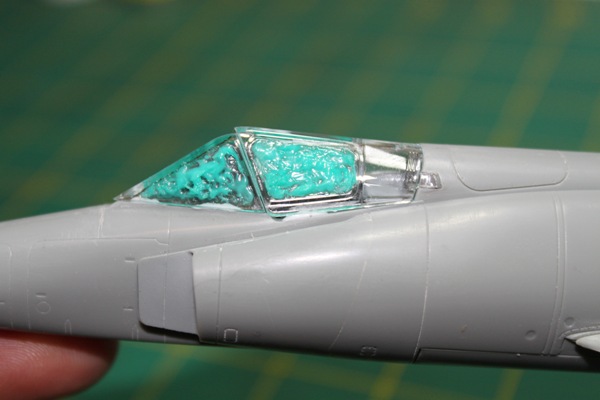
The canopy parts need to be masked off and added before we can start to add the paint, so I carefully masked off the glazed areas with Mr Masking Sol Neo, which simply peels off when dry and leaves no sticky residue behind.
Once this was done the two canopy pieces were fixed temporarily in place with a few drops of PVA glue to allow removal of these parts once the painting was complete.


Once the PVA had taken hold of the glazed parts I then added a very light pre-shade to the main panel lines of the aircraft, the reason behind the light coat is that a darker colour would be too severe due to the F-102’s light grey scheme and would look out of place.


