back page 1 | 2 | 3 | 4 | 5 | 6 | 7 | 8 | 9
New ram for ventral airbrake…
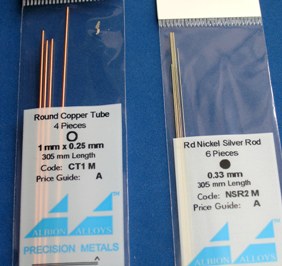
The kit part looks a bit over-scale and clumsy. I created a new one by simply using two sections of metal – one tube, one rod that fits inside it from the excellent range of metal products offered by Albion Alloys (check out your Here Now area under Tools and Materials).Decals…
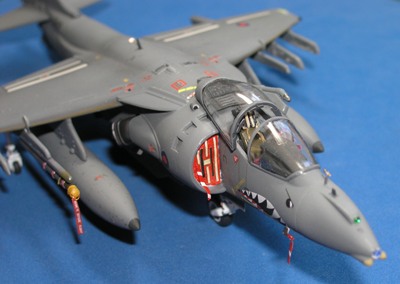
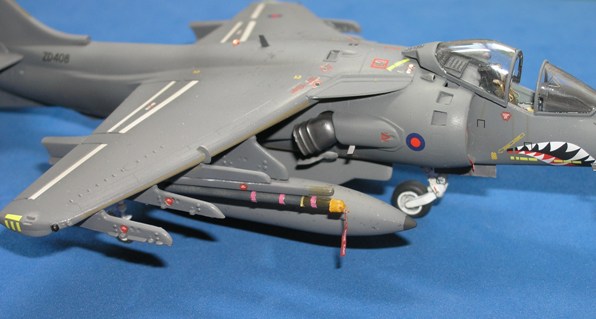
Now this is where I usually get a bit twitchy when it comes to Airfix’s decals – they are almost always printed very well, in register and accurate and feature all the stencilling that’s needed – so far so good. In the past I have found them to be quite thick and matt in appearance and these factors almost always has resulted in annoying silvering (see Techniques Bank – ‘Getting rid of decal silvering’). However, I have to report that I found these much better; thinner and slightly shiny, all much better. The gloss surface that the Xtracolor enamel gives provides a good surface for these decals and so I found very little ‘silvering’ (caused by tiny amounts of air being trapped between the decal and the surface of the model). All coming together very well now and I just love that No.20(R) Squadron shark mouth decal under the nose.
Weathering and finishing
Now onto the home leg and some subtle weathering to finish off this project. Looking at the reference images I have and taking a good look at a couple of Harriers at previous air shows and on operations, it is clear that most GR.7s had a pretty flat/satin finish. I like Gunze Sangyo varnishes because they spray very well and have a nice flat finish that will take the pastel chalk dust to come very well. The varnish went on and all the undercarriage units added – I just stayed away from spraying the legs and bays as they are glossier in appearance on real aircraft. Pleased to see that all the wheels still touched the ground at the same time – don’t you just hate it when you do all that prep before, test the sit and fit and all is well, only to find when you later add the glue and come to attach the parts that oh no, they don’t sit right now!! What’s that all about? So, no such probs this time around.
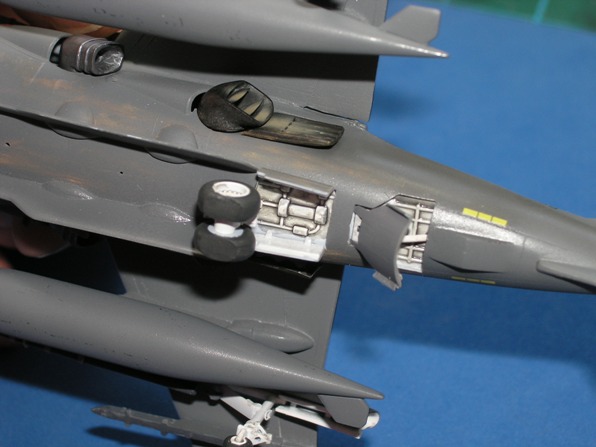
Looking again at the good close-ups in Mark’s book there is some significant staining aft of the rear pair of exhaust nozzles. The rear set of nozzles are also highly weathered and heat stained. For the former I sprayed thinned Gunze ‘Smoke’ (or use Tamiya Smoke X-19 – it’s the same) backward, gradually building up subtle (ish) yet noticeable exhaust-stained rear fuselage sides. The rear pair of cans are also weathered to show heat staining. The base colour for the rear set of cans is Mr Metal Color Dark Iron (214) and the front set, Iron (212). This awesome paint is easy to brush or spray on – here I brushed it on, working quickly before the paint touch-dries (which is very soon). The cans are buffed with a stubbly old paint brush with a little ordinary pencil graphite added. The rear set are finished off by spraying a very thin amount of Tamiya Desert Yellow (XF-59) in the direction of the airflow. This nicely highlights the thin faces and edges of the new vanes we added earlier.
On the upper surfaces of the centre part of the main wing you may be able to just notice some scuffing that I’ve added – caused by the boots of ground crew as the work on the aircraft. Some dark grey paint thinned and applied with a very small pointed brush created the effect I was after.
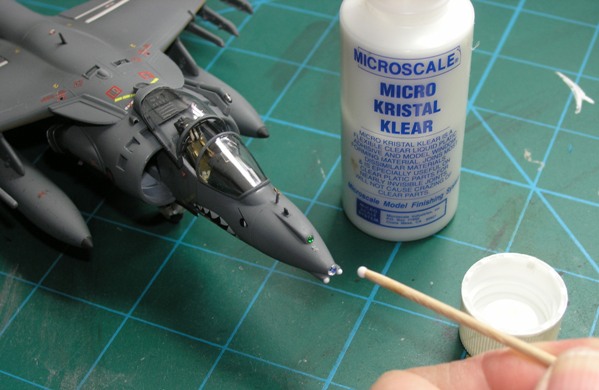
Finally some finishing touches like the twin buff-coloured housings for the Zeus ECM system. The kit parts looked too clumsy and so I fabricated mine using Micro Kristal clear. The nose lens representing the dual-mode TV/laser target seeker/tracker has a blue internal area and Tamiya Clear Blue added to the back of the kit clear part does the trick here. No clear light is provided for the centre of the upper fuselage and so I added one from my mini-spares box. I wanted to add a Sidewinder acquisition round to the starboard wing and fashioned this from one of the kit-supplied AIM-9L Sidewinders. Another feature of many parked Harriers is the various RBF (Remove Before Flight) tags, intake FOD (Foreign Object Damage) guards and Sidewinder covers. I fabricated the latter from an old piece of sprue tree. The FOD guards are easy to create. I fist fashioned a piece of Blu-Tac putty into the rough shape of the intake and fitted it in place in each intake. Then I roughly cut some plasticard blanks and kept test-fitting them to get the correct shape that will fit onto the Blu-Tac. The Harrier guards seem to have fabric tags running vertically that are pulled to remove the blanks before flight so I made these from scrap metal foil in the spares box (old metal wine bottle tope work well). The guards are painted Tamiya Flat Red.
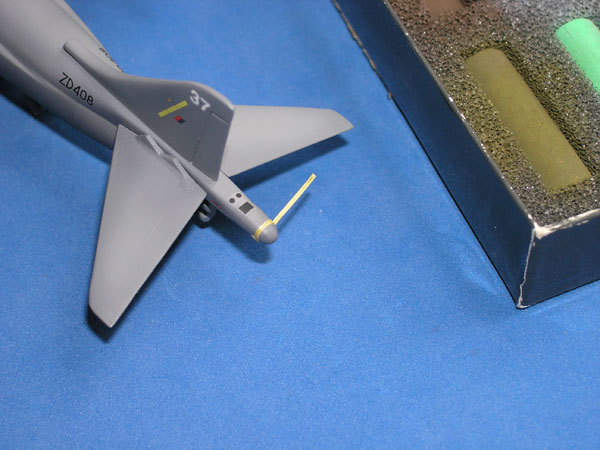
A few fine mods to the rear end and weathering with pastels completes this project. What do you think?