Photo Etch
Now it’s time for the photo etch stuff. This I don’t mind admitting, I do struggle a bit, but it’s always worth the extra effort when done.
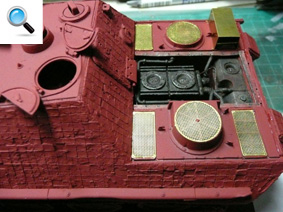
First off I bent into shape and fixed on the anti aircraft screen covers.

ZOOM - Move your mouse over image


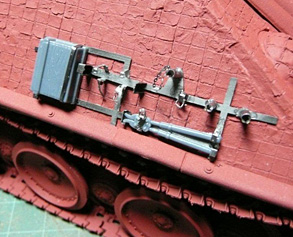
Moving on now to the tool holding brackets. First off I glued on the flat one piece bracket, and then I put on the round towing hook holders. These I bent round a piece of plastic sprue that was of the right thickness. Next were the small chains for retaining the tools along with the straps. These were all fixed in place using superglue applied with a toothpick. Put a small amount of superglue on a piece of shiny card and this will be workable for several minutes. This gives you enough time to add the small details by using the tooth pick as the glue applicator. Make sure you have the required details cut off and ready, this will save time at this stage, so as not to waste the glue. The jack block was next. I used the kit part and added wood texture with a sharp knife. This I glued into place and fixed on the PE straps to hold it. The cutters and small tool clamps fasteners were put on. The fasteners are a bit fiddly to do but just follow the instructions and take your time. The trickiest part being bending these minute parts but if you have an Etch mate I’m sure it will be an easier task. Just make sure the carpet monster doesn’t eat them when they fly off if not being held when cutting and bending these parts.