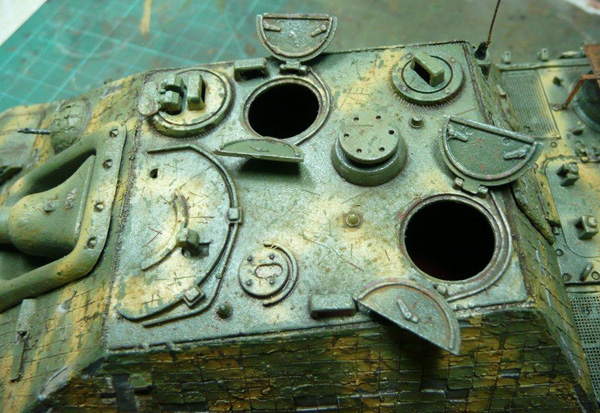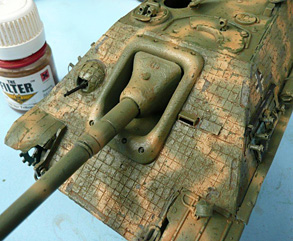
This was followed by the first chipping stage. As I wanted this to have the appearance of a battle weary vehicle. I began by picking out random areas and painting in small chips of the green colour over the light yellow. Keeping in mind areas of heavier use by the crew would receive heavier wear.
The tank then received a few coats of Mig production’s tan filter. This really starts to bring the model to life. Make sure the vehicle is dry between coats. Add as many coats as you like until you get the type of effect that you want. I find about three coats usually work for me. I also painted on the vehicle markings at this stage by hand.
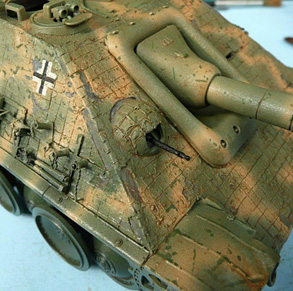
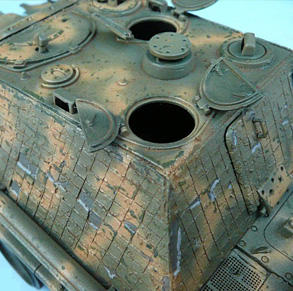
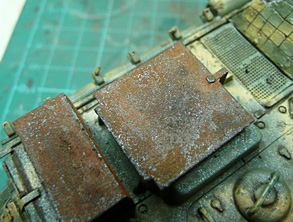
Next stage is I picked out the zimmeritt chips with a grey colour and highlighted them with a lighter colour around the edges. It’s a bit of a debate in the modelling world as to what colour the chips would be. Some think chipped zimmeritt would leave a red oxide colour showing as this is what the vehicle would be sprayed in as a primer. Whilst others say that it would leave a grey colour as part of the zimm would remain. This being the original zimmeritt colour. The latter is what I’ve gone for on this as I have witnessed this on a real vehicle.
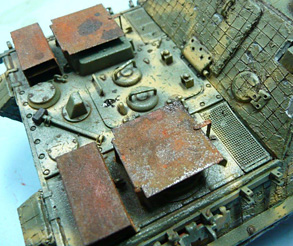
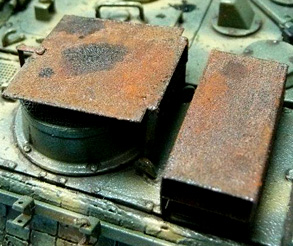
The anti aircraft screens would be the next to receive my attention. I wanted these to represent steel plates that never received any paint. Rust will appear overnight on steel plate so these need to be rusty. I mixed up some Mig productions rust powder into some brown acrylic paint and stippled this on. When dry I varied other shades of pigments diluted with white spirits and applied these to the plates. Finally I added some oil stains on them with a diluted black /brown paint mixture which was 80% thinners and 20% paint.
