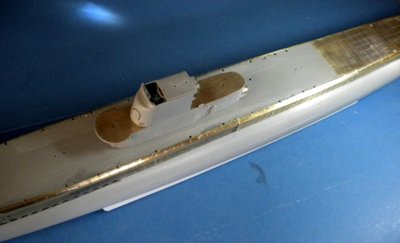
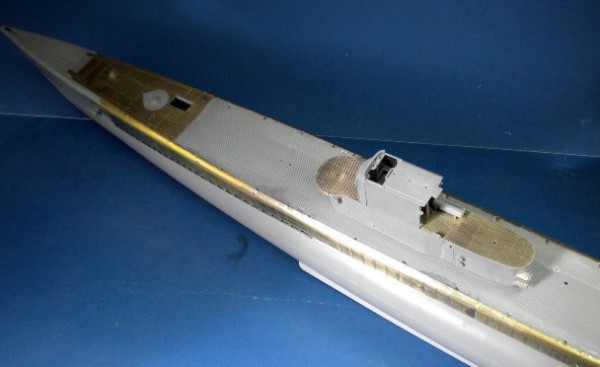
You can see that the fit of the conning tower to the hull is perfect which really facilitates and confirms the earlier decision to build the GATO in sub sections and assemble at the end. Take a last look at all that lovely brass which will shortly disappear under a coat of Halfords best! I don’t know about you but it’s always a little sad to spray over the Eduard or WEM brass as it looks so good but ho hum on we go!
Painting and some detail……
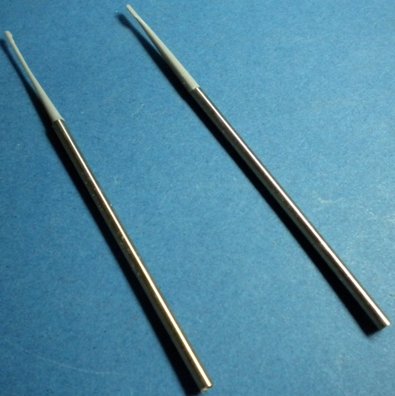
Before I get onto that painting, which I delayed as long as possible I decided to fix one or two things. The kit comes with plastic tube for the twin periscopes (one observation, one attack). I decided as I had done it on my previous U-Boat builds to use polished steel tube which I cut to length using my trust Dremel motor tool. Once the scope itself is painted and fixed to the tube it looks the part; what do you reckon?

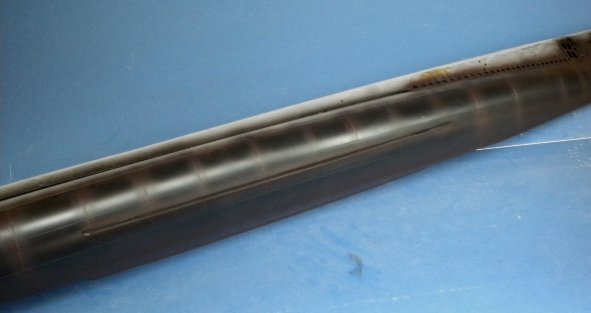
So now it’s time for the paint. Critical again here is sheer size and with this safety. Halfords Primer is heavy in particulates and sprayed in a closed environment is hazardous. Given this and the sheer size of the GATO causes some unique problems. I have a Little Cars fume extractor but this isn’t nearly big enough for the GATO so I used this coupled with open doors, windows and a respirator! It takes a can and a half of the medium size primers, so it’s a bit of a job. Key is to take it slow and spray fine thin coats after each lightly rubbing down and polishing. Tedious yes, but worth it in the end.
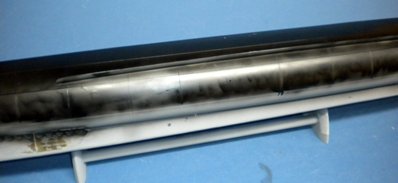
GATO subs were gloss black lower hulls but in 1:72nd this would be far too harsh. I used Tamiya semi-gloss black (70%) with Tamiya Hull Red (20%) and some Revell Anthracite mixed with Tamiya thinners and sprayed in various depths over the entire lower hull and up the sides (some early pre-shading). Once done I added a little more anthracite and sprayed this up all the joint lines very thinly to give some post shading and a sense of wear. It’s hard to see but look carefully it looks better that a simple gloss black paint job.