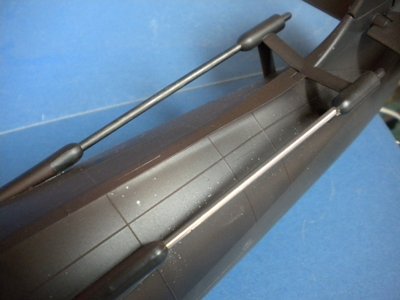
While all this was drying I assembled the main components of the conning tower. The masts are not glued as they will form part of the final assembly sequence so each time you see them they are just a push fit. Once assembled I then spray with three thin coats of Halfords Primer and polish exactly as I did the hull.
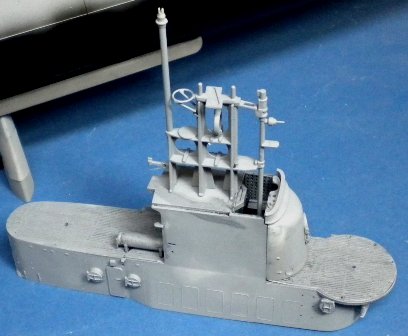
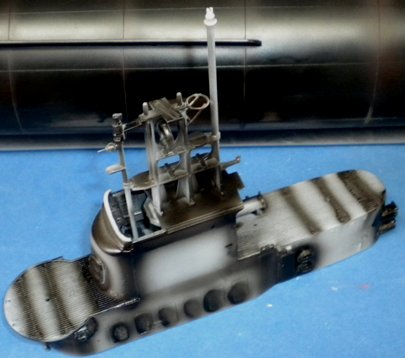
Moving back to the hull I sprayed the joins with a mix of hull red and red brown and anthracite to give a very worn look in these areas. Whilst I had the airbrush loaded I added some more black and pre-shaded the conning tower. It was when the hull dried I noticed some poor finishing on the hull side so rubbed this down and re-sprayed with Halfords primer….that explains the sudden white patch!
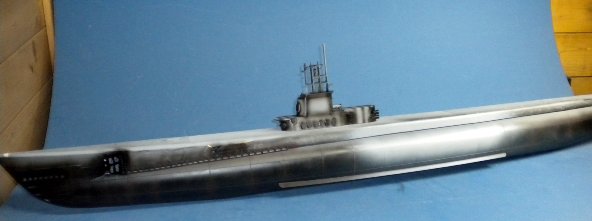
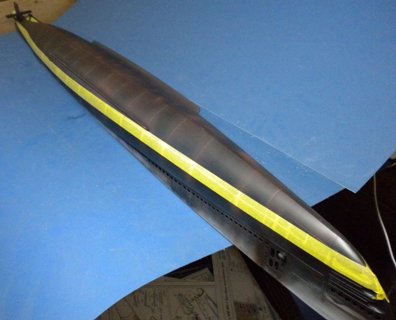
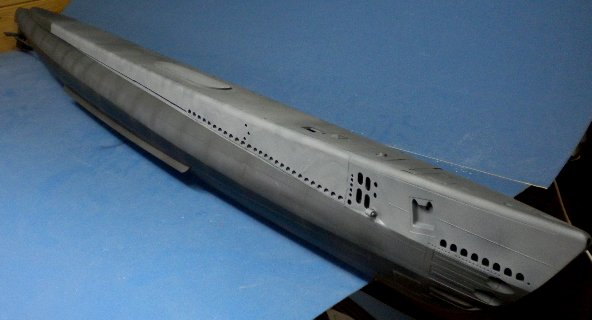
Next up is about two reels of Tamiya masking tape in masking off first the lower hull then the three greys for the sides and deck. The Revell instructions are specific and dependent on the chosen named subs offered by the decals. I used the base colour and then with either lighter or darker shades sprayed the areas above the lower hull a mix of NATO Black and dark grey. The upper hull was dark sea grey with light and dark shading and the deck Revell Anthracite and NATO Black blending into the upper hull. It sounds complex but it’s intuitive and if you look at your references it all becomes quite clear. I know some out there are very picky about the exact shade of this and that but rarely have I seen that approach work. My painting hero, and another impressionist, is Julian Seddon one of SMNs review team. Just look at his work and you’ll see what I mean. Anyway I hope you’ll get the idea from the photos and give it a try yourself.
Anyway moving on……..The kit offers plastic tube again for the prop shafts. Again I discarded this and used steel tube replacements. Why the hull and such like was drying my attention turned to the armament.
