back | page 1 | 2 | 3 | 4 | 5 | 6 | 7 | 8 | 9 | 10 | 11 | 12 | 13 | 14 | 15 | 16

Painting……again!

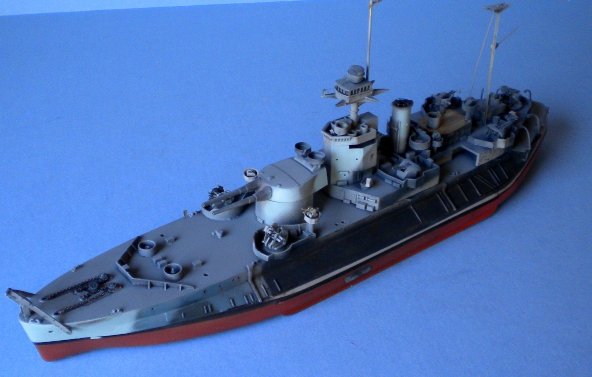
 You’ll recall that I said earlier that in the absence of the WEM paints that I have mixed my own based on the colour painting, well how wrong was I, well in two cases anyway. Those being the deck colour which you can see is a medium blue grey not the almost black the painting instructions suggest, the other was the creamy beige colour which in reality is a pale blue!
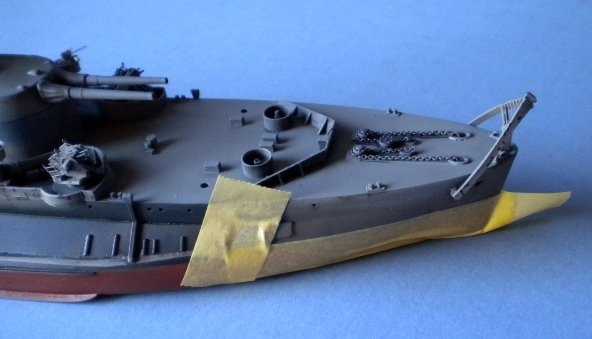
So looking at my weathering I’m thinking… do I or don’t I…..? Well you know the answer I had to repaint. I used the WEM enamels and I have to say they’re an absolute joy and in my TR-1 are really controllable in as much as I only had to mask the cheat line and the sharp demarcation on the hull sides between each colour. The deck I sprayed free hand which worked great so no drama thanks to great paint and a first-class airbrush. I have to say that the new colours lift the model and now looks right so I am glad that I took the time to correct the error.
All I would say though is that WEM is a superb manufacturer but I think my error wouldn’t have been necessary had some paint colour descriptions at least been provided or if the colours looked liked they should on the colour chart or else why print it in colour? A minor whinge Dave, and do forgive me it’s just in the interests of improving what is a fantastic brand image.
Weathering…..Part 2
So it’s back where I was. I used a very thin Tamiya NATO Black to represent scuffs and chips and a series of pastels mainly rust and rusty brown colours on areas of intense wear. I use a cut down brush for this and my advice start gently and build up don’t go at I too hard. Anyways after an hour or two I had a weathered ship that I felt was a scale representation.


