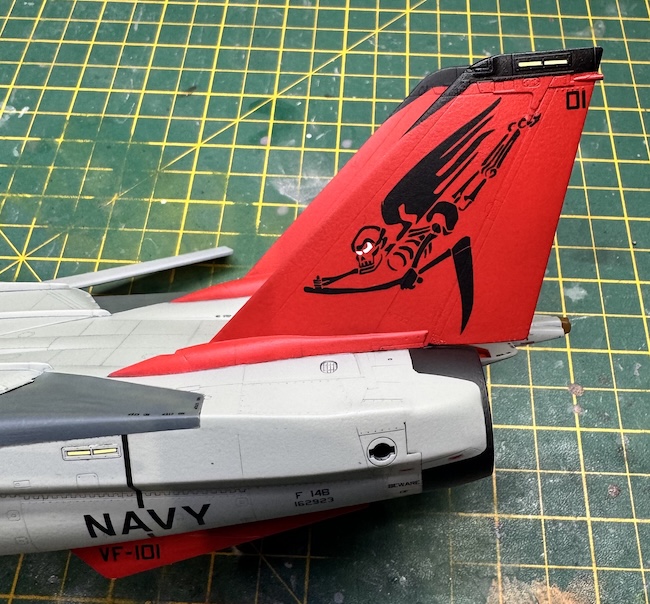
Prior to the decals being applied I gave the whole model a gloss varnish, Mr Color UV Cut Gloss from a rattle can in this case, its quick to apply, dries quickly and gives a great gloss finish. I used the kit decals for the stencilling and the DXM decals for the unit markings. Both performed very well but the DXM ones did have the edge in how well they settled down into the surface detail. Once fully dry the decals were sealed in with a stain varnish from SMS. This gives the model a nice semi-gloss sheen.
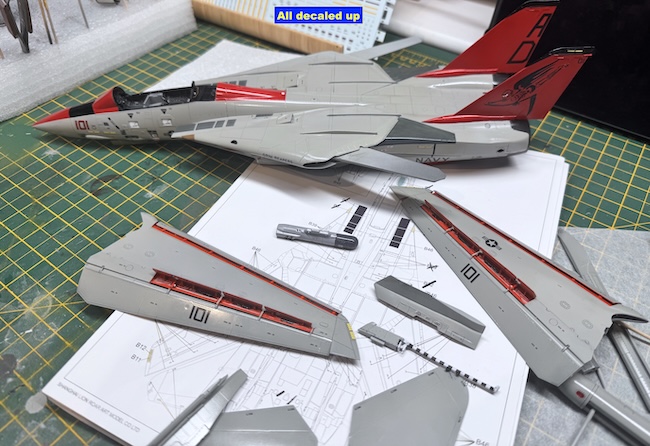

Pulling it all together
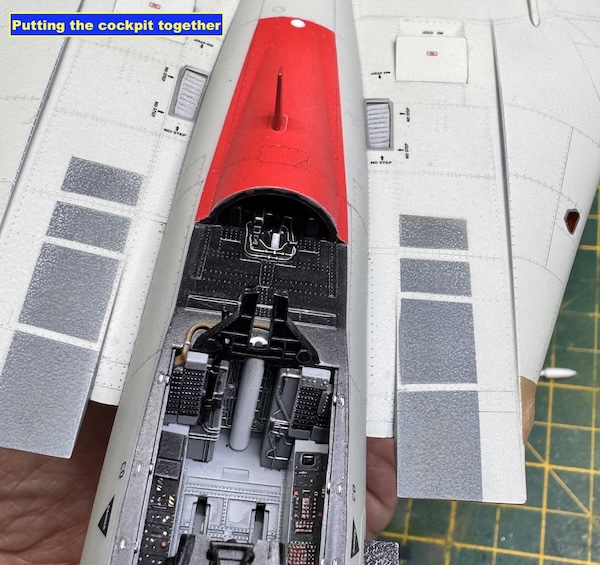
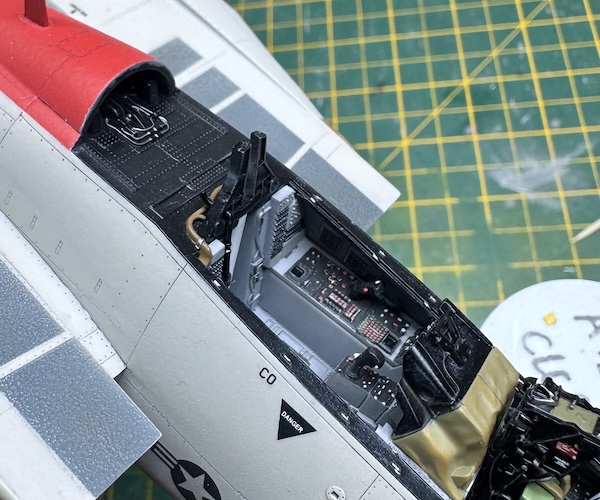
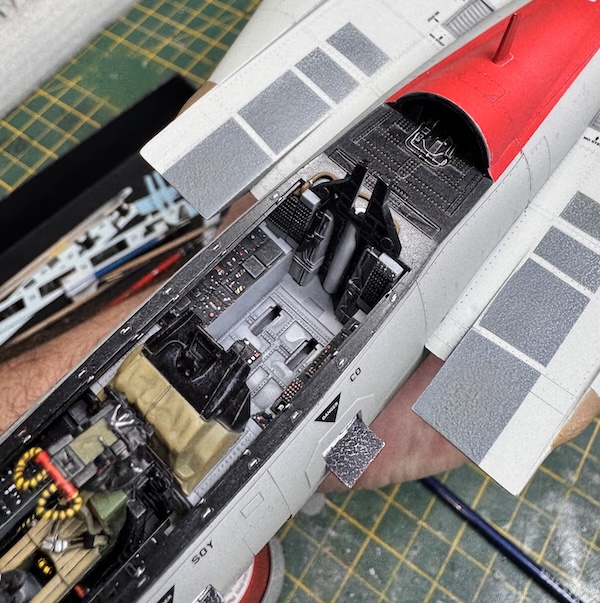
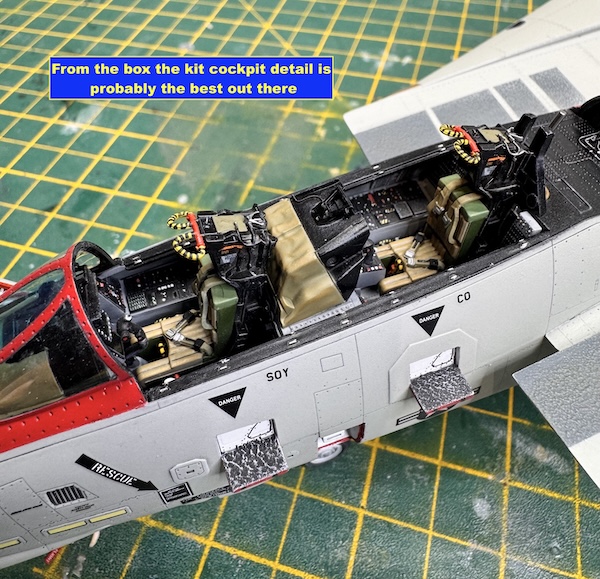
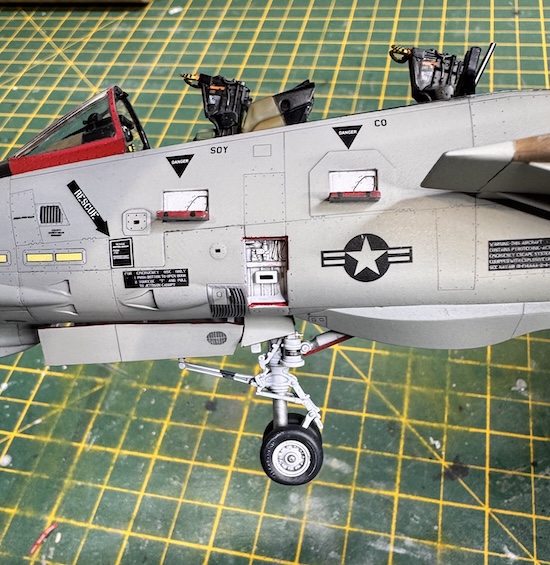
With the painting and decaling completed, it was time to start attaching all the other assemblies to the model. First was the cockpit where the ejection seats and the RIO coaming were added. I have to say this is really good from the kit and by far the best of the kits on the market.
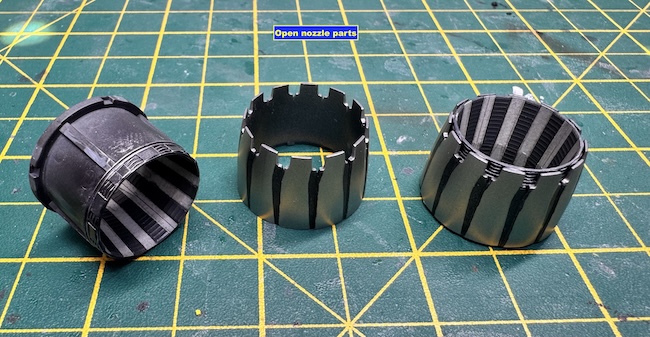
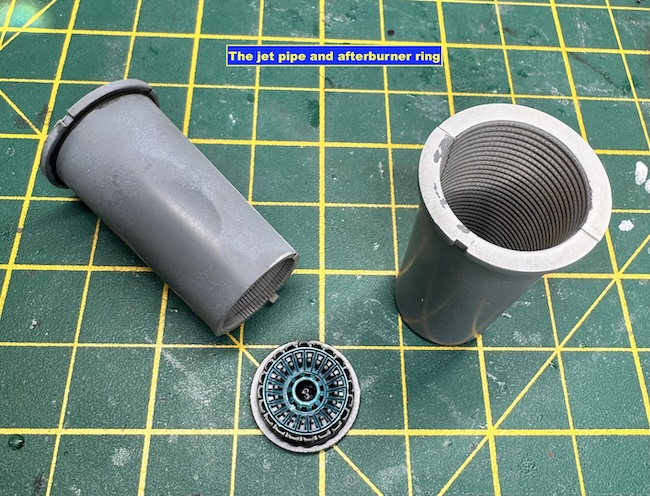
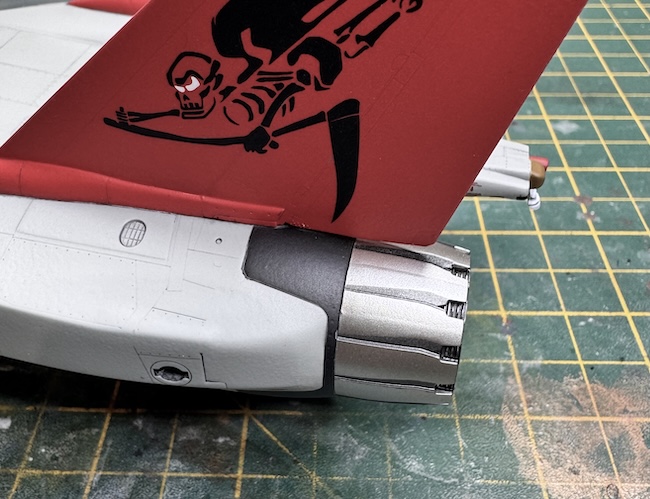
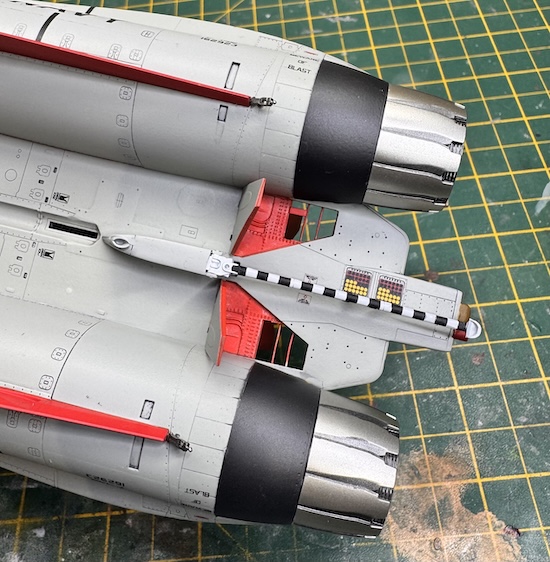
The kit has options for both open and closed nozzles but this comes with the down side that the nozzles are a multi-part assembly. That said they go together very well and the part break down allows for easy painting and great detail, again I would consider these superior to any of the other kits.
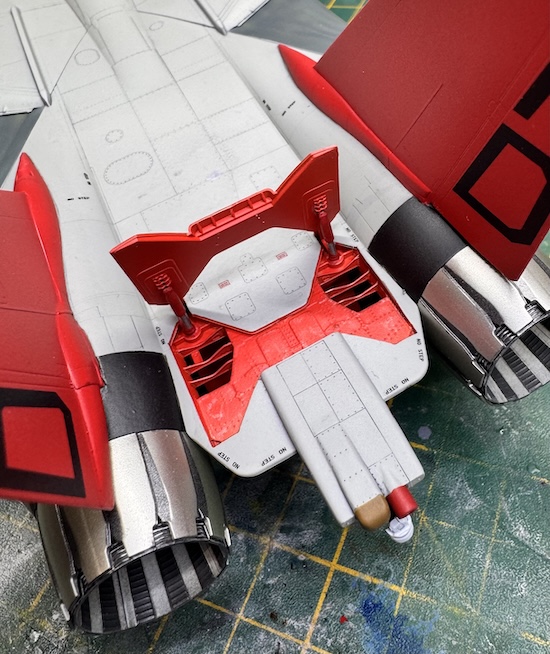
The kit has the option for open airbrakes which is not present in the Tamiya kit. It is an option in the AMK kit but the fit of the brakes in the closed position in that kit isn’t great but a quick dry-fit of them in this kit showed an excellent fit. The interior detail in the airbrakes recess and on the inner side of the brakes is excellent. The arrestor hook is also posable.
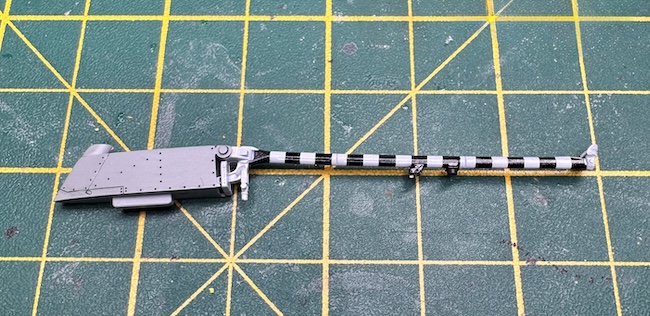
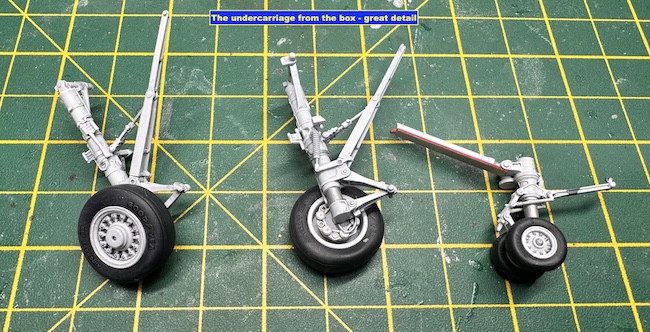
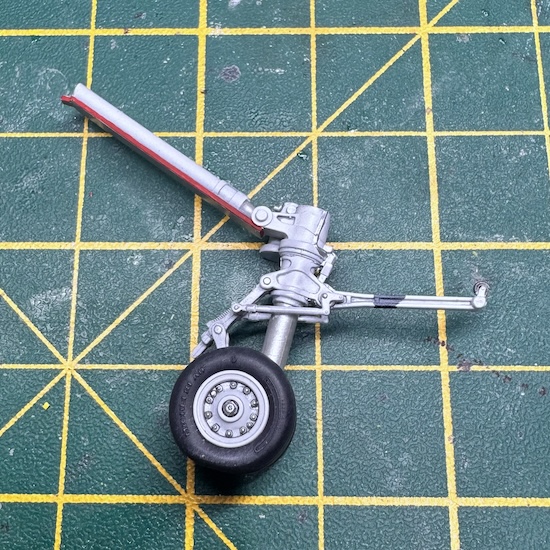
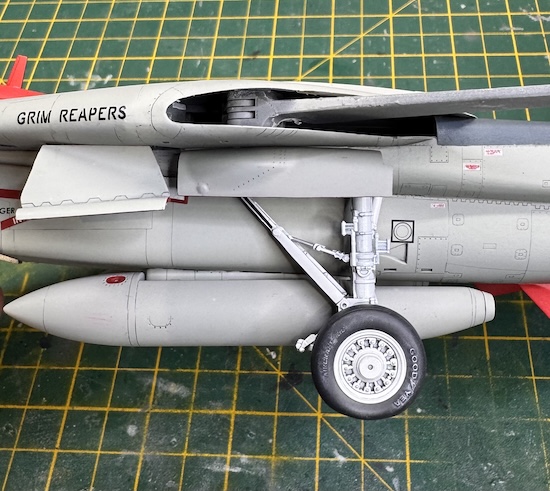
Now for the undercarriage. These are a real highlight and have by far the best detail when constructed strait from the box. The kit also has the option for the front strut to be in the normal extended position or the compressed take-off position. Their fit into the wheel wells is positive and secure as is the fit of all the bay doors. The kit shows the option to have the undercarriage in the retracted position and a quick dry fit of the bay doors showed a perfect fit if you want to use this option.

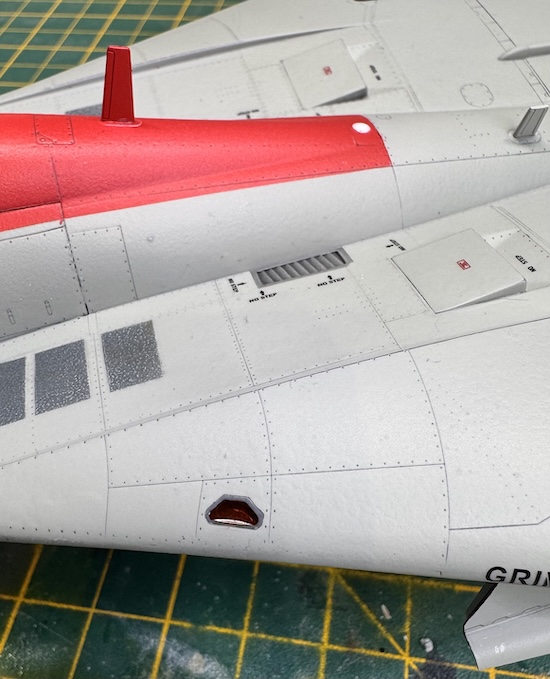
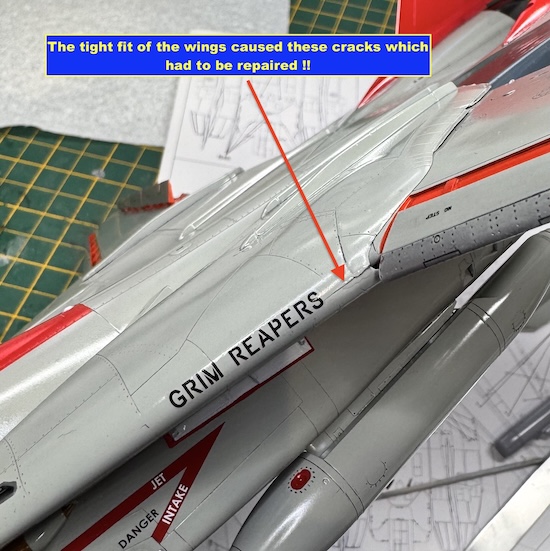
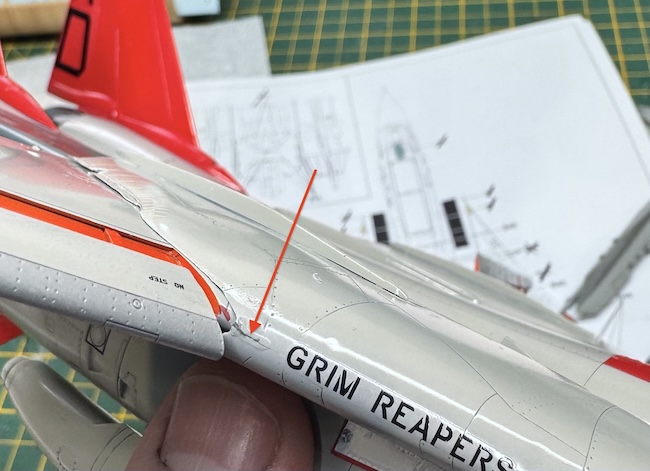
It was at this stage that I decided to fit the wing into the fuselage and my first real issue with the kit occurred. As I mentioned earlier the fit was tight and the result was the seams split as shown in the pictures on both sides. This required some remedial application of superglue and the resultant sanding and respraying. Some of the GRIM REAPERS decal was damaged but some careful painting restored the wording.
Paul Ainsworth says
Hello,Dave – A magnificent build of the Tomcat.

One to be very proud of indeed.
May I ask how the GWH kit compares to the Tamiya kit as far as detail and ease of construction are concerned?
Best Regards,
Paul.
Daniel Beeden says
Fantastic build and a beautiful paint scheme. Great work