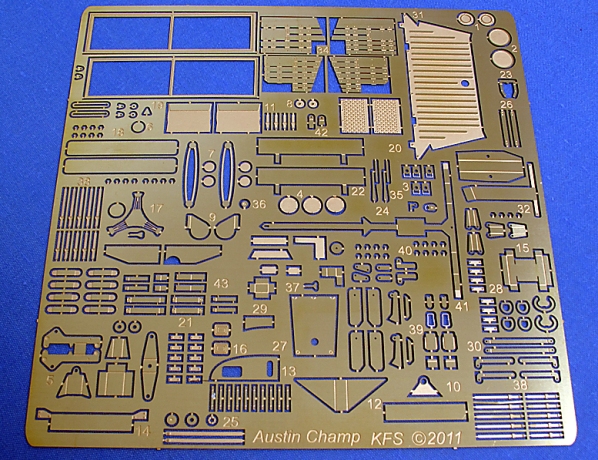
Being 1:24 scale, the photo etch feels heavy and sturdy to me, remember that most of my photo etch dealings are with 1:700 ships. It is in scale though and very well etched. Surface etching on some parts where appropriate give a nice ‘3D’ look to the parts. Note on the middle left is an inverted ‘Y’ shape, this is the steering wheel spokes, the steering wheel is a white metal ring. As soon as I saw the spokes I was taken back to the Austin A35 my dad used to have, superbly rendered.

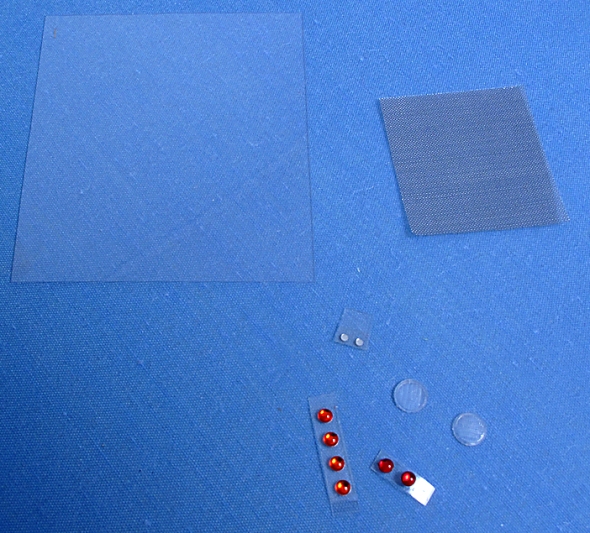
The pre coloured lenses for the rear lights and indicators (also included are the parts to make the earlier ‘semaphore’ direction signals). Also in the picture is the glazing sheet and metal mesh to go behind the radiator grill.

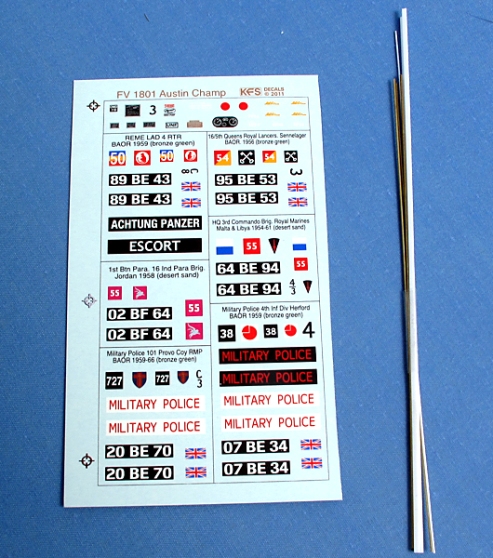
Finally, the decal sheet and a selection of brass and plastic rod. The brass rod is for the frame for the hood, either erected using the vac form hood or collapsed using the suitably thin and very nicely moulded resin part.

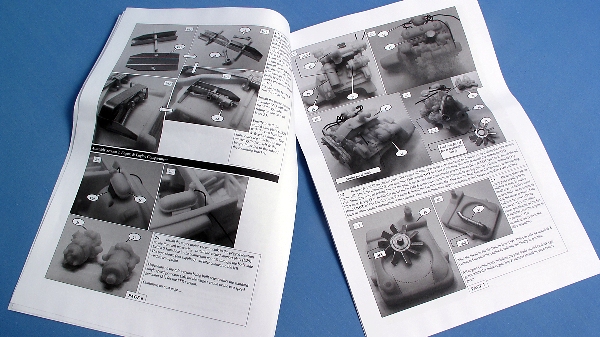
As you can imagine, a kit like this is not going to build itself. The instructions reflect this, all 24 A4 pages of them. Unlike most kit instructions, these are annotated photographs of the real kit being assembled. This is a great help with identifying parts but you need to take your time and ensure you fully understand where a part should go before you commit it to the glue. The first page is full of useful information especially if, like me, this is your first full resin kit. This includes very important health and safety as well as construction tips. Please read this, it is important.

