Kit number: MB35100
Review by: Geoff Brown
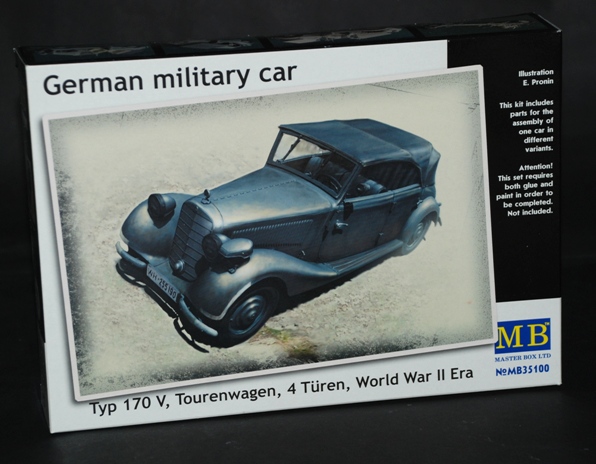
A quick note to start, it’s interesting to note that nowhere on the box or the instructions does it mention that this is actually a scale model of the Mercedes 170V. Perhaps this is due to licensing?
Now onto reviewing the actual model, which comes in a pretty thin cardboard box. This is a little oversized for the amount of plastic inside it, luckily the parts are well packaged so no damage to these occurred in the post. A stronger cardboard would be a very good idea.
There are five sprues to this model, four of them are for the body, chassis engine and other small parts plus a clear one for the windows, which are sealed separately in its own little bag. This is a very good idea that stops the clear parts from picking up any marks during transit.
Another small bag contains the five tyres, which seemed to be well moulded with good tread pattern.
A quick look at the parts reveal no flash to speak of. There are around 130 parts to this model, so there is plenty of scope for detail.
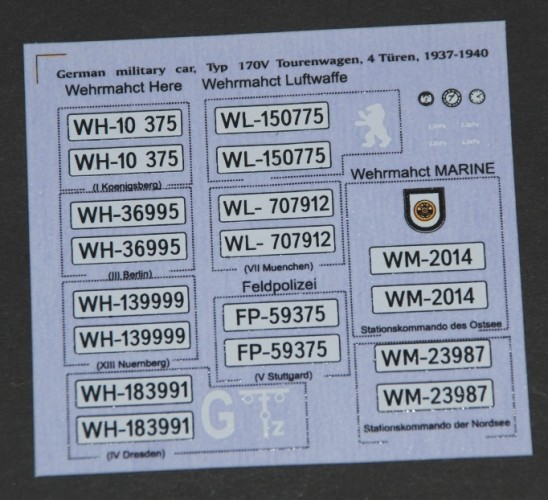
Another small plastic bag contains the small sheet of decals and, from this, ten different vehicles can be built, with choices from the Wehrmahch Here (Army), Wehrmahch Luftwaffe (Air Force),Feldpolizei (Secret Field Police) and Wehrmacht Marine (Navy).
There are 3 decals to replicate the gauges on the dash, but there are no decals for the radiator badge, which would have been the Mercedes three star badge on the real car, though the outline for the badge is present on the top of the radiator itself.
The decals look very thin, so should fit onto the model well.

Instructions
The instructions are printed on a four-sided A2 sheet of paper. The first page gives a little bit of history about the real vehicle, whilst the second page shows an outline of the plastic sprues included in the box. The diagrams are large and very clear.
Building the model starts with the engine, which covers 10 sections.
The engine itself consists of four main parts, the gearbox then fixes onto the rear of the engine as it would on the 1:1.
The ancillaries – such as the generator, starter motor, oil filler and manifolds – are fixed on next. There are no callouts for what colour to paint the engine, but after a look on the internet I found that the engine should be painted gloss black, with manifolds and cylinder head picked out in silver.
Once the engine is completed, the build process moves onto the chassis, suspension and drivetrain.
Again, like the engine, there are no colour call outs in the instructions for this. I would suggest that it would be a safe bet to paint the chassis gloss black, afterward building the chassis.
The building then moves onto building the body, where you are given two choices of fuel tank – pre 1939 & post 1939, a very nice touch.
Once the body has been built and the interior fitted out, you now have a choice of how to construct the windows and convertible top.
Here you have many choices including top up, top down, side windows up or down. I think with the detail this model has on the interior, it would be a shame to have the roof in the top up position, although the roof itself is very well moulded with some nice fabric grain moulded into it.
All painting references, which are printed on the rear of the box, are given using Vallejo air or Model colour. There is only eight colours needed and, if you don’t use Vallejo paints, conversion charts can be found on the net if you are using Humbrol or Tamiya paints.
The Verdict
I have just started building this kit, with Part One recently being uploaded to Build Now. For my summary of the kit itself, see the table below.
Geoff B.
N.B. You can find more info on this kit and other Master Box products on their website.


