The Instructions…
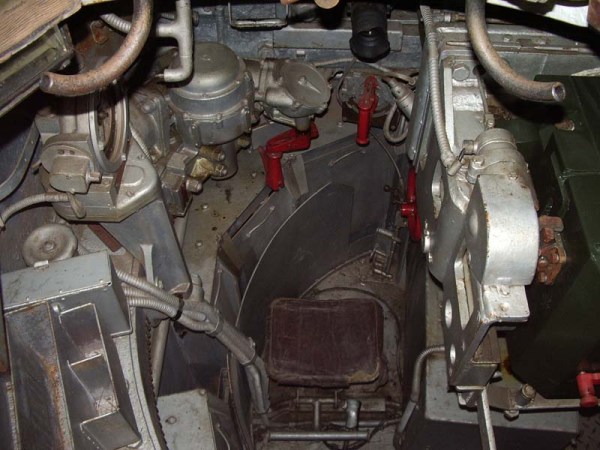
 These come on a CD. It is absolutely essential that these are completely digested before you start. They are clear and very full and, if printed out, will amount to just over 150 pages!!! Looking at them I can see the need to sort out very carefully the bits for each section. All are clearly numbered and there are numerous reference pics of all stages of construction. These are just 2 of them unfortunately one cannot just drag them from the CD so the quality has suffered. They are in colour as well.
The bags…
I have not opened all of them but enough from each part of the vehicle to give you a pretty good idea of the talent of the Master modeller here. I will try to deal with them section by section of the vehicle. It is not quite that straight forward but nearly.
The Hull, turret, and turret interior…
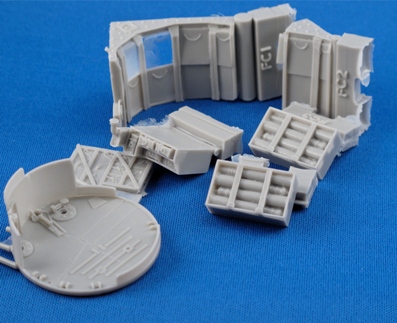
The hull is moulded with quite a bit of interior floor detail and on its side are attached all the suspension parts There is a lot of work here attaching these, only to be covered by the outer hull plate bah but that is the way the vehicle was designed ! The interior of the hull is comprehensively portrayed and here are some of the items that go into it. All the details shown here on a real vehicle are included. A crowded space! There is nice detail on the inside of the upper part of the turret too as you can see.

 Wheels and suspension…
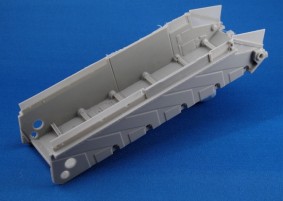
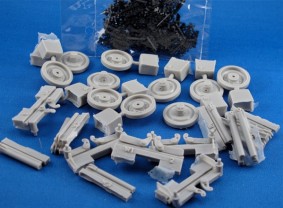
Only a few of the bits are shown here, there are other suspension parts, idler wheels and other bits too numerous to show here. The track, fortunately, snaps together making a more pleasurable assembly than normal with more control over the positioning. Mind you there does not seem to be much sag in the track on the real vehicle.
Engine and compartment…
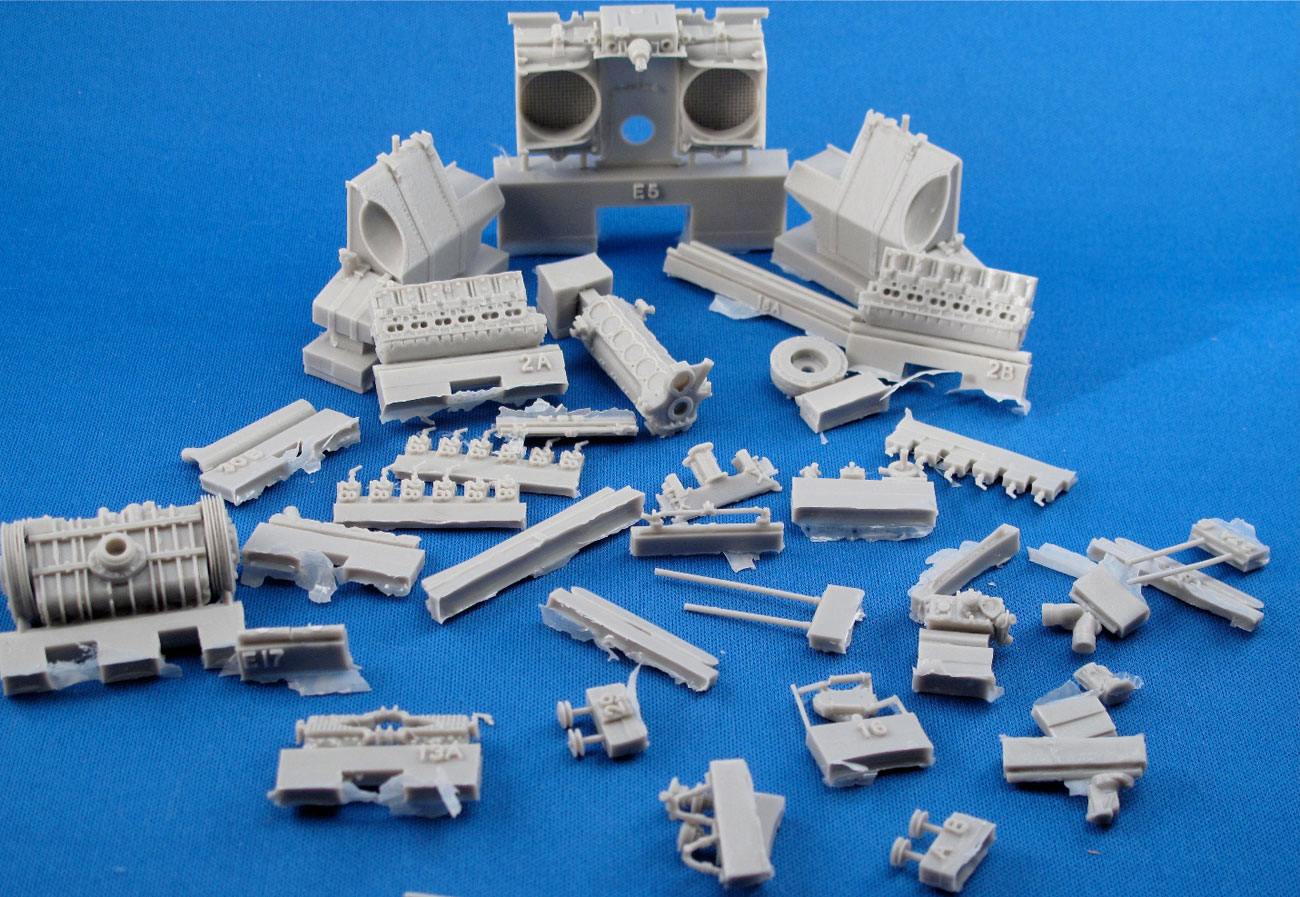
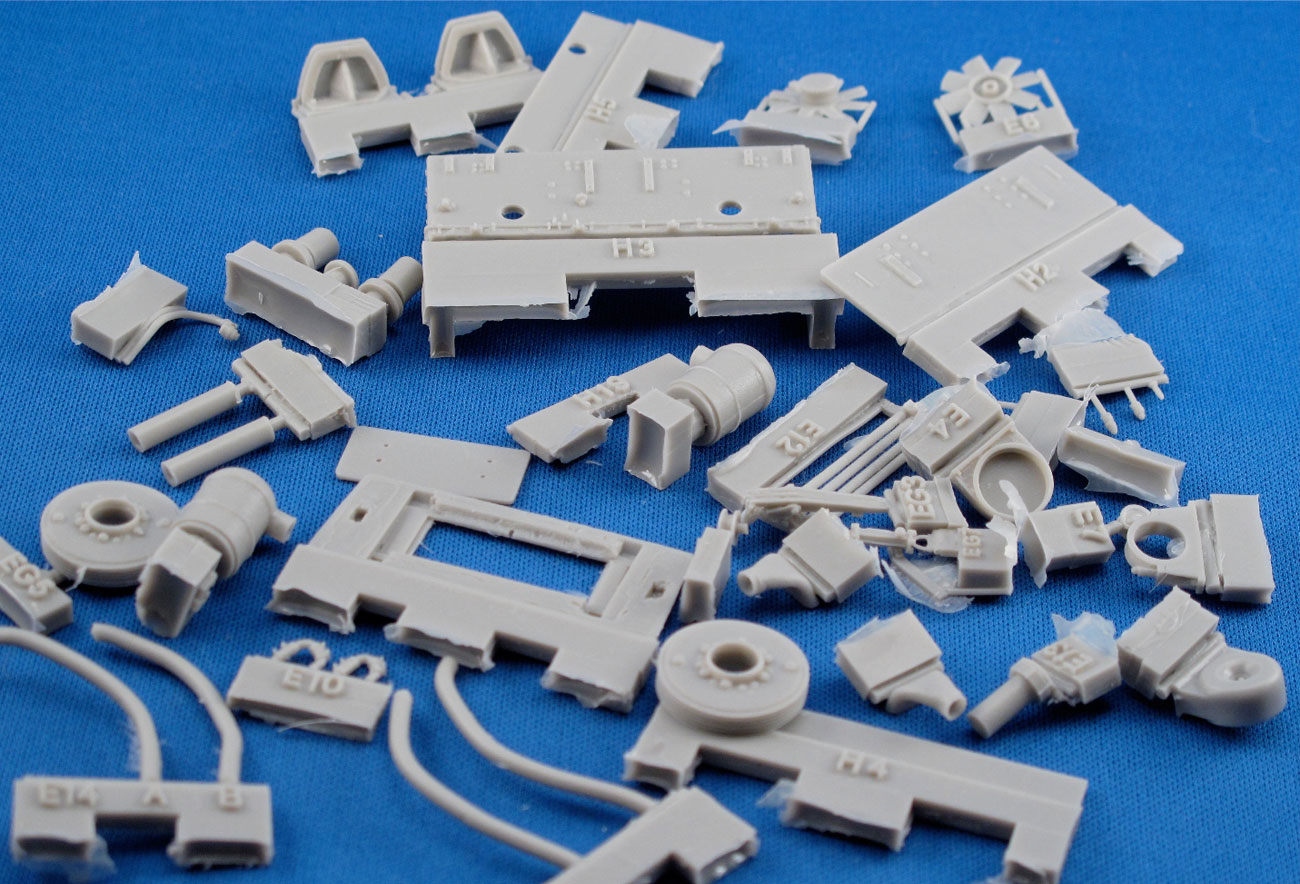
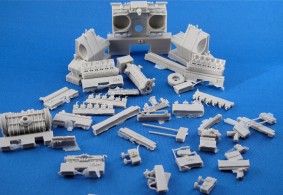
This is a whole model in itself and in fact the last of the instructions shows it mounted for display outside the vehicle. The pics from the instructions above show the assembled compartment. It is going to be fun squeezing the engine in amongst all the other clutter in the compartment! You will see that painting instructions are included with the illustrations.
ZOOM - Move your mouse over image
ZOOM - Move your mouse over image
The driver’s compartment…
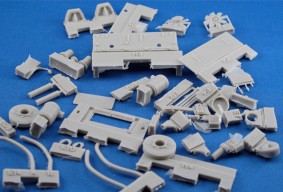
A bit of a mixed bag here as I am not showing only the driver’s section but also some externally mounted pieces.

The brass…
The recommendation that you use a bending tool like the one produced by Mission is wise and necessary. There are some fiddly shapes here. I should think that a session annealing some of the parts that need to be bent will make life easier.

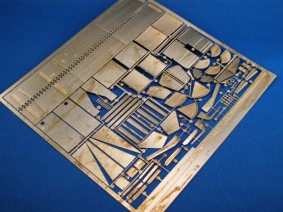
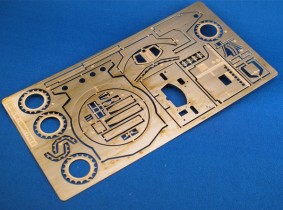 Well there we are, a challenge in anyone’s language and doubtless thick fingers will make it even more so. But I will be starting soon so follow my mistakes and all. I am sure it will build up into a sensational model.
See you soon in Build Now
Julian S.
