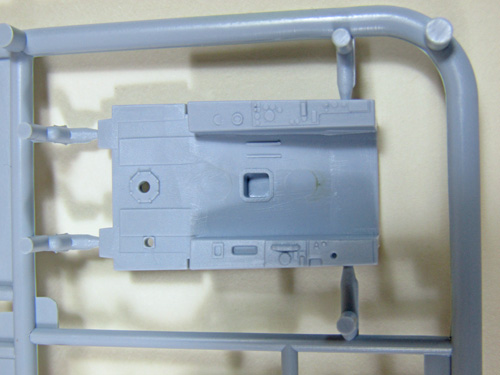
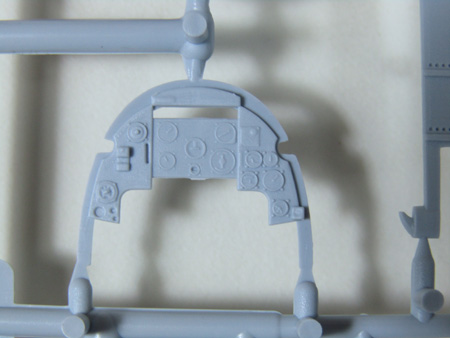
Taking a look at the cockpit here is the tub and instrument panel, raised detail is ok for this scale, however in my opinion it screams out for some aftermarket photo-etch.
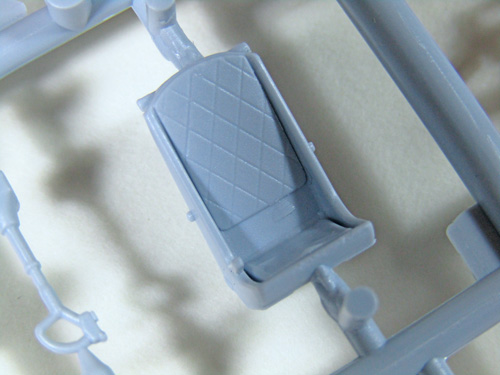
I have to admit I do like the seat, with the addition of some straps it will paint up nicely.
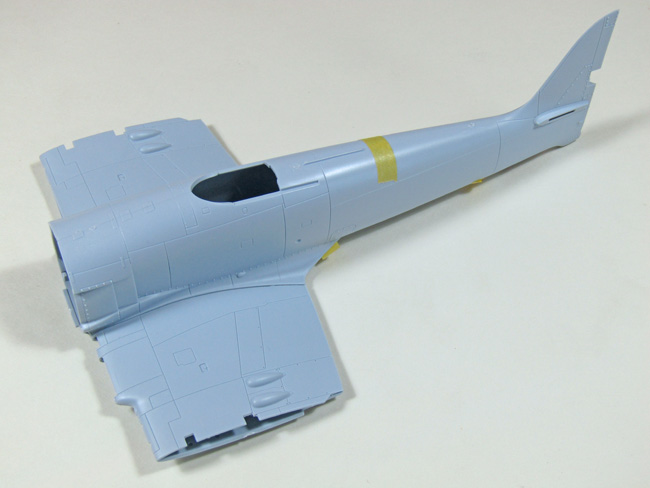
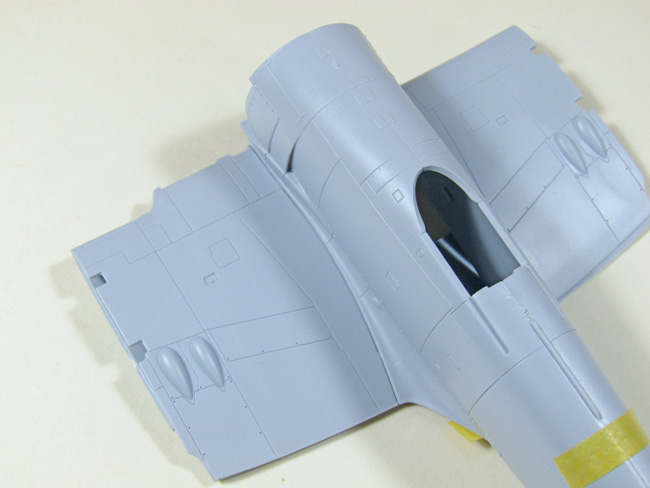
So let’s dry fit the fuselage and inner wings, just to see how everything matches up. It is no surprise that the fit appears excellent and up too Airfix more recent high standard.
The instruction sheet is in A4 booklet format with the typical Airfix exploded view style and parts identified in colour.
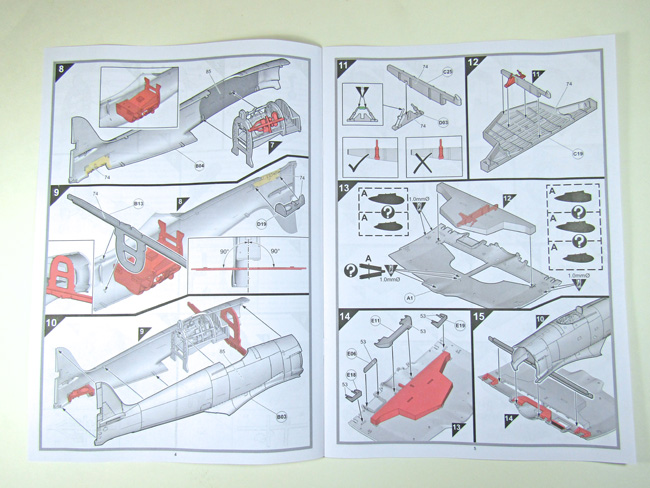
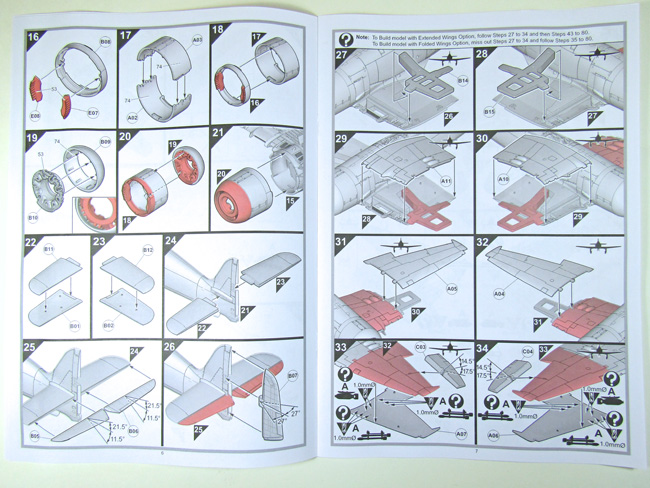
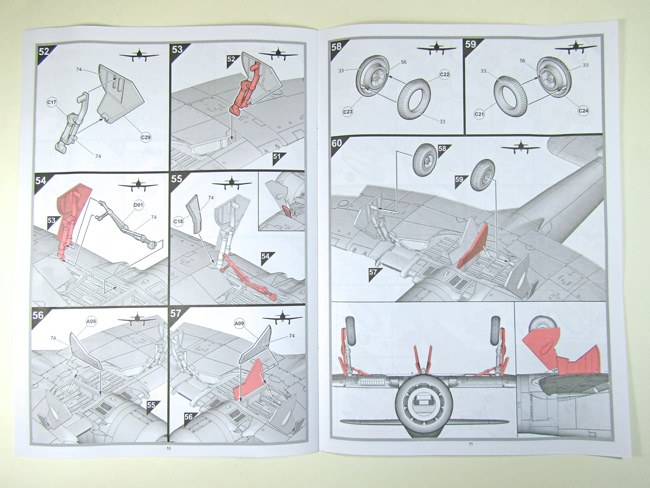
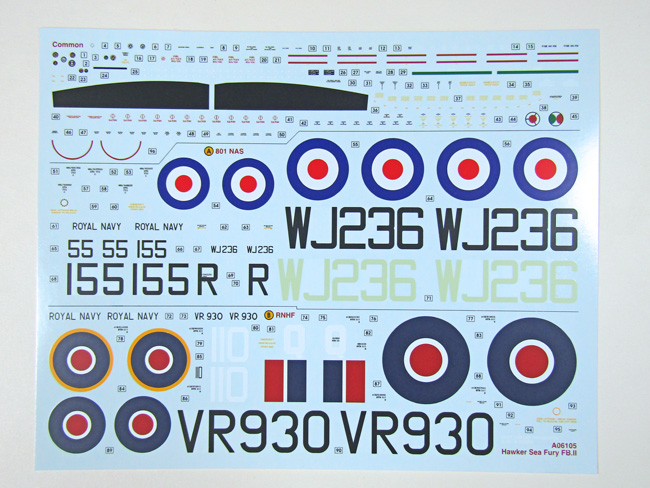
Two options are offered for the aircraft, one from 1950’s Korean War and the other of the Royal Navy Historic Flight aircraft currently still flying and displaying in the UK based at Yeovilton.
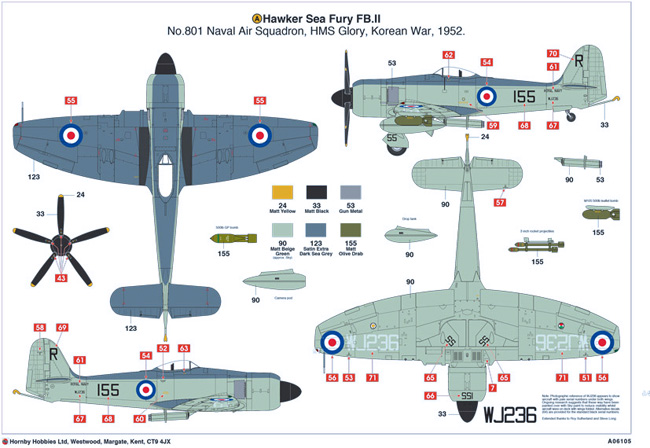
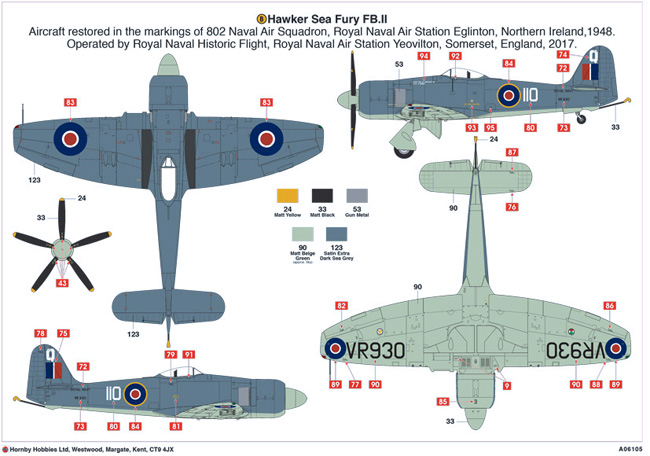
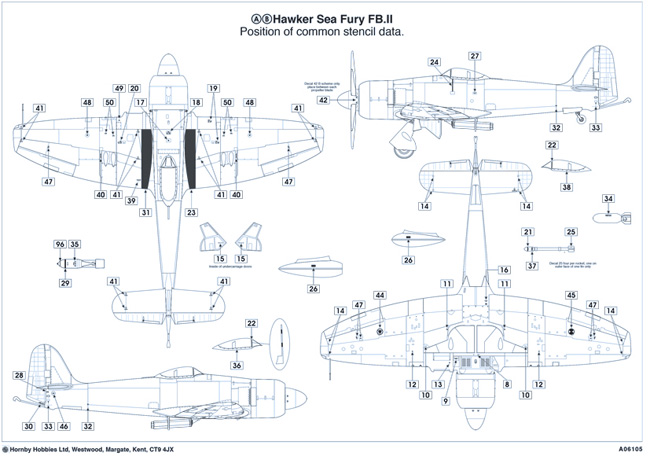
Stencil data is also depicted on a one page sheet.
Lastly our decal sheet for both options.
Conclusions
Continuing their most recent releases of top quality kits, Airfix have once again excelled. The fine restrained panel line detail will allow the modeller to build a sublime reproduction of this “Last of the piston engine” fighters.
Very highly recommended… a ‘must’ build in my opinion.
Mick S.
Quick summary Star rating out of 5
A note from Geoff
As you can imagine this is going to be a very popular and successful release from Airfix and a number of the SMN Review Team guys have already bought one.
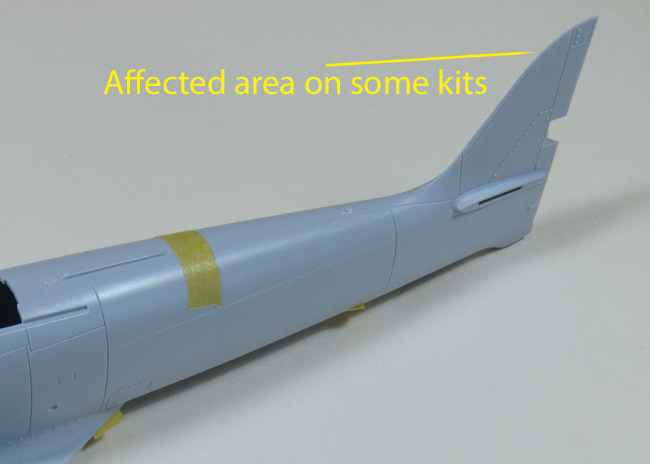
One small area in the kit seems to be the subject of some criticism on social media – the forward edge of the fin. Some kits are coming out with a small section missing from one fuselage half (see marked area on photo). At this month’s model club meet two of the guys had the kit with this defect but, clearly, not all kits are affected as Mick’s model seems to be fine.
The fix?
This is really very straightforward. A couple of options spring to mind? The first and one I would go for is to mix up a small amount of White Milliput filler and build up the small area when your fuselage halves are joined. By slightly wetting the filler it will mould easily and you can wipe away any excess, leaving minimal cleaning up to do when it’s fully dried.
The second could be to splice in a section of plasticard and fair it in with a mix of cyano and talc – that could work equally well.
Geoff C.