I frequently deviate from kit instructions for various reasons. However, in these instructions the assembly sequence seems to be very well thought out and I think merits being followed more closely. Rather than being assembled in two halves the fuselage is to be made up from two sides, a top and a bottom so there will be no central join to be cleaned up marring any of the detail. I think that this model may be better assembled in the same way as a Wingnut 1:32 kit with a modular approach to building and painting being required rather than the more usual ‘assemble then paint’ sequence.
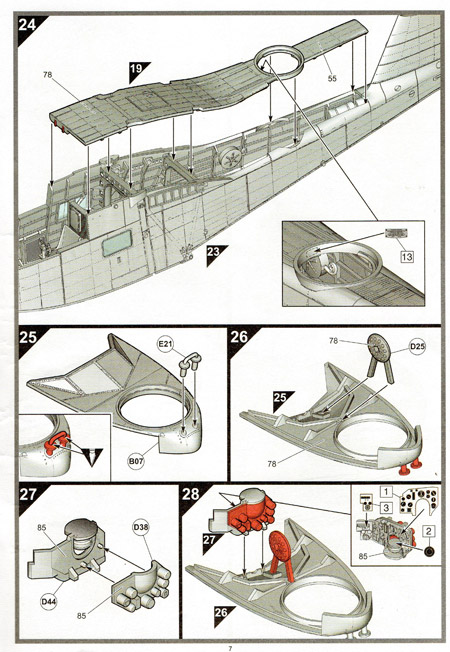
 The instructions are well laid out and follow Airfix’s later style of instruction sheet with the positions of some of the recently fixed parts shown in red, which is something I personally like. These instructions contain no fewer than 108 steps! However, some of these may be omitted depending on whether the wings are to be modelled extended or folded, and whether the undercarriage is to be modelled raised or lowered. Whether you choose to have the wings extended or folded some minor surgery will be required to the kit to remove some plastic from the wing roots. If the option to extend the wings is chosen, locating holes will need to be drilled into the fuselage and a 2mm drill will be required.
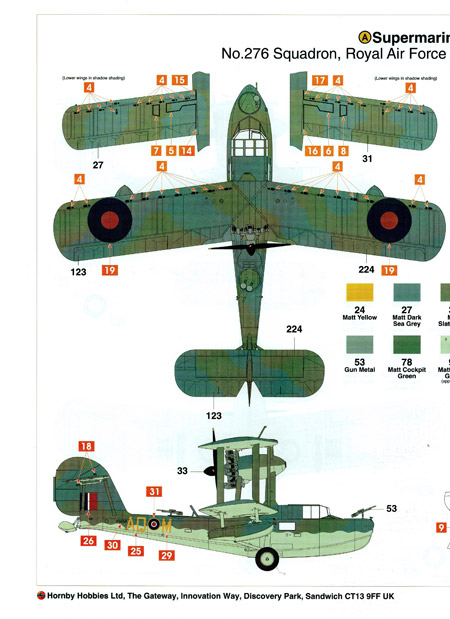
There are three marking options, one for a Royal Air Force machine, one for a Royal Naval Air Squadron machine serving aboard HMS Sheffield and one for a machine in service with the Royal Australian Air Force. The paint references are for Humbrol colours only, so you may need to translate these to your preferred brand of paint should you wish to use something different. The painting instructions are in full colour. Note that the two British machines are shown as having ‘shadow shaded’ wings with the two sets of camouflage colours on the upper and lower wings being different. Though the actual colours printed on the instruction sheet look exactly the same on both sets of wings, the different colours to be used are clearly labelled. Not quite so clear are the colours to be used on the fuselage and tail surfaces as these are not labelled. I would assume that these should be the colours used on the upper surfaces of the wings, but I would check this before starting to paint.
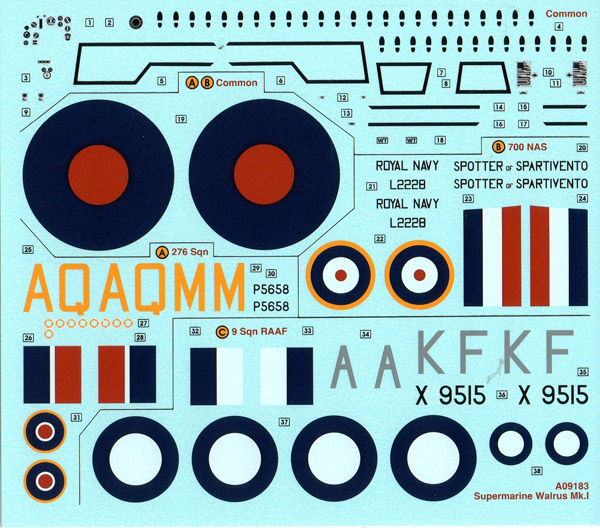
The transfers themselves look very good. They are in good register and are matt. There are some areas of carrier film which may be hard to disguise (such as those inside the boxes outlining the wing walkways and between some of the fuselage codes). It may be best to try and remove these before applying the transfers to avoid the dreaded ‘silvering’ or perhaps mask and spray the markings. Having just completed an Airfix Spitfire Mk XII I found that their transfers respond very well to Micro Sol and Micro Set transfer setting agents.
Being a biplane the Walrus will need to be rigged to get the best from the kit. A colour rigging diagram is included. Any holes drilled to secure rigging wires will have to be drilled before the model is assembled as most of the rigging positions will be inaccessible afterwards.
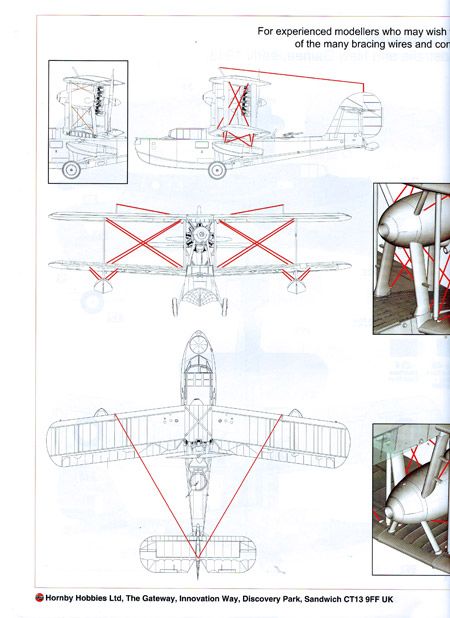
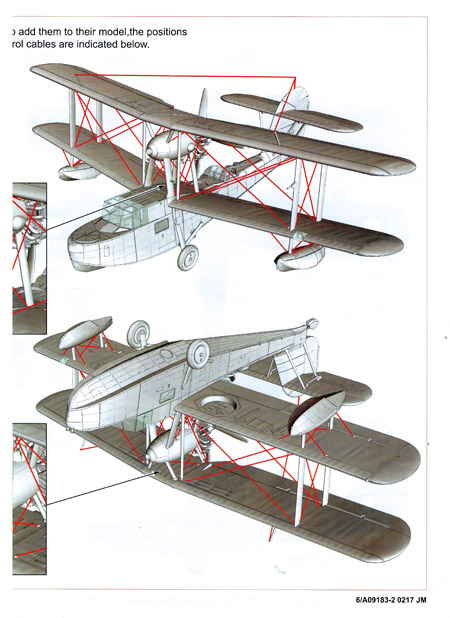
At the moment I must admit I am at a loss as to how best to go about the rigging. I have seen 1:48 scale First World War aircraft rigged by drilling holes part of the way through the underside of the top wing and all the way through the bottom wing. Wire or elastic thread is then glued into the holes under the top wing and pulled taut through the holes in the bottom wing before being fixed in place with superglue. This leaves a cleanup job on the under-surface of the lower wing, but I have seen many modellers achieve good results with this method. However, most kits of biplanes have solid wings. This kit has separate upper and lower halves for each wing leaving a void between the two halves. While it may be possible to drill all the way through the wings, the space between the two halves might make it difficult to get a wire or thread all the way through. I think some experimentation is going to be called for here before I decide how to tackle this!!
Conclusion
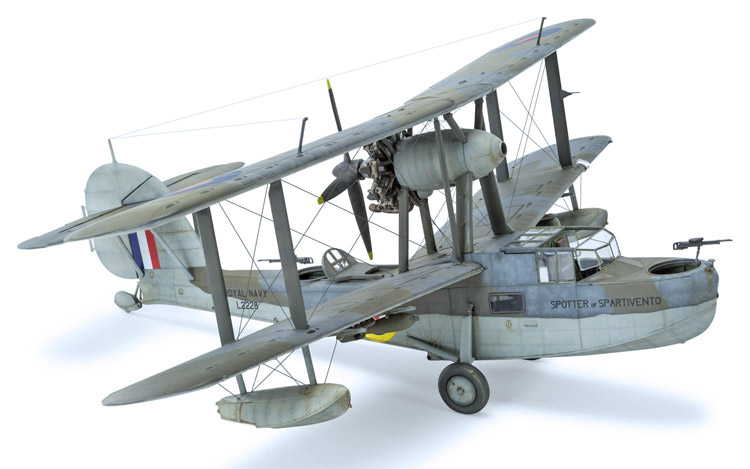
This looks like a great kit. It is well detailed and will make a large and impressive model. It may not be the easiest of projects and is probably to be recommended to modellers with a few rigged biplanes behind them. This is in no way a criticism of the Airfix kit – it’s just due to the complex nature of the original aircraft.
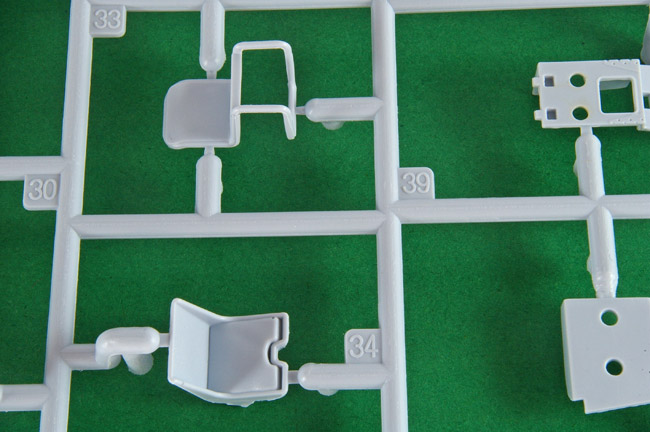
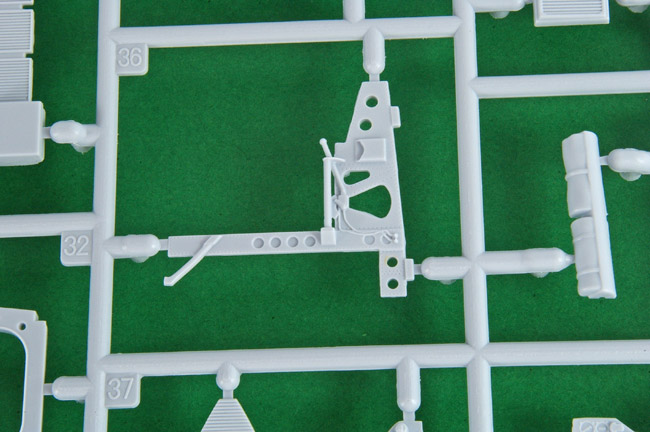
The cleanup of the pin marks on the interior of the fuselage may prove to be tiresome (though once I’ve trial fitted some of the parts some of them may prove to be hidden from view so it may not prove to be as onerous a job as it looks at first sight). However, I think that any effort put into cleaning these up will be worthwhile.
The Walrus is also probably going to provide those who like heavy weathering on their models with a great canvas on which to work. These aircraft operated in some pretty difficult conditions and would have looked pretty battered very quickly in service.
At the time of writing I believe that Eduard has produced several etched sets as well as some resin replacement parts aimed at this kit. A quick price check showed that adding all of these could cost far more than the original price of the kit! Aside from perhaps a set of seat belts and maybe some pre-cut masks to deal with the awkwardly shaped windows in the cockpit canopy I can’t see much that needs to be added or replaced at the moment.
A few Walruses have survived in museums around the world and a quick trawl around the internet has revealed several useful sets of ‘Walkaround’ photos for those wishing to add more detail. I also understand that Mushroom Models is about to reprint its title on the Walrus which may also prove useful to modellers.
I look forward to building this kit in the near future.