There are a number of Zeros preserved around the world and so ‘Walkaround’ photos are quite easy to find on the internet. One thing that these show is that there were a large number of cables visible in the cockpit. These are not represented in the kit. I assume that these would be difficult to represent convincingly in injection moulded plastic. However, these could be easily added using fine copper or lead wire.
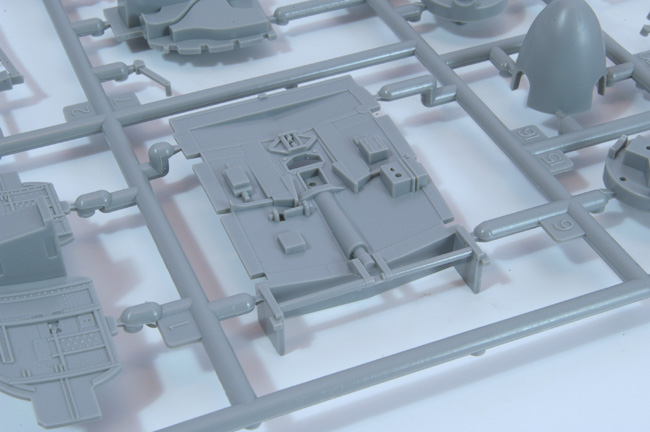
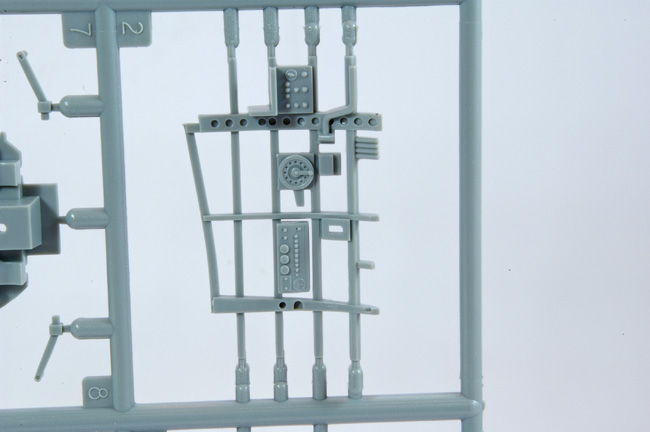
The tops of the wheel wells are well moulded though again some control wires and pipes could be added based on Walkaround photos.
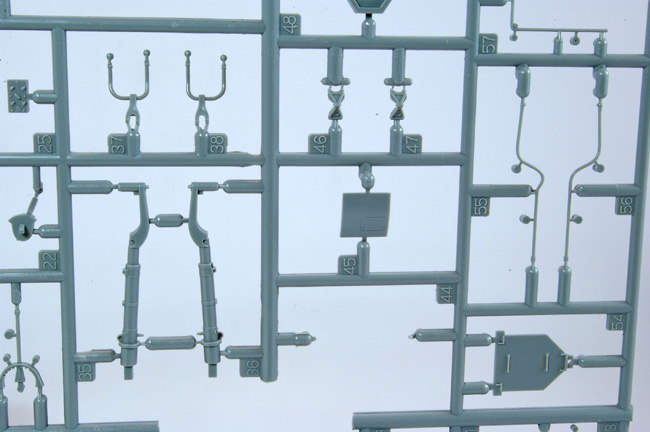
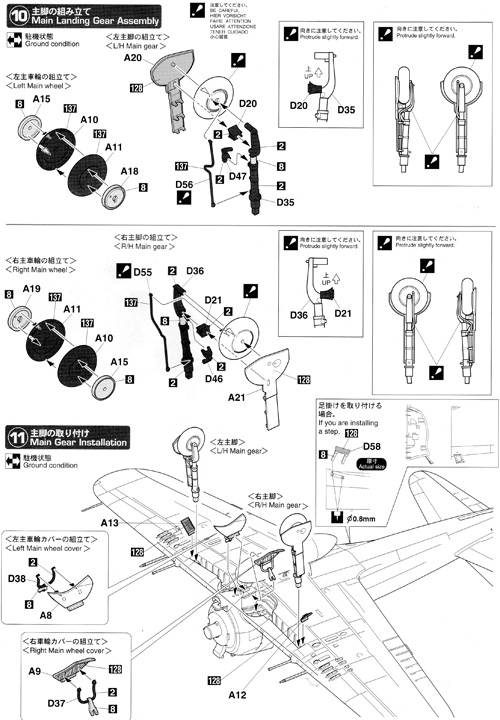
The undercarriage legs are well moulded and have separate injection moulded brake lines. The small oleo scissors are also provided though they could do with having the lightening holes drilled out.
Hasegawa does not provide any seat belts. I think that these would be a necessary addition in this scale. However, etched belts are available from a number of sources and HGW provides a set of flexible cloth / paper belts with separate buckles for the more adventurous.
The engine is well moulded and two rows of cylinders are provided. Strangely some of the push rods were broken off in my kit and so had to be reattached. There is no ignition harness for the engine and again I think that this would be a necessary addition in this scale.
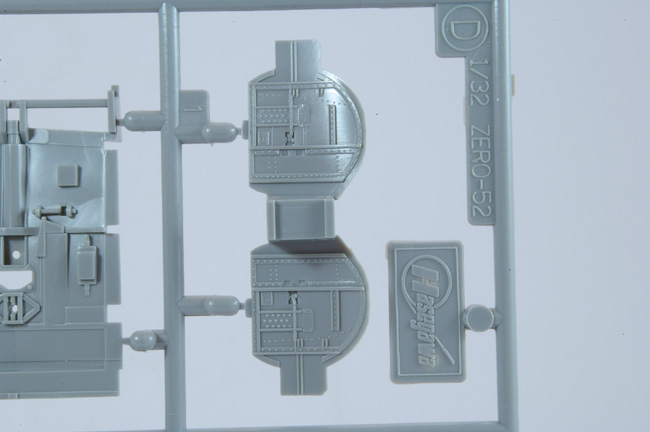
There are a few ejector pin marks that need to be dealt with such as those on the inside of the cockpit walls which may be visible behind the cockpit framework. There are also some on the inside of the undercarriage doors which may be more difficult to deal with.
The instructions are clear as regards part placement, though as ever, some research may have to be done to work out the correct colours to use. For example the instructions mention ‘Character Blue’ which I assume is the transparent blue / green Aotake covering used on the interiors of some Japanese aircraft. The propeller is to be painted in ‘Propeller Colour’ which I assume is brown (though I believe that on some aircraft it was different). The interior is to be painted in ‘Cockpit Colour (Mitsubishi)’ which I think should be a colour similar to RAF Cockpit Green.
Note that as well as being built by the Mitsubishi company the Zero was also built in large numbers by Nakajima. When compared with those built by Mitsubishi, the Zeroes built by Nakajima apparently had slightly different interior and exterior colours, and a different demarcation between the upper and lower colours. The instructions state that the upper surfaces should be painted in ‘IJN Green (Nakajima)’ which is a little confusing when they show the interior is to be painted in a colour used by Mitsubishi! Sources on the internet tend to suggest that the A6M5c Type 52 was built only by Mitsubishi. The Mushroom Models publication also states that this was the case, but then goes on to illustrate a fuselage identification plate used on the Type 52s built by Nakajima which just adds to the confusion.
Another area where a little more research / clarification may be required concerns the area of the fuselage directly behind the pilot that is covered by the canopy. Hasegawa states that this should be painted in Tyre Black just like the cowling. However, it would appear that this was done early in the war on Zeros that were painted in the overall green / grey ‘offensive scheme’. Later in the war the top surfaces were painted in dark green producing the so called ‘defensive scheme’. When this was done at the front line the area under the canopy was left in Tyre Black. When the defensive scheme was applied at the factory the area under the canopy was also painted in dark green. Again a little more research / clarification could be called for before I start work on this kit in order to work out which colours to use.
Similarly the colour of the wheel wells and insides of the undercarriage doors could cause me some headaches. Hasegawa states that this should be grey / green just like the rest of the underside of the aircraft. This seems logical to me and I believe that it’s the way Mitsubishi painted the wheel wells of their Zeroes. However, I believe that Nakajima treated the wheel wells of their aircraft differently and on preserved aircraft these areas can be seen painted in the underside colour, the interior cockpit green colour and Aotake blue / green.
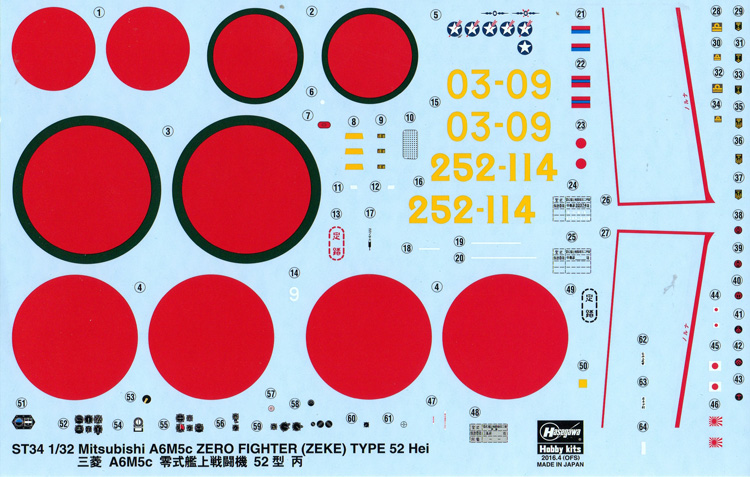
Markings are provided for two aircraft which have essentially the same green over green / grey scheme. These look glossy and are in good register – if a little thick. Transfers are provided for the instrument dials. Though there is good moulded detail on the instrument panel so some may wish to paint these.
All in all this looks like a great kit.
At the time of writing it is around half the price of the Tamiya 1:32 Zero. While the Hasegawa kit may be a little simpler and maybe less comprehensively detailed than the Tamiya kit, I think that it would still result in an attractive model as an ‘out of the box’ project. Alternatively it could be an excellent base for those who wished to add extra detailing.
I’m looking forward to building this kit in the near future.
Dai W.
Here’s my summary…