The Kit
There seems to have been much speculation regarding the origins of this kit. It would appear that it was initially developed by Wingnut Wings and would have been produced for them in China. Following the sad demise of Wingnut Wings, Meng Models has now taken over production.
The kit has quite a low part count with 116 finely produced parts in medium grey plastic.
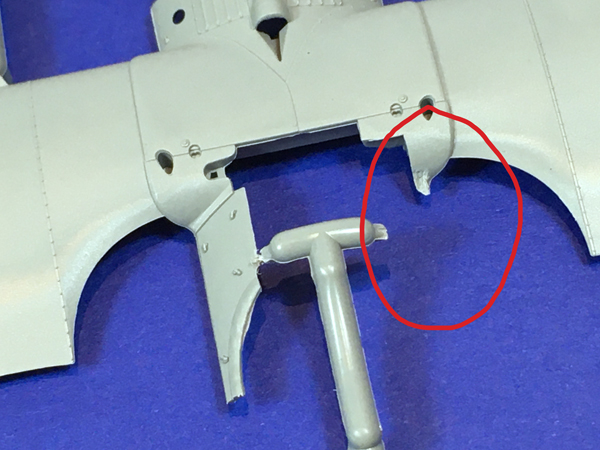
A few of the sprues were broken in my kit and some of the parts had partially or completely broken from the sprues.
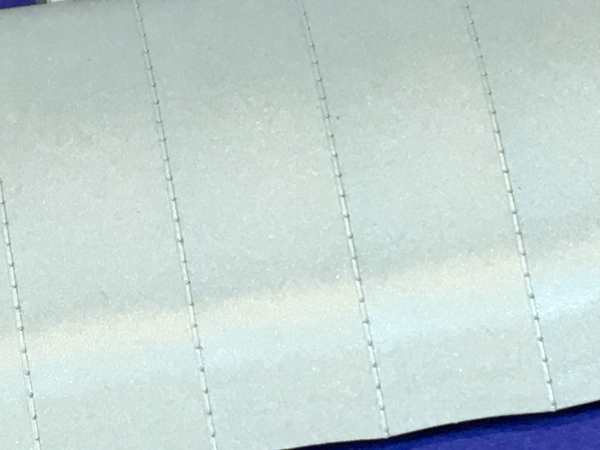
There is some very fine detail on the wings and running a fingernail gently across the wing will reveal some almost invisible nail heads along the wing ribs which is very impressive.
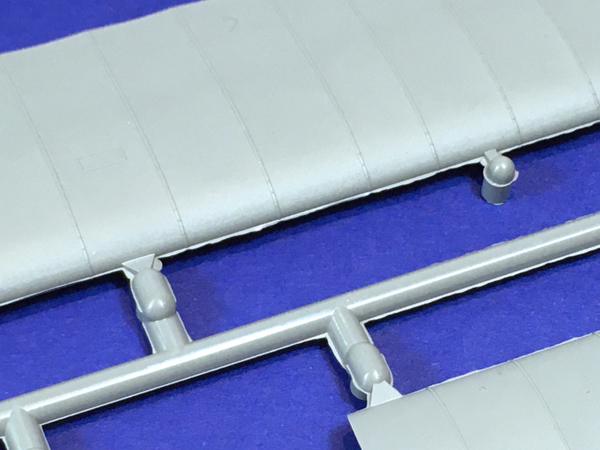
Surprisingly for a new mainstream kit, there is flash on some of the parts, notably along the leading edges of the wings. This will require careful removal if the delicate rib detail is to be preserved. In addition, some of the sprue attachment points are quite heavy and will require careful removal if the parts are not to be damaged.
Perhaps the safest way to go about this would be to remove the parts from the sprues by cutting with a sharp set of sprue cutters or a razor saw as far away from the kit parts as possible and then removing the rest of the excess plastic with a very sharp blade?
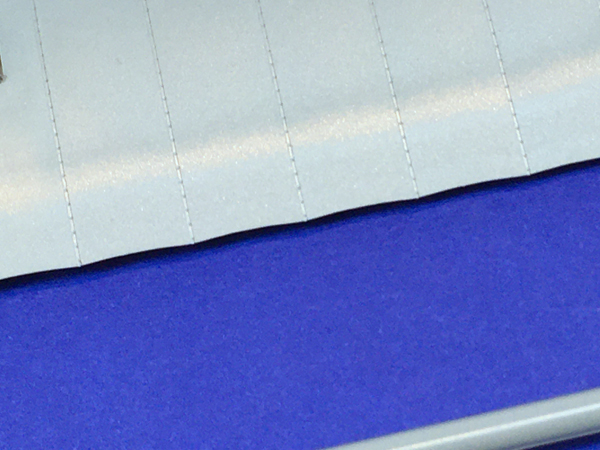
On the plus side, the trailing edges of the wing are for the most part very thin and well moulded. The Fokker Dr.1 had a length of wire along the trailing edges of each wing. When the wing’s fabric covering was doped it shrank, pulling on the wire, leading to a scalloped effect along the trailing edge. This has been very well reproduced in the kit.
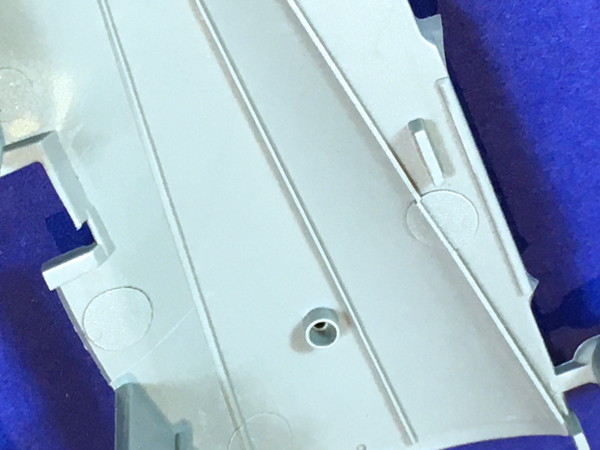
There are a few ejector pin marks on some of the parts which look as if they should be removed. However, I don’t think that they are in areas that would be visible on the finished model.
The open cockpit will inevitably be a focal point on a model like this and I think that the interior parts are very well done.
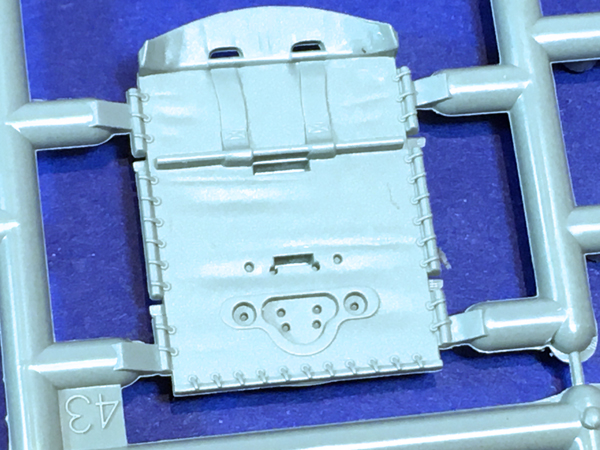
The photo below shows the fabric panel behind the pilot’s seat. The six indentations at the bottom of this part represent openings where the rudder and elevator cables pass on their way to the rear of the fuselage. These openings will need to be drilled out to allow the cables to pass through. Modellers will need to provide their own cables using wire, EZ Line or some other suitable material.
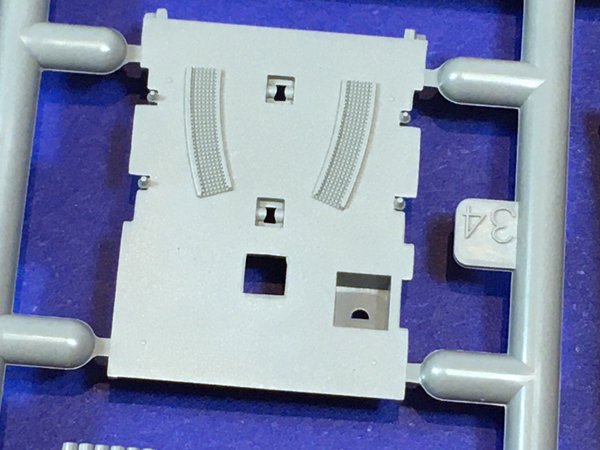
The cockpit floor is simple as reflects the original. However, as this will be visible through the cockpit opening, it could be that some wood grain will need to be represented here.
The framing at the sides of the cockpit is very finely moulded. Here again there was a little flash on my kit and the mould lines will need to be very carefully removed in order to avoid damaging these very delicate parts. The fuselage of the Dr.1 was of tubular construction and so care will be also needed to preserve the circular cross section when the mould lines are cleaned up.
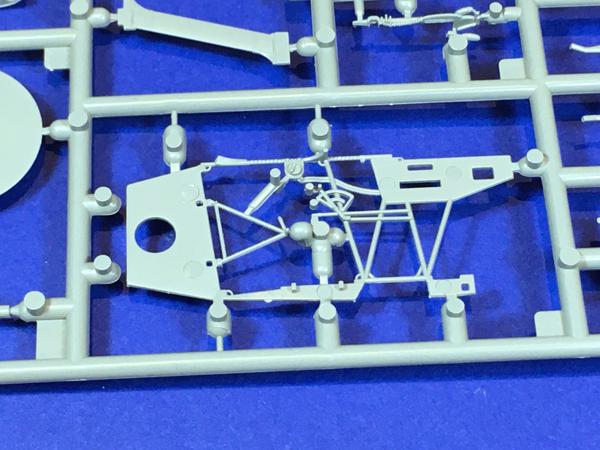
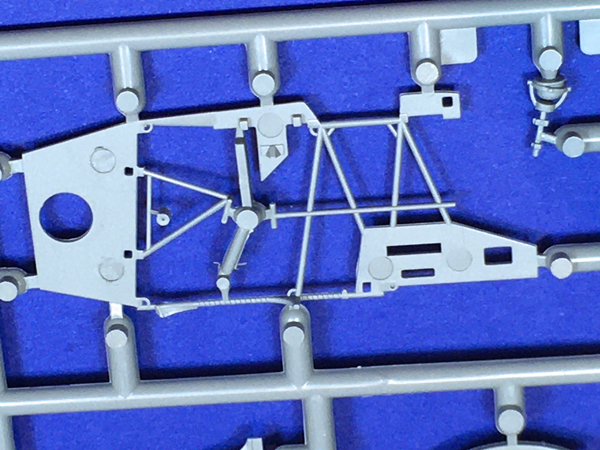
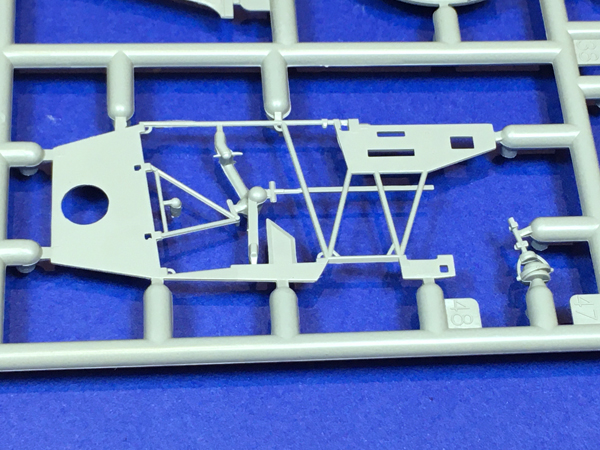
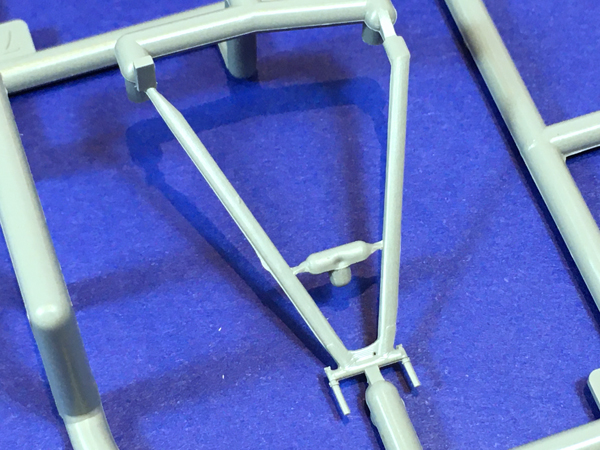
There was no instrument panel on the Dr.1. The pilot’s instruments were supported by a bar at the front of the cockpit. Dial faces are provided for these instruments on the transfer sheet. There is a choice of two control columns provided, and as with the other delicate cockpit parts these will require careful clean up to avoid breakages.
Ask a question or add feedback:
You must be logged in to post a comment.