There is little rigging on the Fokker Dr.1 with most of the bracing and control cables being hidden inside the wings to reduce drag. However, where there are cables to be added there are recesses in the appropriate parts of the kit. Some of these can be seen on the following photos. These recesses may need to be drilled out a little deeper to securely fix rigging cables.
A 0.5mm drill will also be needed to drill out the locating points for the lifting rings on the lower rear fuselage, noting the different positions of these rings on the Fokker F.1 and the Dr.1.
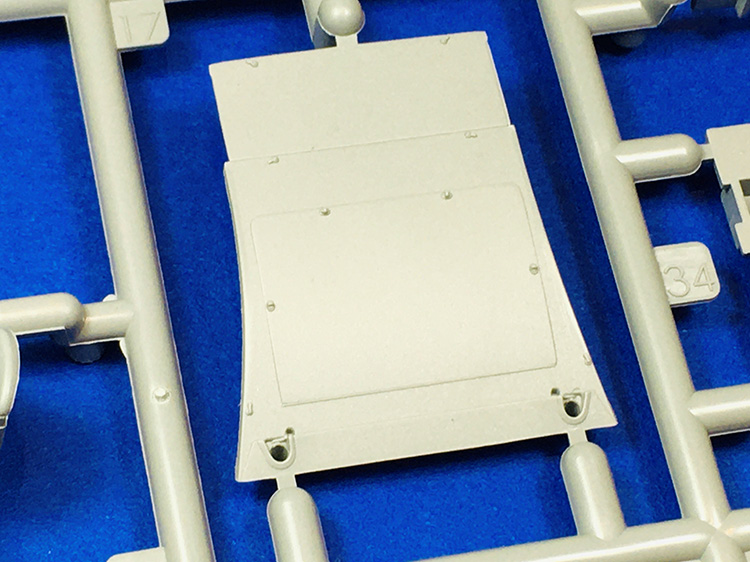
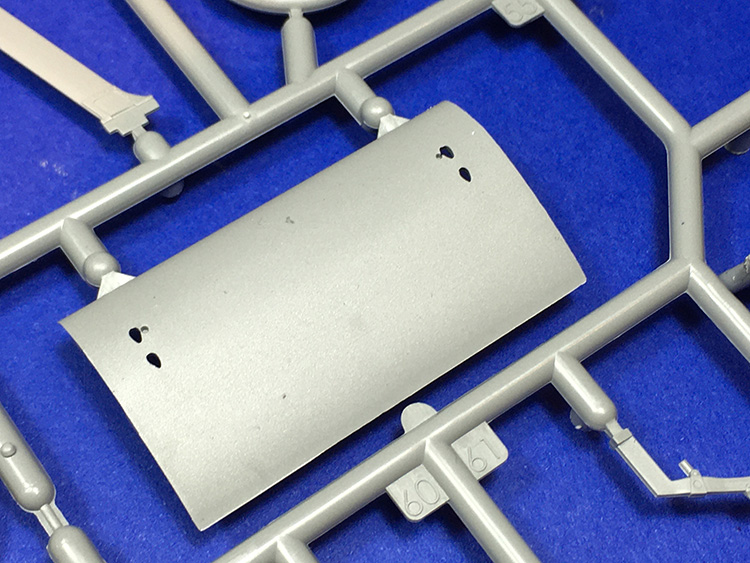
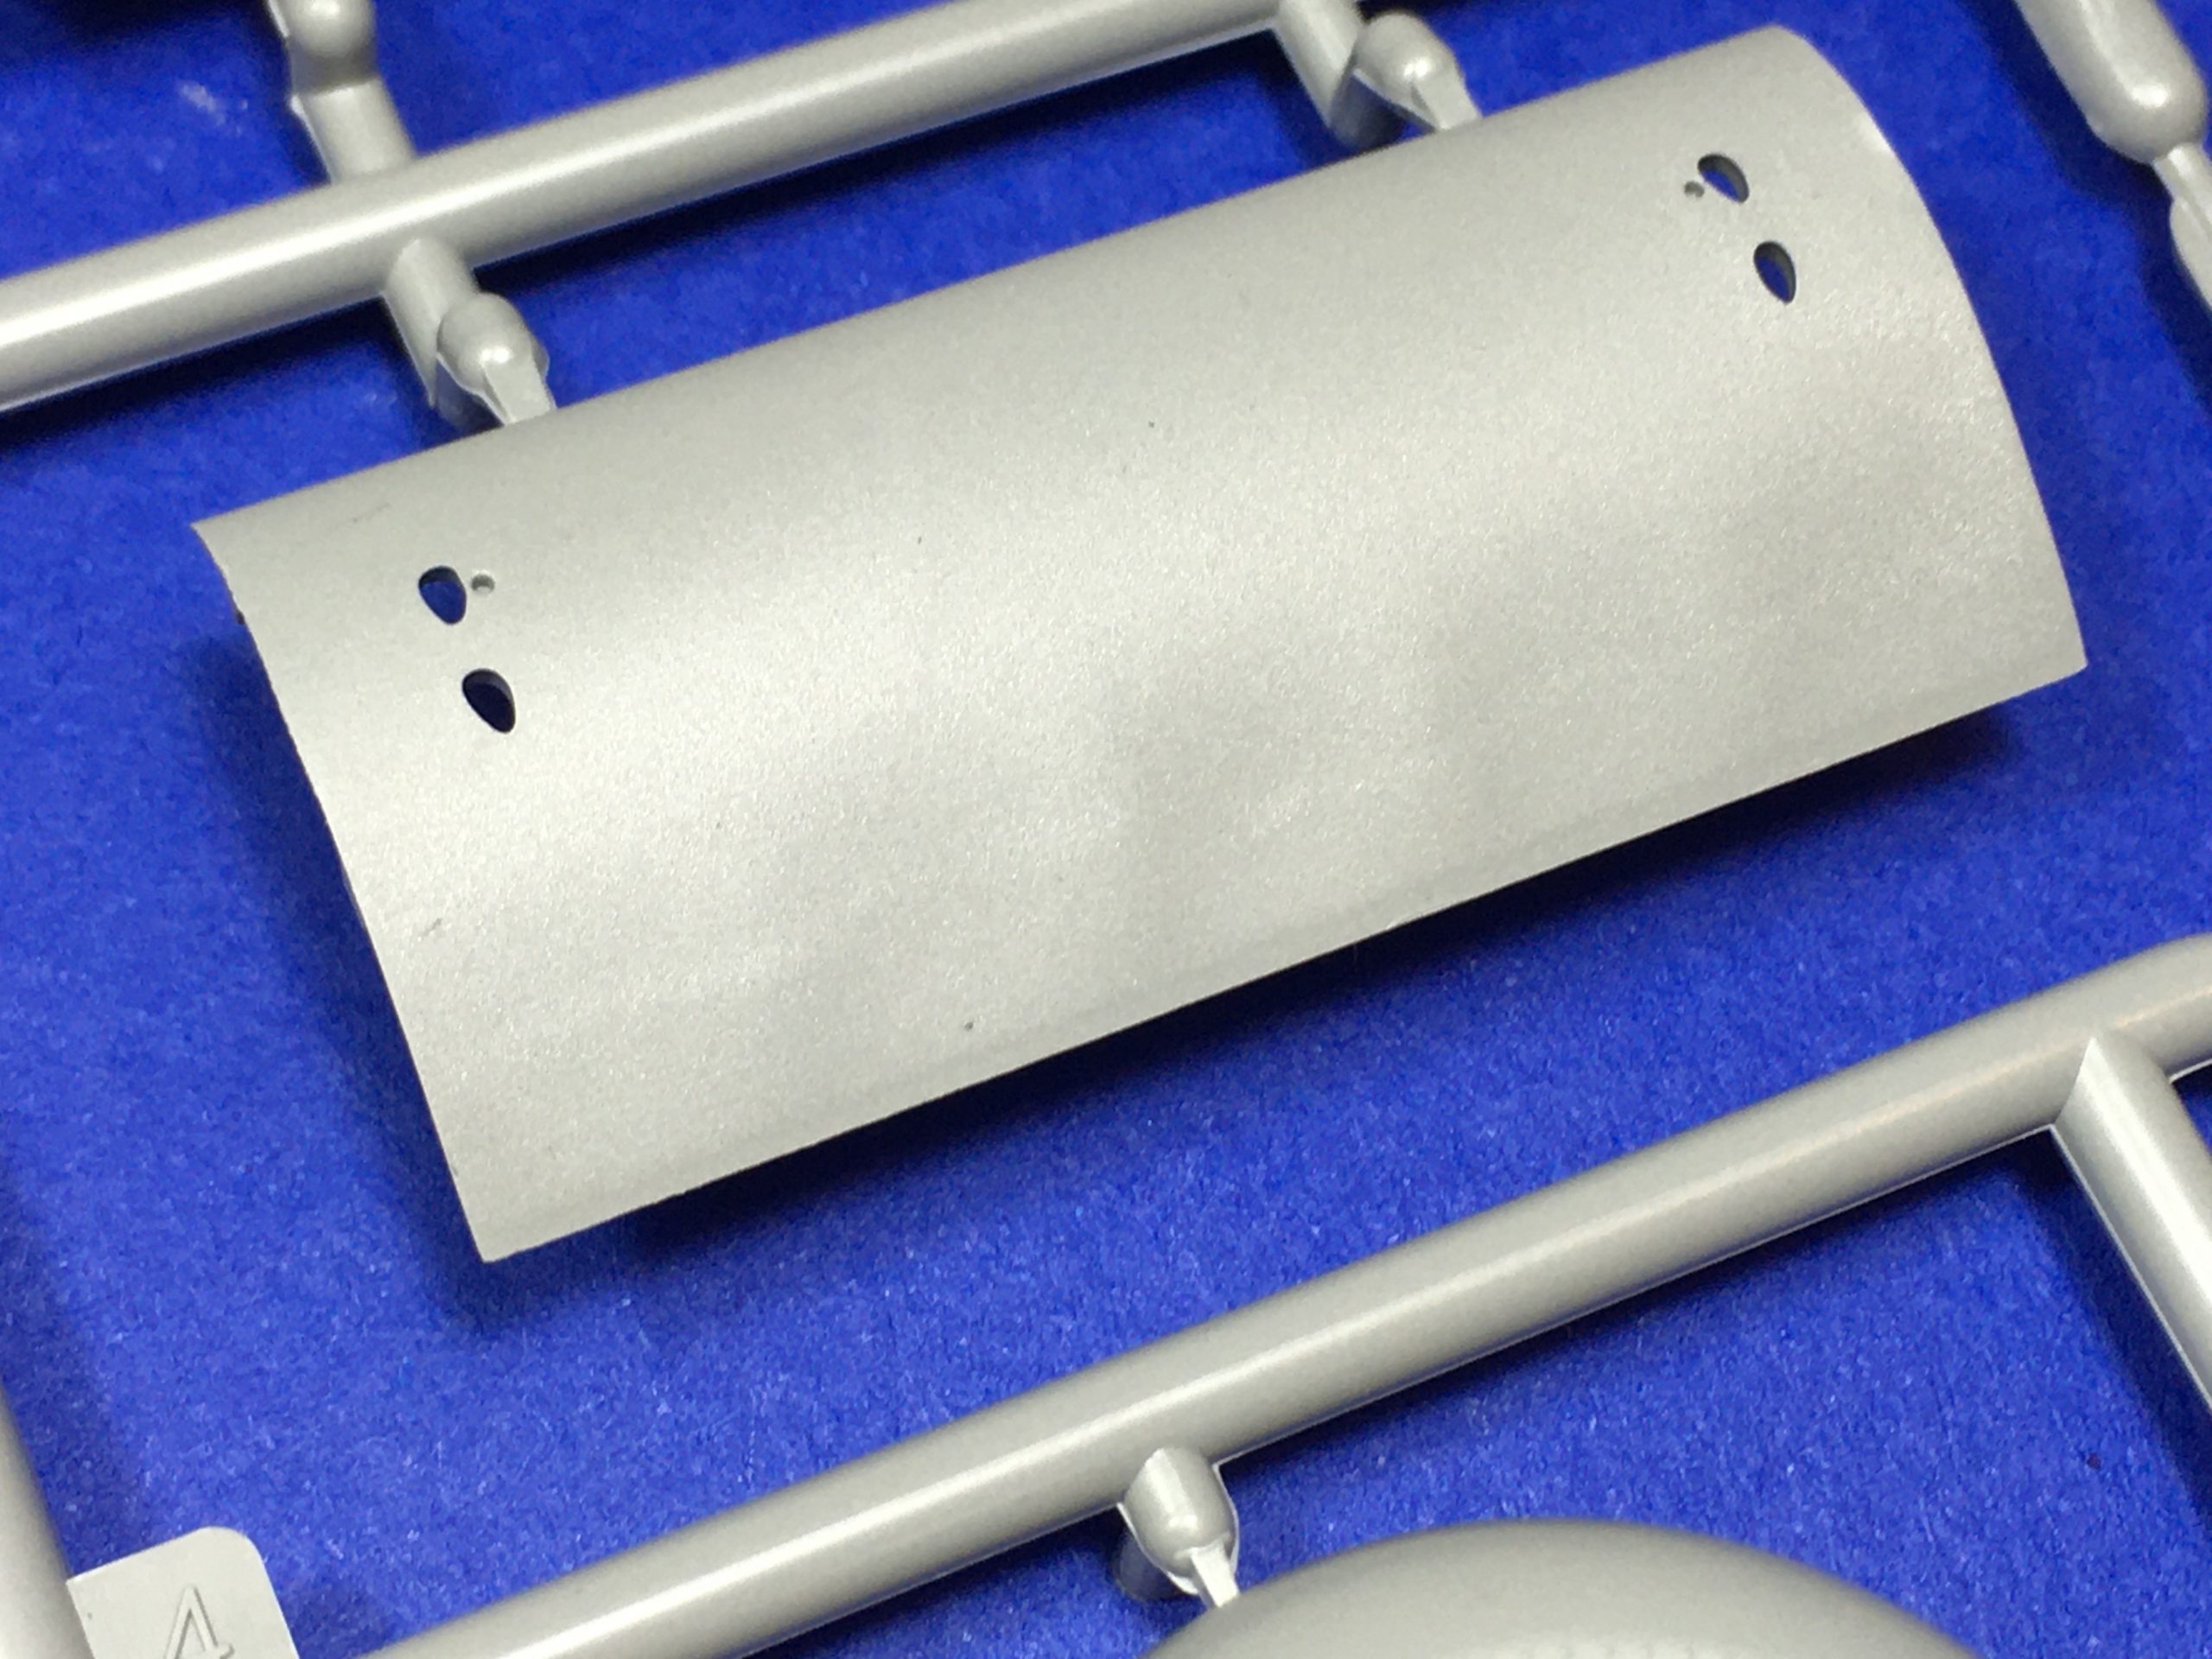
There are two sets of underwing fairings provided in the kit, through only one of these is mentioned in the instructions. The unused part has a slightly narrower chord and a slightly scalloped trailing edge. I have no idea what this is for – perhaps for another variant of the Fokker Dr.1 or perhaps intended for a kit of another aircraft such as the DVI or the DVIII?
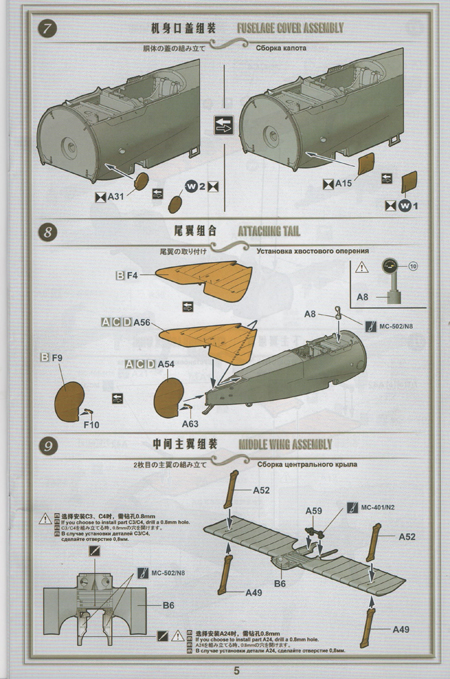
I think that the instructions let the kit down a little.
I suppose that many modellers of First World War aircraft in this scale have been spoiled by Wingnut instructions which were extremely comprehensive and were almost mini reference books in their own right. They also contained a number of wartime photos that often illustrated specific features of the aircraft that could be built from their kits.
The Meng instructions are a lot simpler and a lot less informative. They are in full colour, but there are a few things that could have been made clearer.
For example, there is no indication of which of the inspection panels should be used on each of the four aircraft that can be built from the kit. Perhaps the colour profiles are intended to show which to use for each of the options? However, the colour profile for Von Richthofen’s aircraft shows an oblong panel while the box art shows a circular panel. Similarly, there is a choice of gunsights and windscreens and there are also some optional parts such as an anemometer and a rear-view mirror shown in construction stage 14, but no indication of which aircraft they belong to.
Again, checking of references will be needed here.
The camouflage applied to some Fokker aircraft was quite unique. The upper surface camouflage consisted of streaks of olive drab applied by brush vertically on the sides (with respect to the aircraft when in flight – not when it was on the ground) and at an angle to the line of flight on the horizontal surfaces.
The colour charts in the kit’s instructions suggest that the streaks on all the horizontal surfaces were at about 45 degrees to the line of flight as shown on one of the pages relating to Voss’ triplane below.
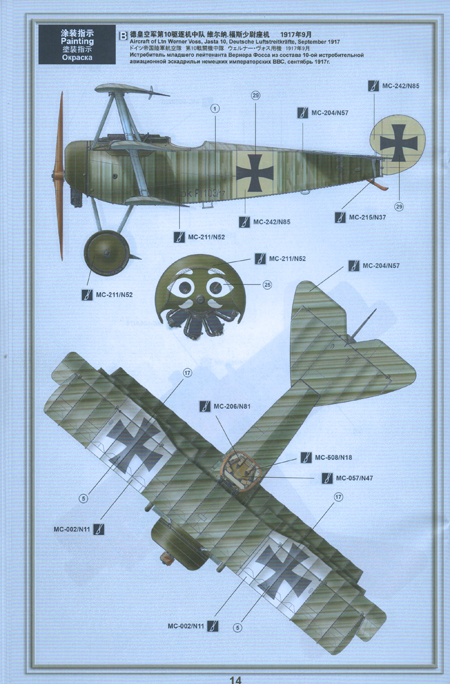
However, a photo that I found of a triplane on the internet suggests that the angle at which the streaked camouflage was applied on the wings was quite different from that on the top of the fuselage and the horizontal tail surfaces.
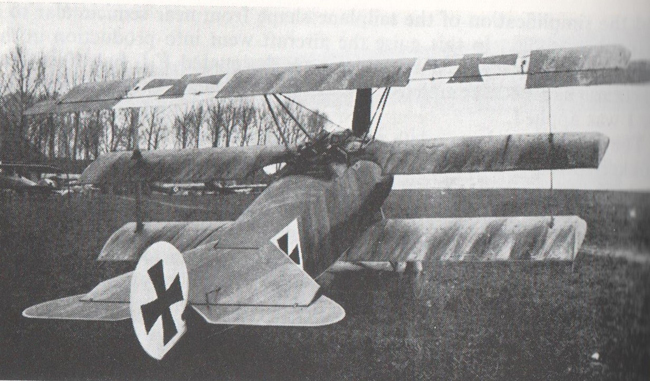
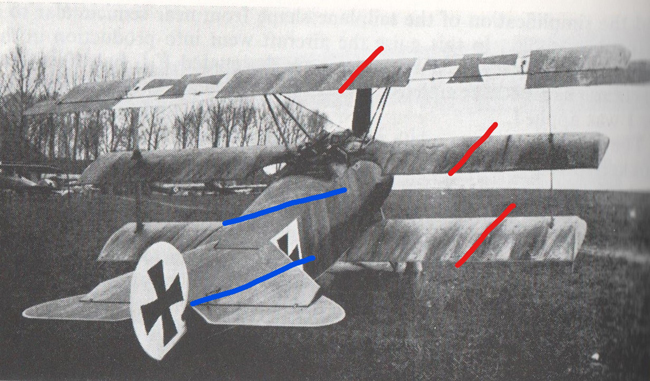
I have drawn some rough coloured lines onto a copy of the photo which I hope illustrates the point. I daresay that there were variations between different aircraft, but again I think it’s worth checking your references.
Ask a question or add feedback:
You must be logged in to post a comment.