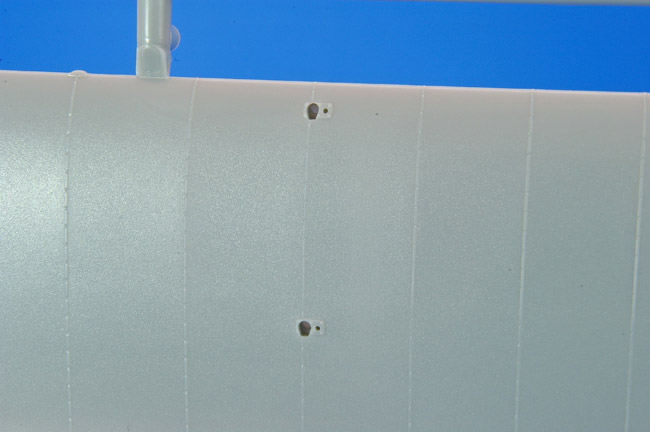
The plastic mouldings are excellent showing all the finesse we have come to expect from this manufacturer.
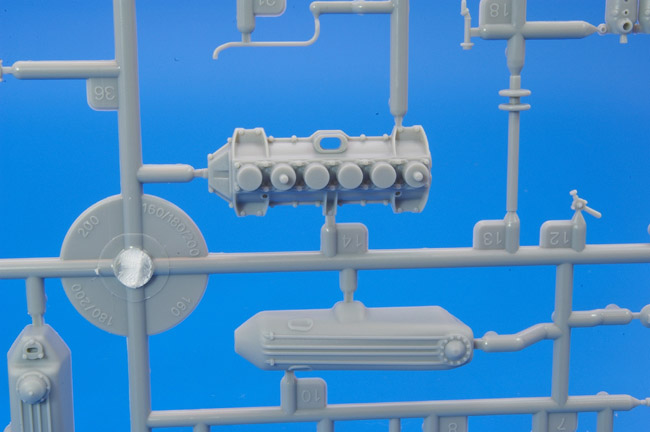
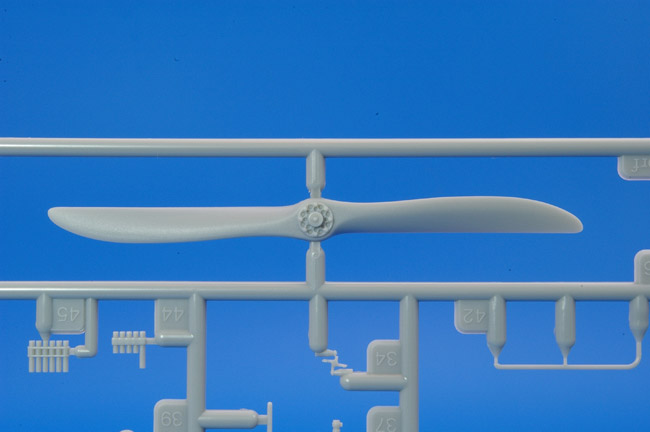
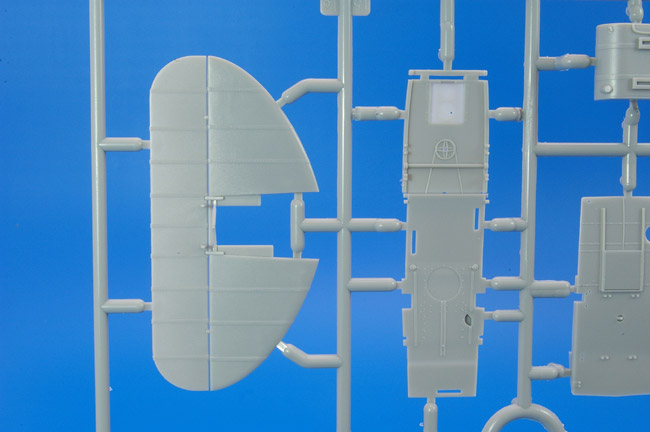
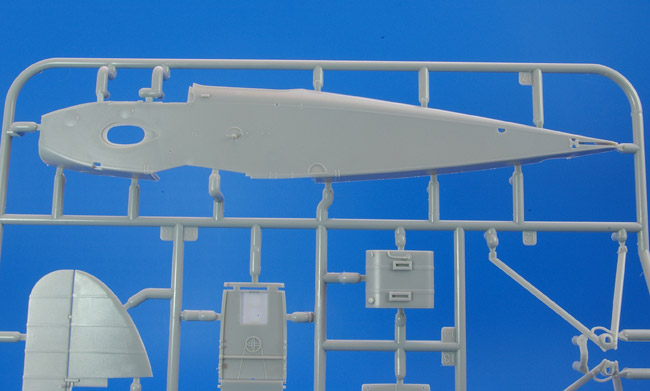
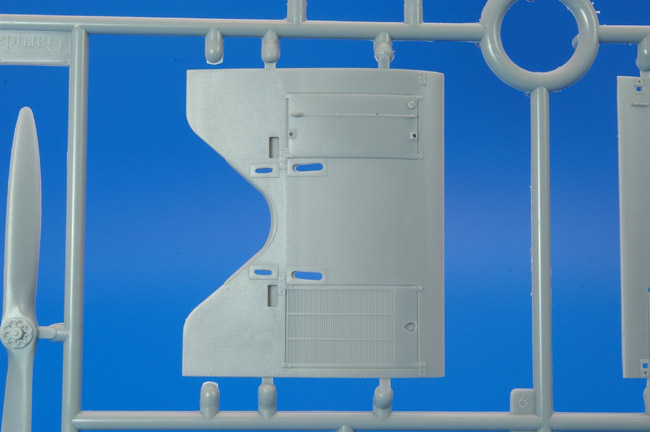
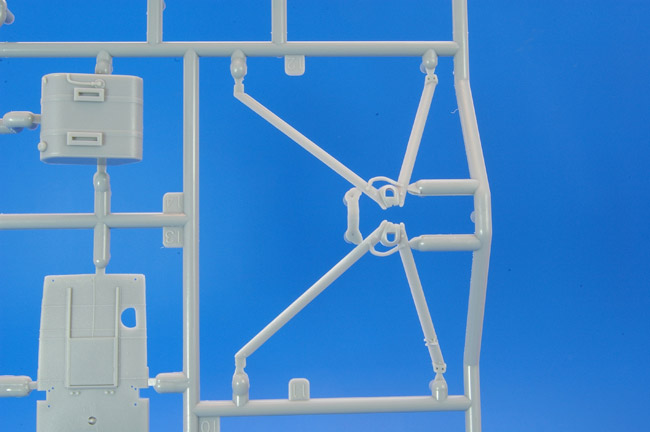
As always with kits from Wingnut the trailing edges of the wings are very finely moulded and are very sharp – just as they were on the full-sized aircraft. The sprue attachment points on the wings are quite large and care will be needed when separating the parts from the sprues. I would advise using a fine razor saw to remove the wings, cutting some way from the parts themselves and then carefully cleaning up the attachment points with a new scalpel blade and fine wet and dry paper.
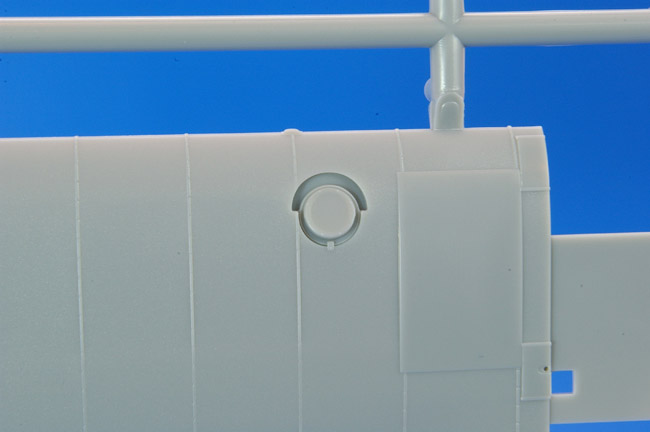
With some modelling projects I deviate from the kit instructions and take the approach of putting together the larger parts before adding the smaller more delicate parts. The instructions in these cases are used as a guide to part placement rather than as a construction sequence. However, having built a few Wingnut kits I would not advise taking this approach here. The build requires a more ‘modular’ approach where parts are painted before being brought together as sub-assemblies and I think that in this case the instructions should be studied carefully and followed to the letter.
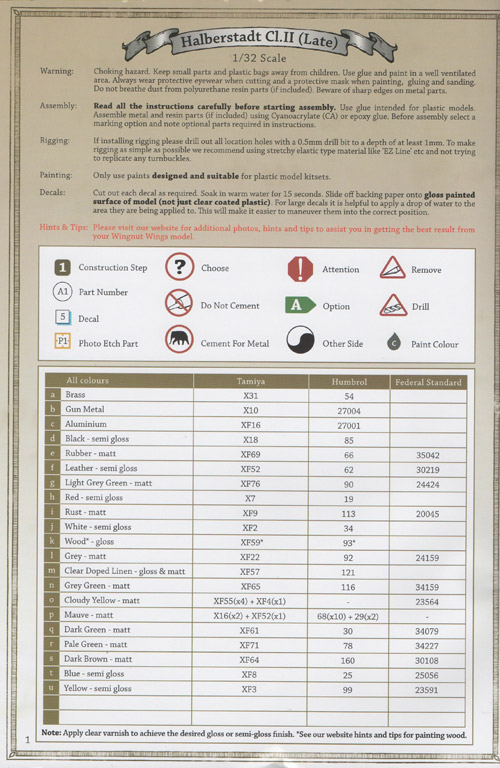
Painting references are to be found throughout the instructions. These refer to both Tamiya and Humbrol colours (with some mixing of colours being necessary). Federal Standard paint reference numbers are also included for those using other types of paint.
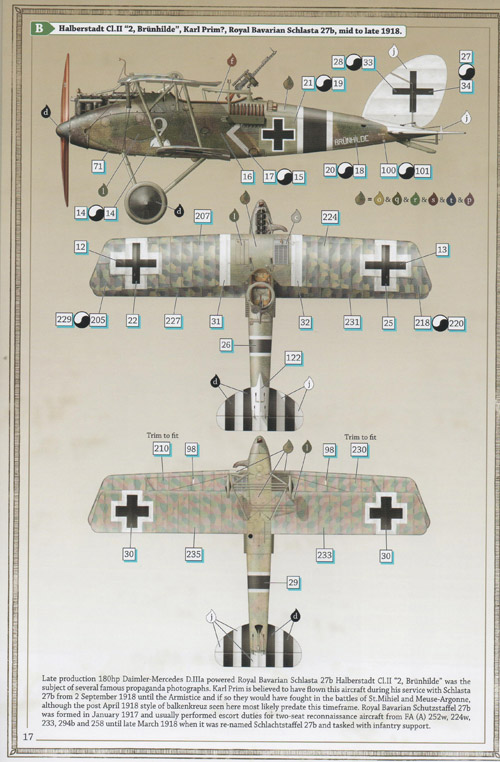
As usual there are markings for five aircraft provided in the kit. The colour schemes applied to some of these will involve replicating the multi-colour camouflage applied to the fuselage and upper wing centre section of some aircraft.
The complex camouflage on the fuselage sides which had an odd ‘speckled’ finish may cause some headaches for modellers, even for those adept at airbrushing. However, I understand that Aviattic will be producing a set of transfers for the fuselage which could solve the problem as well as replacement sets of lozenge transfers for the wings.
The lozenge transfers supplied in the kit look perfectly adequate to me, though the panels for the wings come in quite large sections which will need care when being applied to the model. They replicate the fact that the bolts of fabric were applied at an angle to the line of flight, so cutting the transfers up into smaller more manageable sections may be difficult. The lozenge transfers also come complete with the rib tapes and the strips of fabric along the leading and trailing edges of the wings printed in place.
Aside from glue and paint the only things that the modeller will need to supply will be the rigging material and turnbuckles.
A comprehensive rigging diagram is provided in the instructions. Wingnut suggests deepening the rigging attachment points using a 0.5mm drill and using an elastic material such as EZ Line for the rigging itself.
Two useful references for the model will be the Windsock Datafiles on the Halberstadt produced by Albatros Productions – though the photos in the instructions will probably be enough for most.
I’m not sure if the Windsock Datafiles are still available, but for those inclined to track them down they are Datafiles 27 and 157 and the ISBNs are 0-948414-31-6 and 978-1-906798-29-1 respectively.
All in all, this looks like a fantastic kit which, with care, will build into a large and impressive model. Wingnut Wings continues to impress with each new release and I look forward to building this kit in the near future.
Dai W.
Here’s my summary…