The additions made to these come from White Ensign and Pontos who supply the barrels. Once again they are tiny and these pics are super enlarged to show where the bits are fixed. The barrels are cut off the kit parts then drilled. For this I suggest the smallest bit to start just to get the centre of the area to be drilled. Then a larger (still very tiny) one to finish; this helps to drill true and keep the barrels straight.
The side supports have to be sanded to half their size (thickness that is!) and in the photo you can see I attached all of them to masking tape and sanded them so as not to shorten my fingers and /or lose them!
After dry-brushing the brass parts and painting them the gun shield is shown attached prior to a bit of weathering.
Bridge…
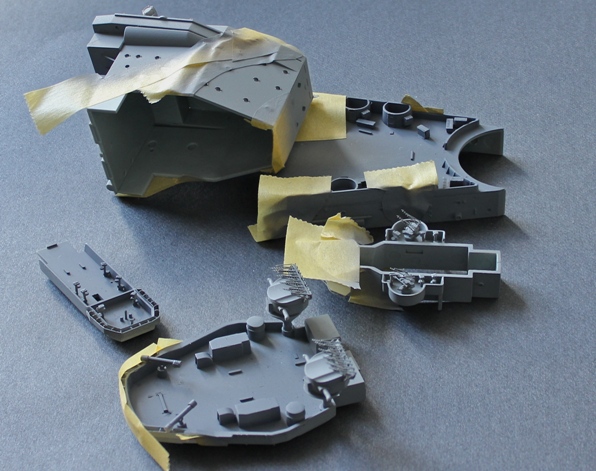
Here are all the bridge sections with most of the parts attached. It is being painted and weathered in sections for ease of access. The top section of the bridge with the “weather strip” attached is in the middle left of the shot. The deck colour is slightly darker grey than the ships camo colour. All the smaller details will be picked out with a fine brush.
Hull 1
ZOOM - Move your mouse over image
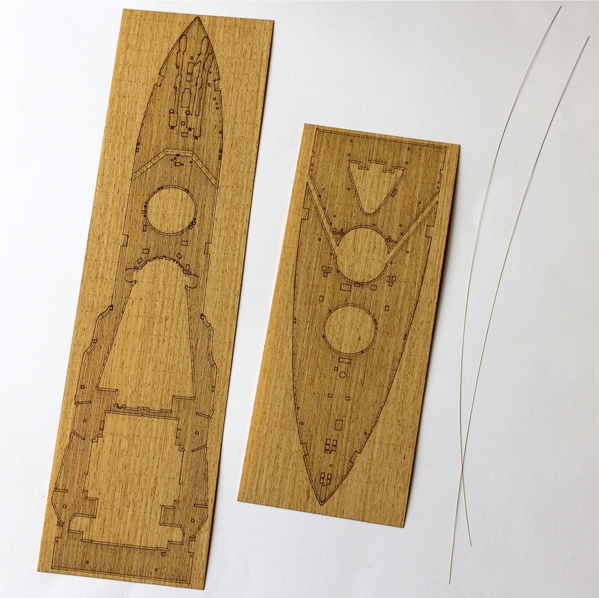
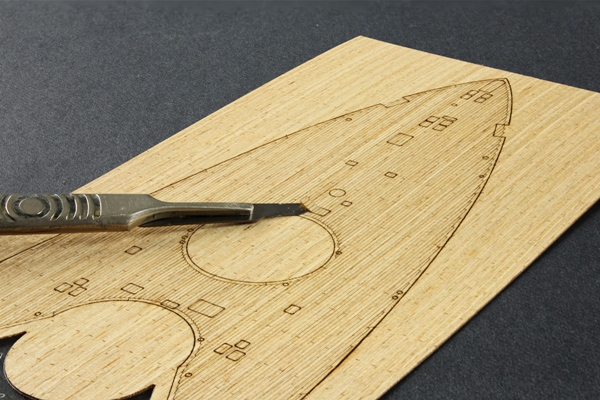
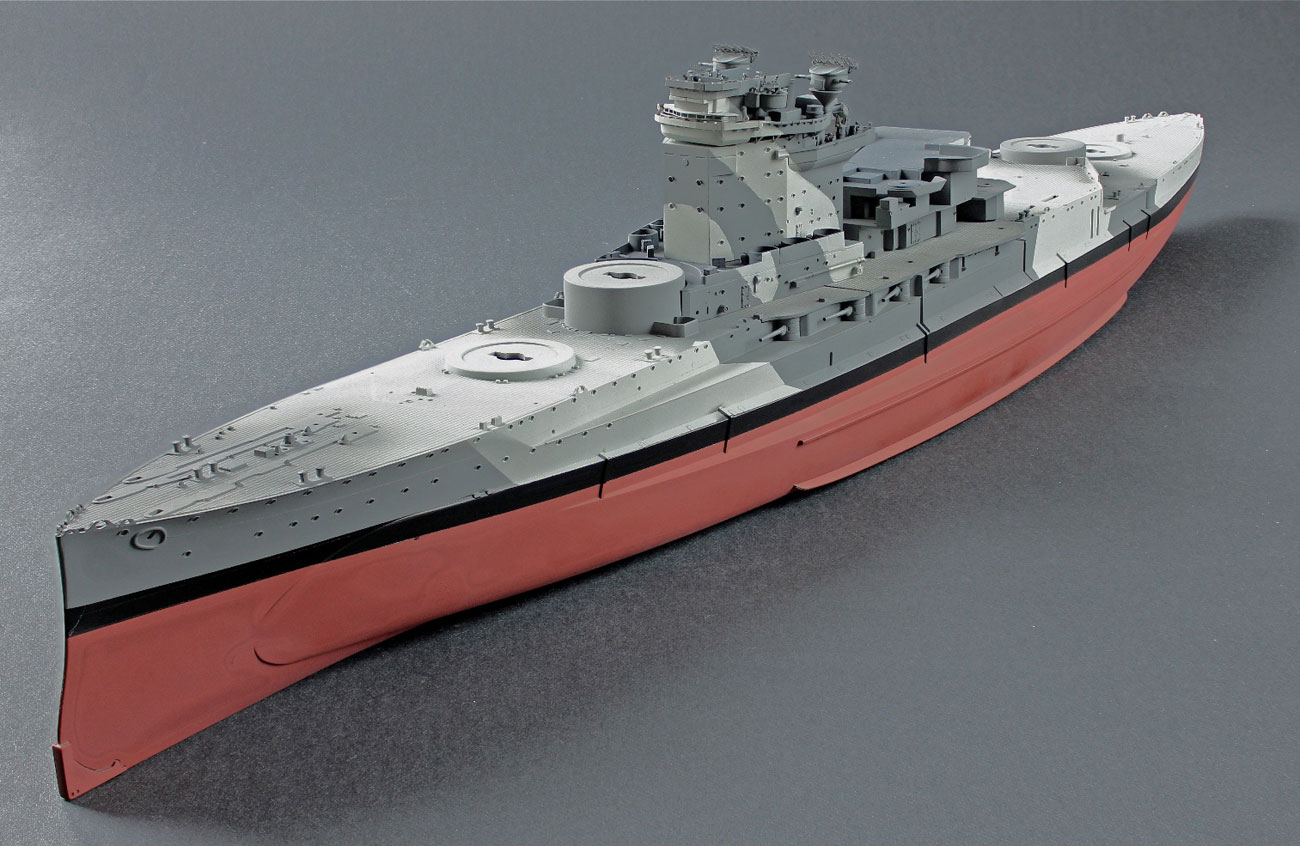
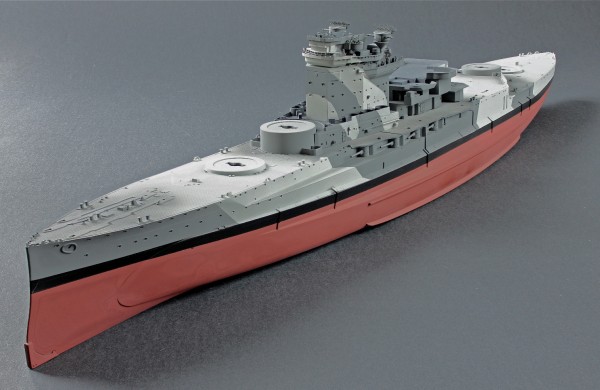
I have placed the bridge section on the hull just to pretend that I don’t have much more to do! Actually I am not looking forward to fixing the wooden deck. I have found out that it is very sticky and positioning it is not going to be easy.
The hull is painted. The instructions show the Plimsoll line to be much lower than most of the photos I have seen of her. The parts to be removed have gone and the “under deck” is in position.
The hull will be weathered before any other parts are fixed.
Pontos wooden deck…
