Deck and hull
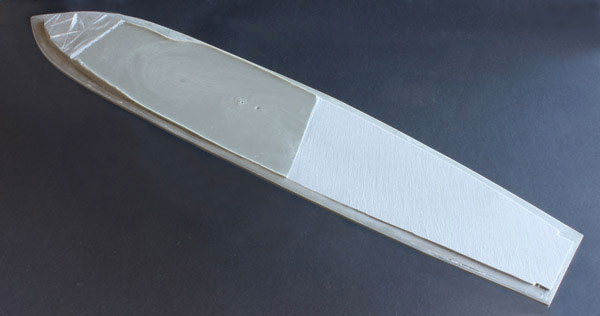
The deck is nicely detailed on the upper surface but moulded onto its underside is a block of resin which denies it any flexibility. This has to be substantially thinned and as it is not possible to saw it, I used a rough grained Perm Grip Sander.

Use masses of water and wear a face mask for this as the resin flies everywhere! To be quite honest I thought that this was a bit of a pain. The pic shows it half sanded – it took, all in all, about three hours before it bent enough to line up with the hull.
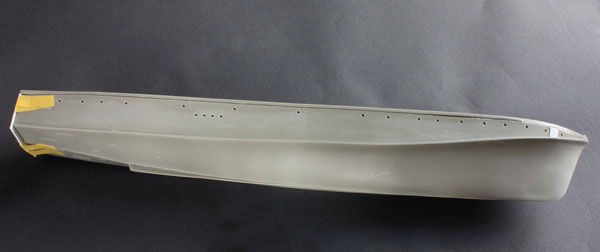
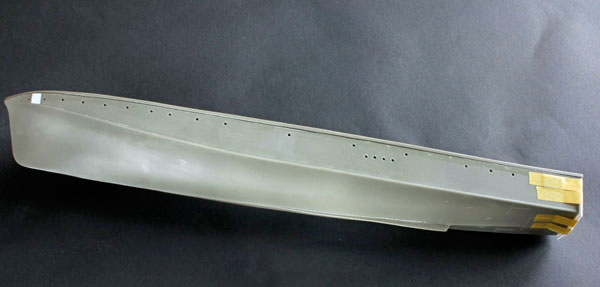
Once it was flexible enough I attached it to the hull. It needs quite a lot of work to hide the join and make good.
All the portholes have to be drilled – I used the large colour drawings to line these up. This didn’t take as long as I thought it would.
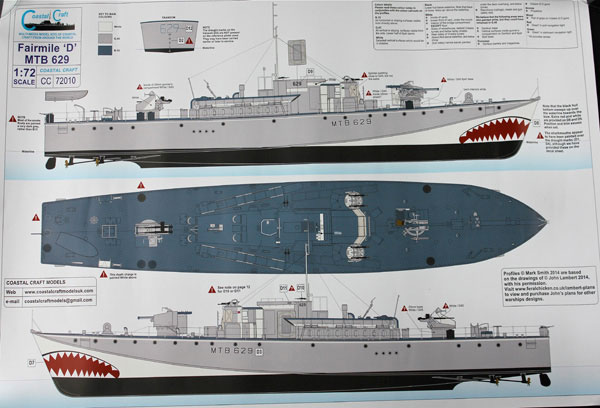
The stern has to be cut to length and a piece of card is supplied for the transom. It is best to cut this to a rough shape and sand it along with the rest of the stern to fine it all up. In the meantime I have broken off the thin bit of the keel!
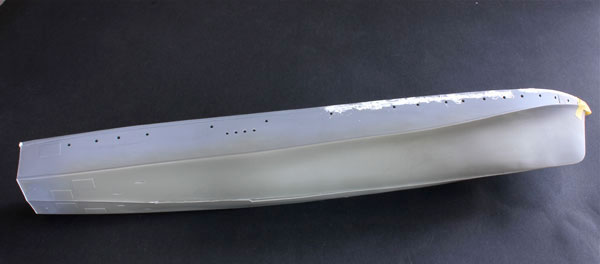
You can see that once all the above is done there is still quite a lot of filling and sanding to do. As a result I have not put the porthole surrounds in place as yet.
In the meantime I have spent a lot of time making up, filling and painting all the deck accessories and torpedoes (which are not yet finally attached to their brass bases). The torpedoes need weathering which will help to conceal my somewhat unsteady painting hand!
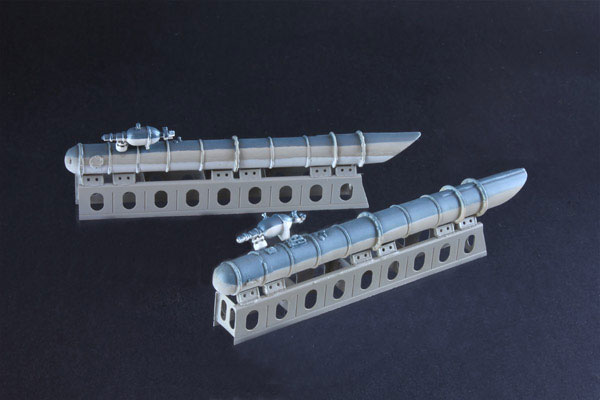
I am underway now and there is not too much more to do.