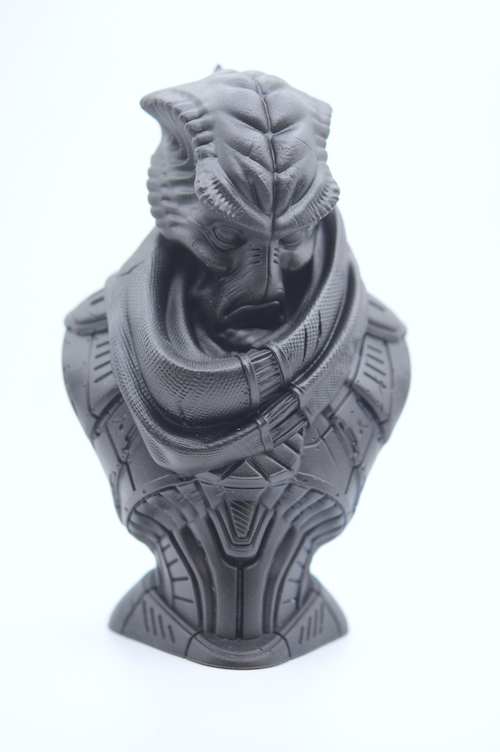
Leather Faced Grumpy Alien Bounty Hunter
Scale: 1/8, 6 inches tall
Kit Type: 3D print resin
Kit Number: NP3
Price: TBC
Ninja Printz was started by Ultimate Modelling Products owner Lee and offers 100% 3D printed using a professional grade resin. They have three resin printers and 20 FDM printers at the print farm, all going 24/7 – with the electricity bill being painfully high at the moment.
Lee started Ninja Printz as the quality you can get from a resin printer has now exceeded that of moulded resin and there is far more choice out there. So, with that in mind, Lee decided to hop over from FDM printing (as you may know Lee already does a lot of 3D printing projects for UMP) and give the resin printing a shot. Lee already has well over 200 models spanning many genres and there are at least another 10-20 added per month.
I will add here that Lee provides a service to modellers that exceeds many. Not everybody has or wants a 3D printer and this service allows access to the technology for everybody.
The 3D printed bust doesn’t need much cleaning, a few scrapes and a detergent wash. As the bust is hollow, I filled the inside with bits and bobs to add some weight. When dry the bust is given a layer of Army Painter Black Primer from a rattle can. This gives a thin strong layer for the acrylics to bond to later.
Leather face, made that up, who knows what his/her complexion really is. However there is a fantastic YouTube video from Vallejo on painting leather jacket.
The face area is given a good coat of Vallejo 70.994 Dark Grey diluted 60:40 with water. Use a good brush for this. Shouldn’t be necessary to add a second coat but if you feel it’s necessary, use 30:70 mix with water so not to flood the detail. Note the ‘handy’ holder for the bust, yes it’s a cotton glove and more flexible than wearing it on your hand.
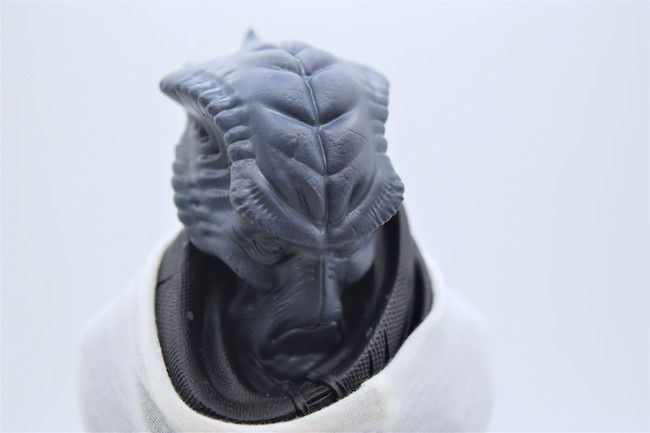
(Photo: First Layers Note Glove put to good use)
The first highlights, Vallejo 70.871 Leather Brown diluted 50:50 with water is added to the higher parts of the face. This can cover more than half the area and doesn’t have to be neat and tidy. If you need to add a second coat then make sure that you stay within the boundaries of the first coat.
When dry the 2 colours are blended by a mix of 70.871 Leather Brown and 70.994 Dark Grey, 75:25, diluted 30:70 and added up-to the highlights painted above.
Some warm highlights were added with a mix of 70.871 Leather Brown and 70.929 Light Brown 65:35 diluted 40:60. These highlights were used to gently pick out the shape of the ridge.
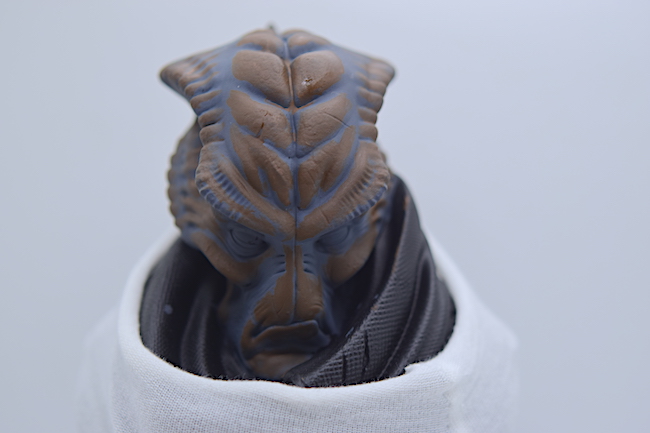
(Photo: Shading added)
Now the scary bit, a wash of Vallejo Game Ink 72.092 Brown diluted 50:50 and added to the whole face and head area. Let this dry fully.
Some outlining is added with a fine tipped brush using 70.994 Dark Grey, 72.092 Brown Ink and 72.087 Violet Ink 20:40:40 undiluted and carefully added to the deepest areas. A lot of work but works a lot.
With the Dark Grey base, adding multiple layers of undiluted Yellow Ink to the eye area gives a lovely glossy light green finish.
The collar area is very prominent and I want it to stand out. I started with Vallejo Red leather and then dry-brushed with Ammo Mig 0601 Light Grey Drybrush paint. Shadows were added using the Red Leather mixed with Vallejo 70.994 Dark Grey, diluted with water 1:1.
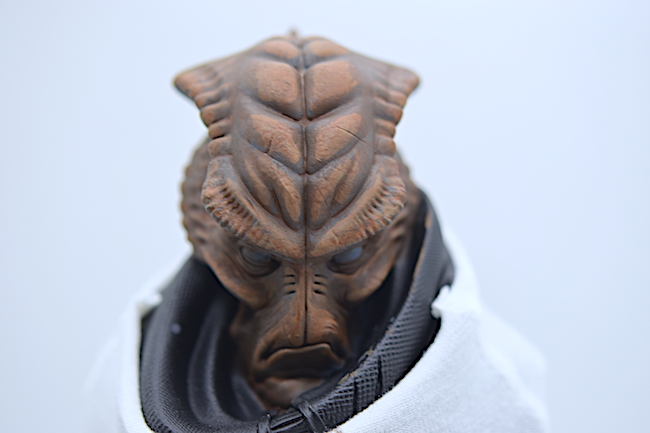
(Photo: Washes done)
The armour was painted Vallejo Acrylic Metal Color 77.720 Gunmetal Grey- there is a great alternative to NMN, the current non metallic painting fad, and that is good old metallic paint. The paint went down well with a brush and was followed up with some Steel AK True Metal Wax, rubbed on with my finger after first rubbing a towel, dry brushing with the Mk.1 paint brush is more messy than any Argentinian football player, but good fun and fulfilling. It gives a nice light highlight edge to the armour. The shadows were carefully painted with a 1:1 mix of Purple ink:Black Acrylic with a drop of Vallejo Metal Medium which gives it a metallic sheen ( Vallejo Metal Medium makes any colour Metallic, great addition to your paint arsenal). This was applied diluted 1:1 water.
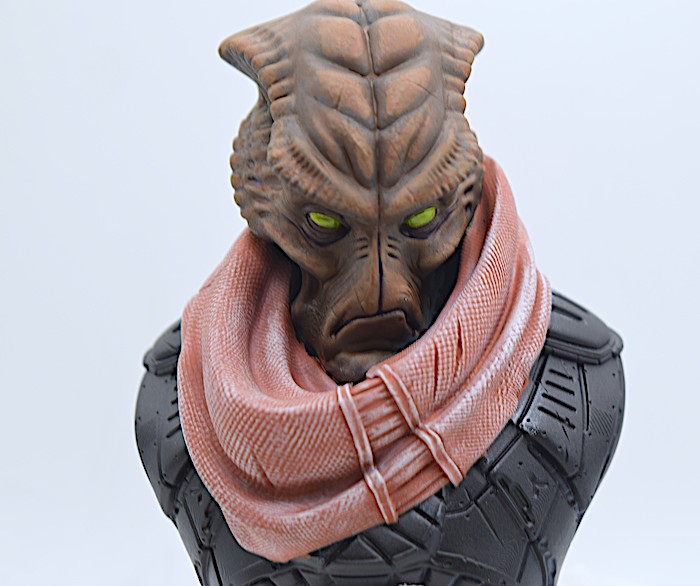
(Photo: Scarf painted and drybrush heaven)
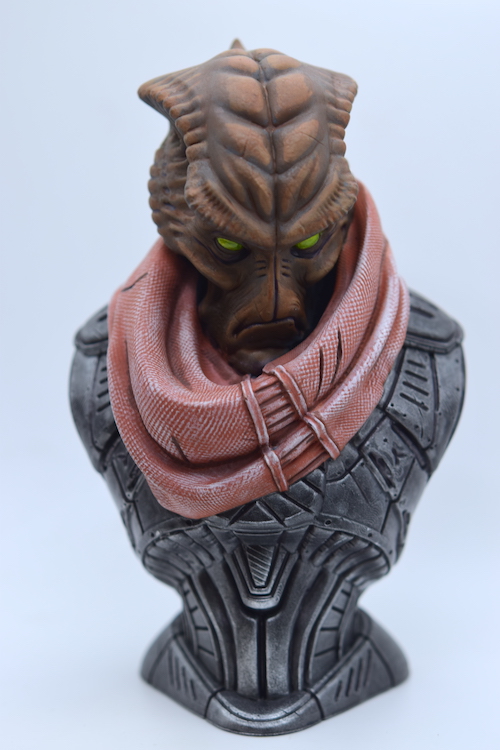
(Photo: Armour painted and highlighted)
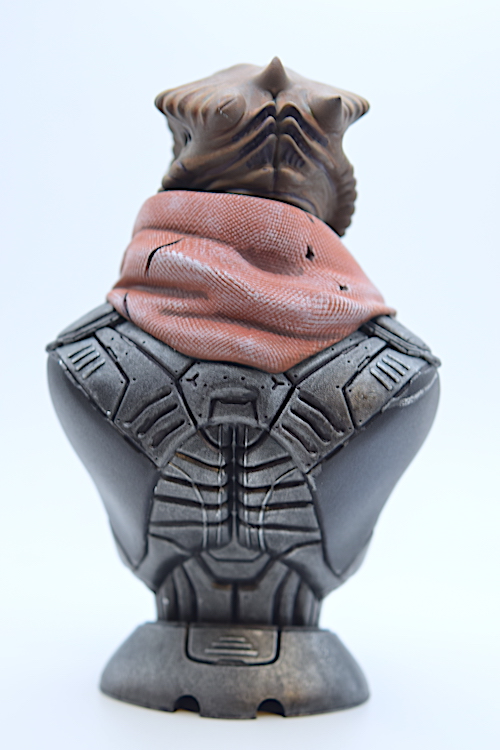
(Photo: Rear is just as well sculpted)
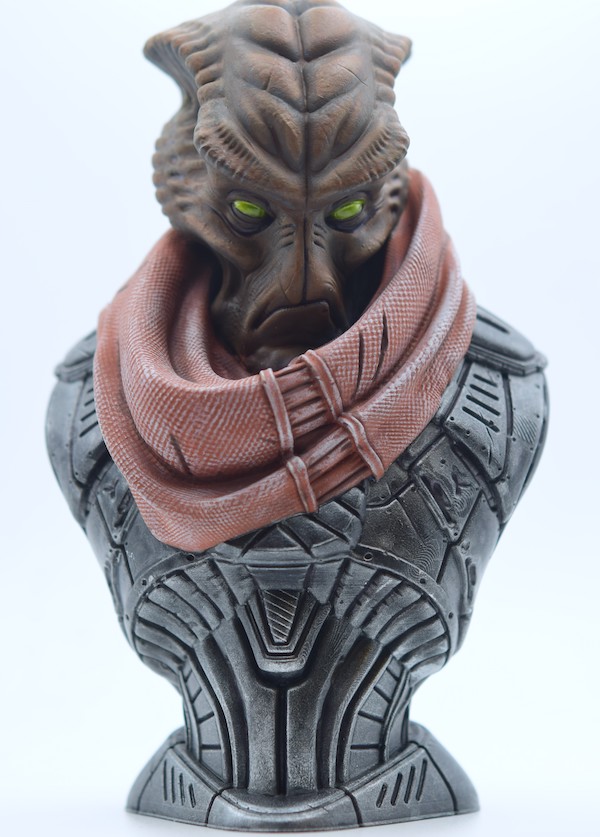
(Photo: Finished)
This is the 5th Ninja Printz figure/bust that I have bought, and it won’t be the last. I haven’t any desire to buy a 3D printer and wait 24 hrs for one of these lovelies to appear. Leave it to the expert and go to Ultimate Modelling Products and Ninja Printz to fulfil your wildest desires.
Go to https://www.umpretail.com/ I bet you buy something.
Tom P.

Ask a question or add feedback:
You must be logged in to post a comment.