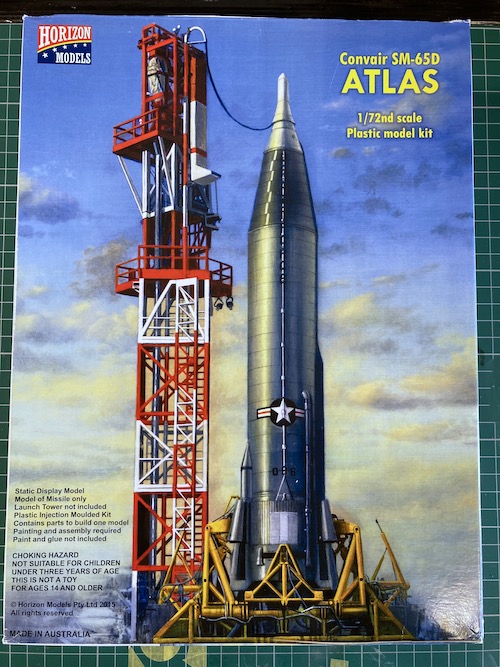
Kit Ref: No.2001
Short Feature Article with Tim Haynes
Background
Since I built Takom’s 1:35 V2 offering the other year I have acquired a few rockets, most of which reside in the stash. However I obtained this Atlas ICBM by Horizon Models recently, as the box art really caught my eye, and the price I paid was “very reasonable”. This became a little project in parallel to the Tamiya Suzuki GSX-RR that I have recently finished, and due to the low parts count and relatively quick build time was a nice distraction.
This is just a short article of what was a simple build…
The Plan
There are three versions available to build in this boxing, all of which represent test vehicles with slightly differing configurations / payloads. I went for the 2nd option, which is the latest (in terms of chronology), Atlas 101D S/N 58-7096 as this represents the initial operational configuration of the Atlas ICBM (Intercontinental Ballistic Missile).
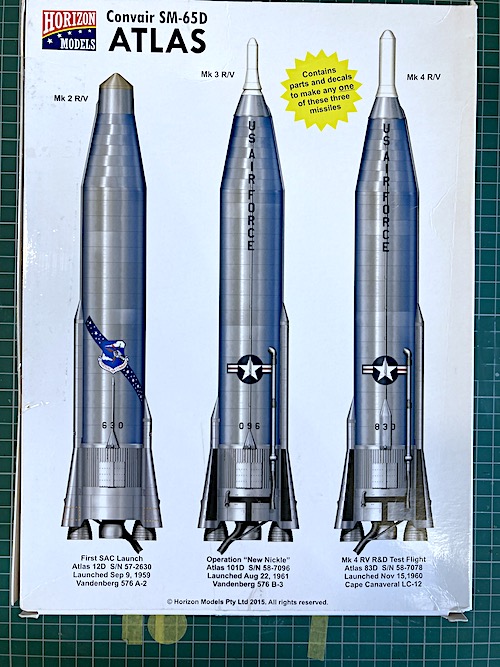
References
I did read a few build reviews on the Internet prior to commencing assembly, but other than that it was just the box art and instructions.
Main Body
The first step is to identify and drill out any fixing holes in the main rocket body that apply for the chosen scheme. This allows the correct external pipe fitment. A little time is necessary to confirm front and rear halves in preparation for these location holes, and then maintain the correct orientation for the duration of the build.
The main body is built up from two upper (the main body) and two lower (the faired lower section) halves, plus a recessed base on to which the exhaust nozzles / engine bells are mounted later on.
I assembled the two sections, but kept them separate to make painting simpler later as they require separate metal shades, and this avoids the need to mask them. Alignment of the two upper halves requires care, but there was still a need for seam clean up as they are not a perfect fit. This is not to onerous as parts of the seams are covered by fairings.
Then it is just a case of using a range of sanding sticks (take care not to flatten the profile) to minimise any steps, followed by use of filler as appropriate to deal with any residual gaps. As this is will have a Stainless Steel finish, any sanding (and seam) marks need to be removed as they will be visible otherwise. The lower sections are easier to get a good finish on as the seams are both shorter and on flat surfaces.
I added the appropriate side fairings to the main upper body prior to painting.
Painting
I did prep the few other sub-assemblies, namely the rocket nozzles / engines and payload (nose cone), so that all priming could be done at the same time.
Items such as pipework and the small Vernier fairings for the manoeuvring jets were all dealt with on the parts frame.
I used Alclad Gloss Black Base on everything apart from the payload. This last item I sprayed with Mr Surfacer 1000 (Grey) mixed 50/50 with Mr Levelling Thinner, as this requires a gloss white finish.
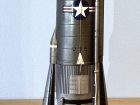
Once cured the main sections were flatted back using Micromesh cloths (8000 and 12000 grades) prior to applying the main shades. These were Alclad Stainless Steel ALC115 and Alclad Aluminium ALC105, which I sprayed in several light coats. I used a variety of other shades for the exhaust nozzles / engine bells, and large vent pipes. Various details were picked out with a range of enamel shades using a brush.
I think I have mentioned in previous articles that these Alclad 2 paints are now available under the AMMO by MIG brand, so am not sure if the numbering system is still the same.
The payload was sprayed using Humbrol Gloss White Enamel No.22, as usual mixed 50 /50 with their thinner.
Main Assembly and Decals
Next step was to assemble the upper and lower body parts, which are a nice firm fit (I had dry fitted these several time earlier to make sure..).
I gave the assembly a few light coats of Alclad Klear Kote Gloss ALC310-60 to minimise any potential problems with the decals.
Then it was a case of applying those decals appropriate to the scheme selected. Due to the breakdown of the kit some decals need adding prior to certain parts being fitted, but this is made clear in the instructions.
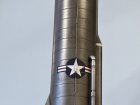
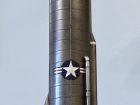
There are a number of optional decals provided to deal with the pipes, which run up the sides, and in some cases in front of the main markings. These are a bit fiddly, but work well with a bit of patience.
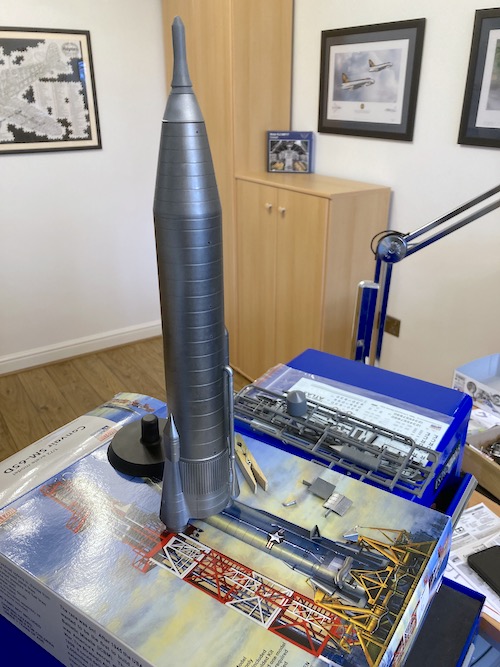
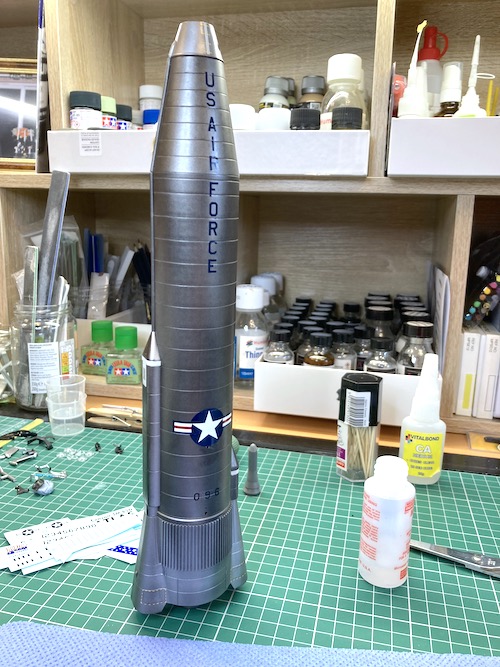
Finishing up
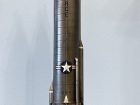
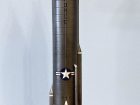
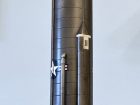
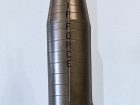
The main rocket body was then given a light coat of Alclad Klear Kote Light Sheen ALC311-60 to seal the decals, and to try to eliminate a small amount of silvering that was noticeable on the “US AIRFORCE” markings. I then used some 12000 grade Micromesh cloth wet, to add a little more shine without being fully gloss.
Finally it was just a case of adding the payload and exhaust nozzles etc and then using some of the spare decals to enhance the simple stand.
Summary
As a relatively quick build, this was a nice little kit of an interesting subject, all be it, a full-on Armageddon version of the Atlas booster, rather than a launch vehicle for the Mercury program.
In 1:72 scale this subject is big enough, but will not cause issues in finding a suitable vertical space to display it.
Thanks for looking
Tim H

Ask a question or add feedback:
You must be logged in to post a comment.