Full Review with Tom Primett
Pan’s People
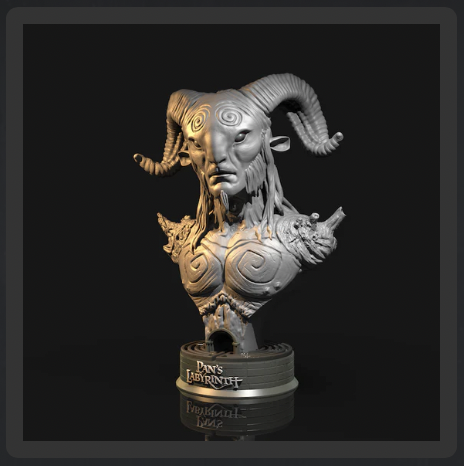
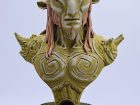
What follows is how I painted Ninja Printz 3D printed Faun from the Pan’s Labyrinth film – sorry, headline is a smile for you older modellers.
Scale: unknown
Kit Type: 3D print resin
Kit Number: NP188
Price: £26.99 (July 2022) available from UMP
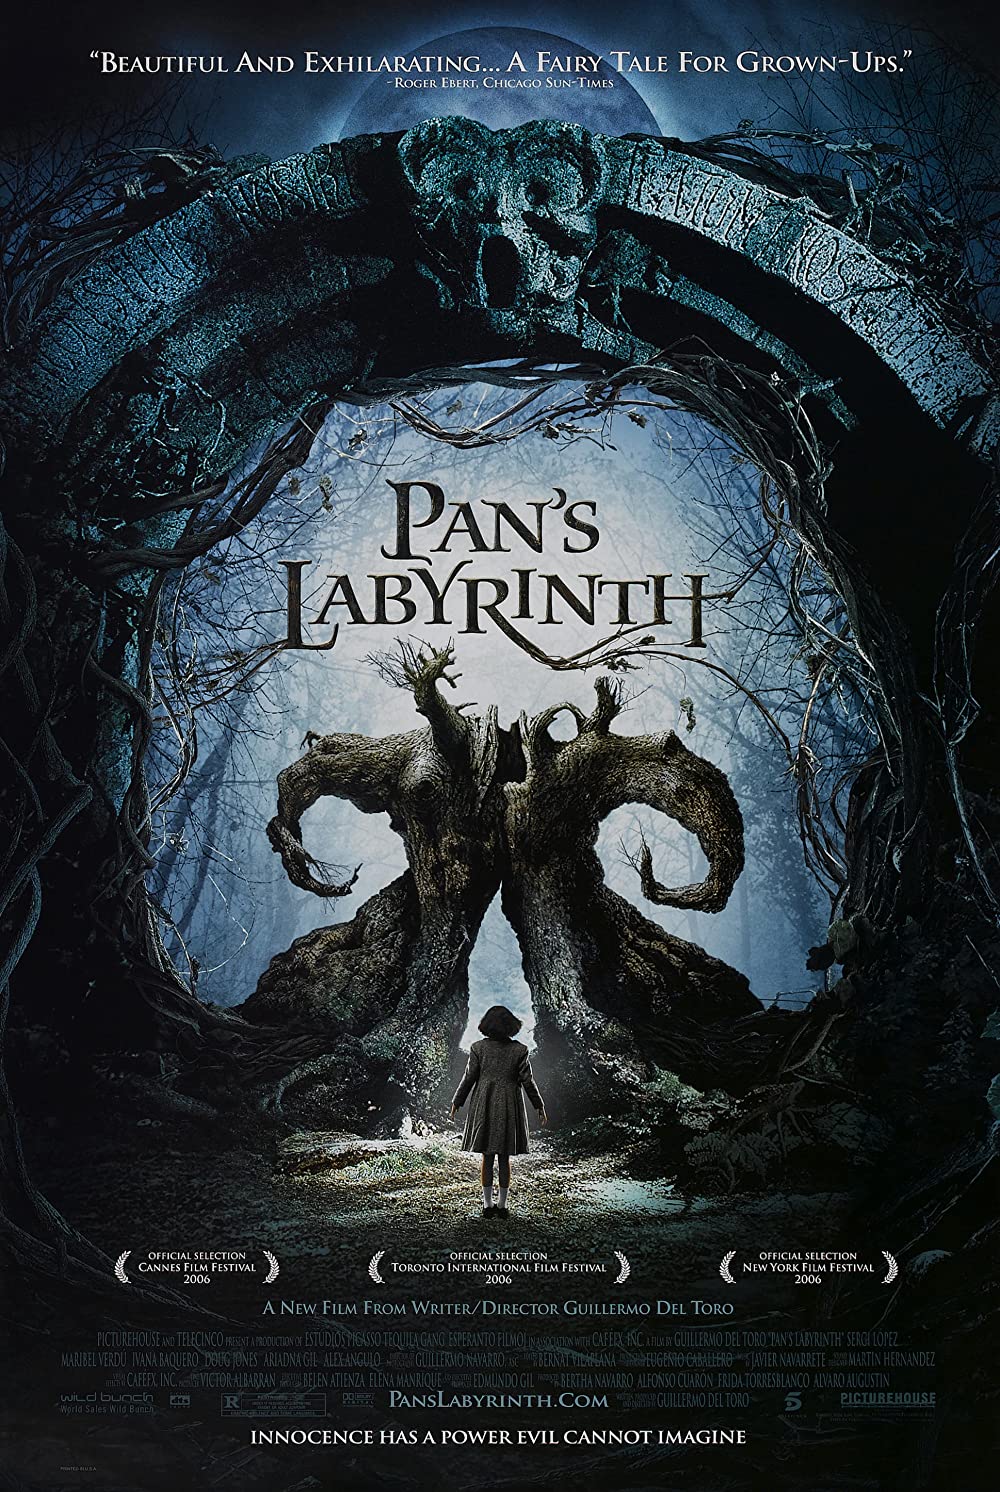
Well, firstly you must see the film, amazing piece of work. The ideas generated certainly inspire Fantasy figures and the Faun is one of those.
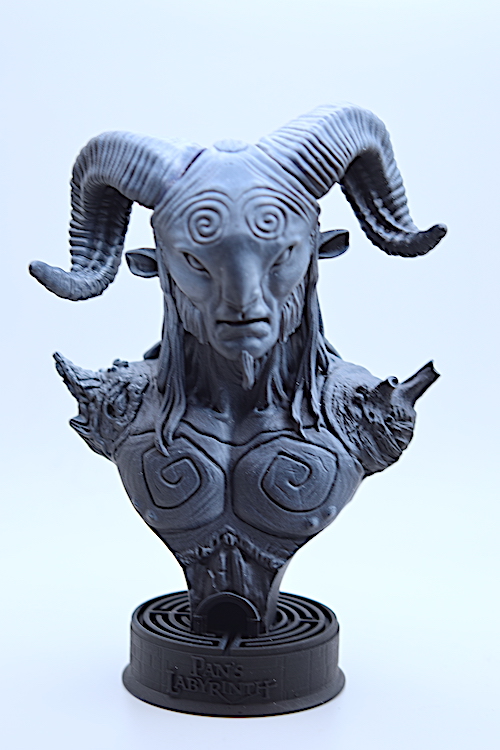
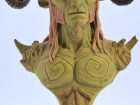
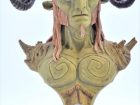
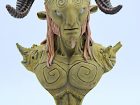
3D printed by Ninja Printz and sold by Ultimate Modelling Products, this is an absolutely gorgeous bust of the hideous looking Faun. The bust is 6 inches (10 centimetres) high.
Ninja Printz was started by Ultimate Modelling Products owner Lee only a few months ago and 100% 3D printed using a professional grade resin. They have three resin printers and 20 FDM printers at the print farm, all going 24/7 – with the electricity bill being painfully high at the moment….lol.
Lee started Ninja Printz as the quality you can get from a resin printer has now exceeded that of moulded resin and there is far more choice out there. So, with that in mind, Lee decided to hop over from FDM printing (as you may know Lee already does a lot of 3D printing projects for UMP) and give the resin printing a shot. Lee already has over 200 models spanning many genres and there are at least another 10-20 added per month, but saying that, there maybe another 200 going on very soon. Just got to work with the artist on them!
I will add here that Lee provides a service to modellers that exceeds many. Not everybody has or wants a 3D printer and this service allows access to the technology for everybody. Also Lee has this annoying habit of adding a packet of Haribos to each order, a small very addictive packet of yumminess. This is my 2nd figure from Lee, my 4th has just been delivered and this wont be the last.
Many of Ninja Printz creations are based on Fan Art, and as you would expect, allows for a huge wealth of images online. This Faun is no exception, watch the film, read about making of the film, look at the hundreds of images online.
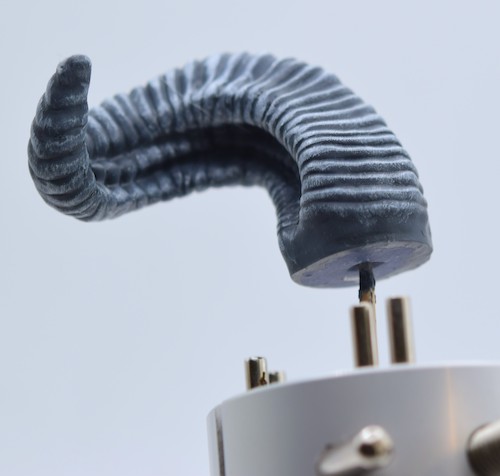
I started the build with the horns, which were temporarily added for the primer stage and I used MIG Ammo One Stop Black primer all over, followed by a spray from top down of One Stop White. This was left to cure for a couple of days.
The horns now can be separated and the highlight/shadow areas are defined. I came across a great Vallejo YouTube video on painting brown leather coats, it does work as I used it on a recent figure. I adapted this technique to make better use of the excellent sculpting. The horns are given a brush coat of 50:50 Vallejo Dark Seagreen: Water. This Dark Grey base is then dry brushed with Ammo Dio Drybrush Paint Light Grey. These highlights are pulled back using wash of Vallejo Game Ink Brown, diluted 50:50 with water. The shadows were picked out with a mix of Dark Seagreen and Purple ink, not diluted and carefully applied with a fine tipped Sable brush.
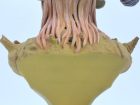
The hair was fun. Started off with red ink diluted 1:4 with tap water carefully painted onto the well sculpted strands. This is followed by a light coat of Flames of War 824 German Camo Orange Ochre diluted 1:1 with water, and a Drybrush of Ammo Light Sand to pick up the highlights The ends picked out with Ammo light grey. I then tidied any overspills of hair colour from the body colour.
Online there are many reference images of the actual film character/creature….one eating a pizza in the cafeteria! The costume and makeup does change through the film and is heavily lighting driven. I decided on a Light Brown/Light Grey/Green mix to cover skin tones, and slightly darker version for the clothing.
After much searching of model colour databases the colour that gave me what I was looking for is Tamiya XF-76 Grey Green which is actually quite green on its own so was mixed with Flames of War 824 German Camo Orange Ochre, which gives the balance in brown element. This base colour was diluted 50:50 with water and applied to all flesh areas including the scalp as he appears to be balding slightly, happens to the best of us eventually.
I combined the base colour above 1:1 with Vallejo 70928 Light Flesh and diluted 1:1 with water. This is carefully applied to the flesh high points as neatly as possible. The highlight colour was then lightened further with some more Light Flesh and added inside the boundary of the previous highlights.
I moved straight onto the shadows, and this figure gives some weird ones. I used the base colour and some Tamiya XF63 German Grey 1:1 diluted 1:1 with water. This was carefully added around the hair and scrolling, with some attention under the eyes and chin. I took this opportunity to add this shadow to the clothing.
When dry I blended the shadows and highlights together with a mix of base colour and Panzer Grey 3:1 at a very diluted 1:4 water. This coloured in the remaining areas and overlaps. the shadow/highlights.
Now the bit I was dreading. All of the above were tested on a donor figure, which I subjected to a wash of Brown Ink diluted 1:4 water. Failure. Changed idea to using the blend colour further diluted and applied to the test subject, success. This was carefully washed over the skin, not the hair or clothing. The shoulders/clothing and hair was given a very diluted wash of brown ink followed by a further wash of the blend wash mix, except the hair.
The eyes were painted with layers of light grey, the darkest base colour first and then circles of ever lighter towards the centre, the centre being a very light grey but not white. The white is reserved for a little catch light in the eyes. The reference images show the eyes to be very high gloss, so 3 layers of Ammo Gloss were added.
I added the horns to see how things are jelling together, I’m happy.
The most difficult part to paint is the writing on the base, which was achieved by drybrushing the black ink covered base with a light grey.
I love the busts that I have bought from UMP/Ninja Printz, quality is superb and are easy and fun to paint. The beauty of 3D printing is that many of the figures can supplied in a variety of scales.
Now onto painting Thrall from World of Warcraft, Big and Beautiful.
Tom P.
Gallery

Ask a question or add feedback:
You must be logged in to post a comment.