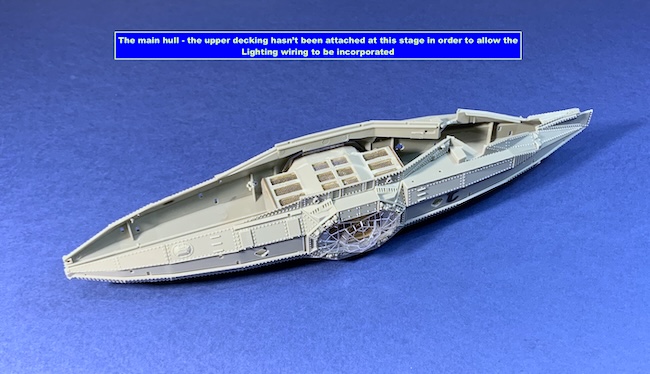
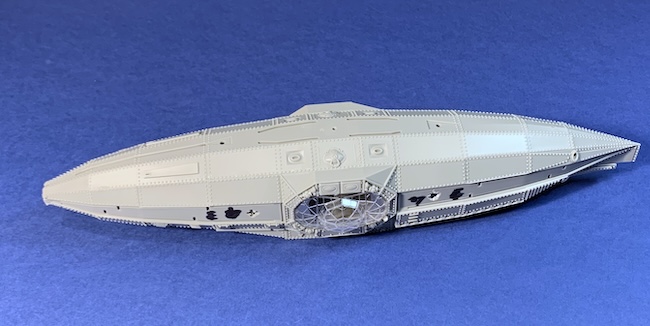
All the previously constructed assemblies are then inserted into the main submarine hull. The upper decking is left off at this stage in order to allow for the insertion of the lightning.

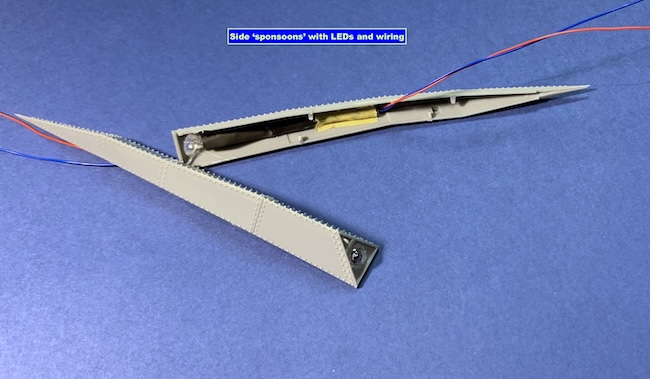
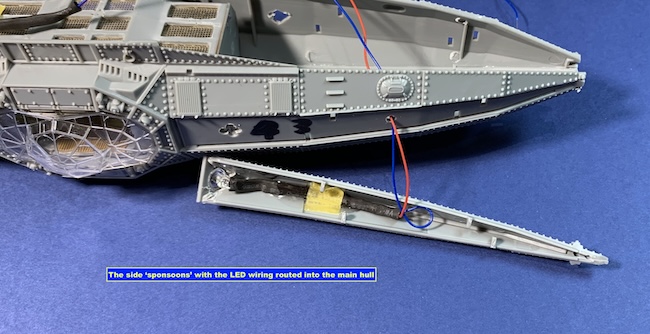
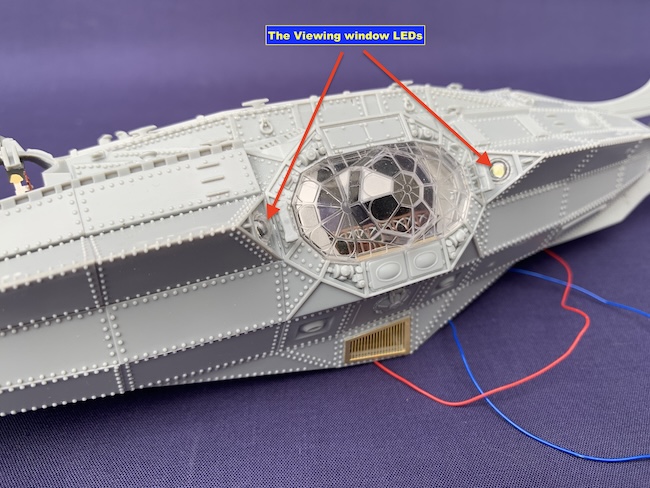
The side ‘sponsons’ contain LED lights to allow the area in front of the viewing windows to be lit.
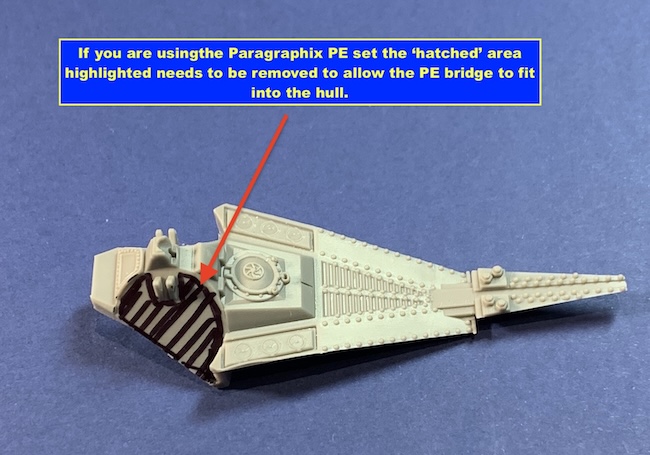
The front decking section needs the ‘hatched’ area highlighted to be removed if you are going to install the Paragraphix PE bridge.
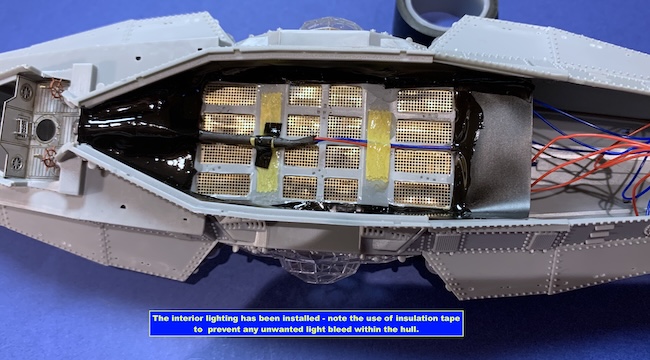
If installing a light system, you will need to ensure that there is no light ‘bleed’ through along any joins. This is achieved by the use of insulation tape to isolate the LEDS and by ensuring all the joins don’t have gaps – any gaps were filled with white glue or epoxy.
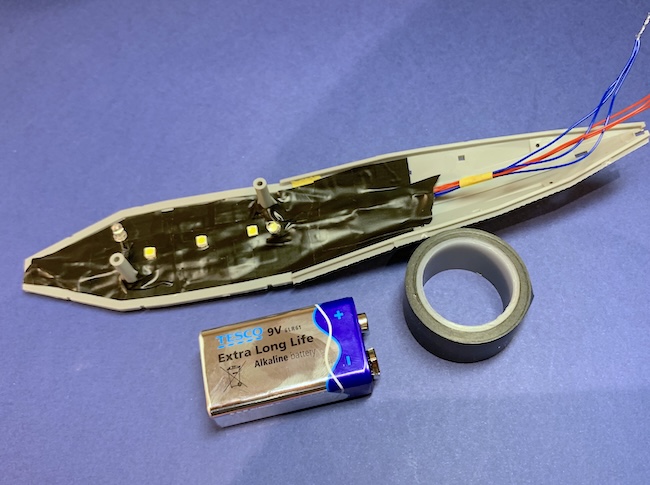
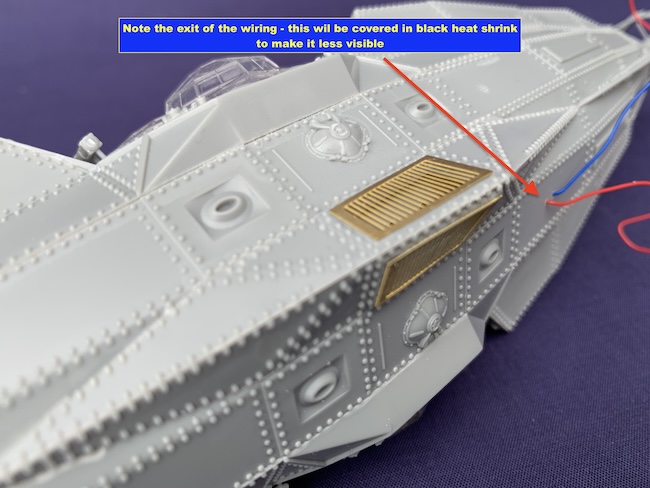
You can’t contain the battery within the model so the power leads need to exit from the submarine. This is best done from the back side of the model and then routed behind the squid’s tentacles to obscure it as much as possible. I also covered the red and blue cable with black heat shrink to further hide it.
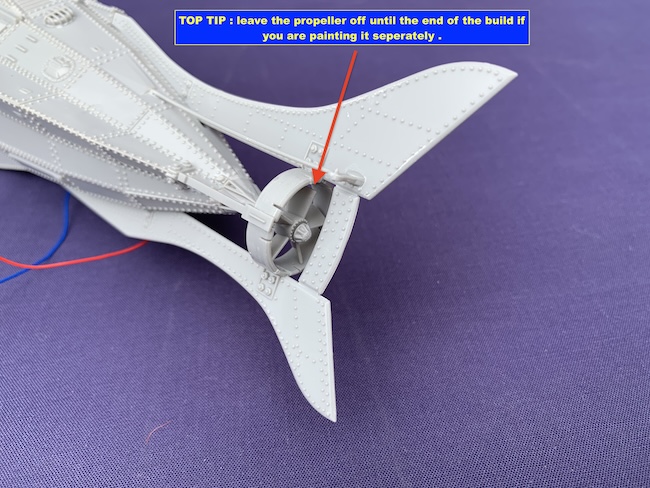
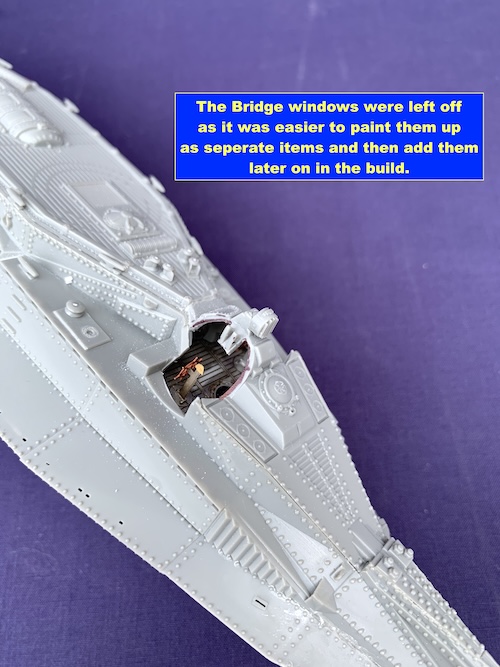
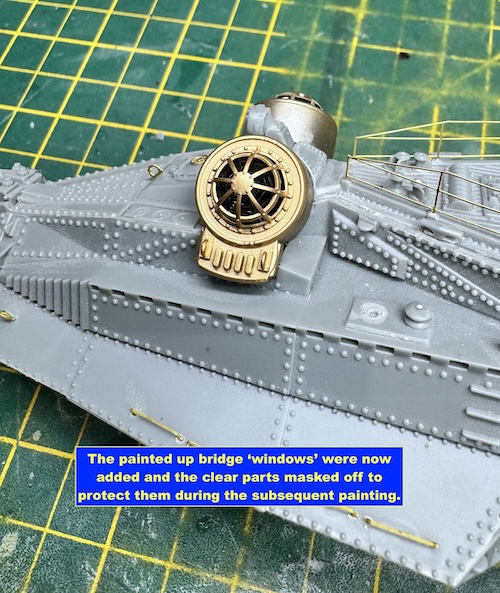
Prior to applying any paint, I found it easier to paint up the bridge windows and then add the clear parts. These could then be added to the hull and masked off. It’s also easier to paint the propeller up as a separate item and add it later.
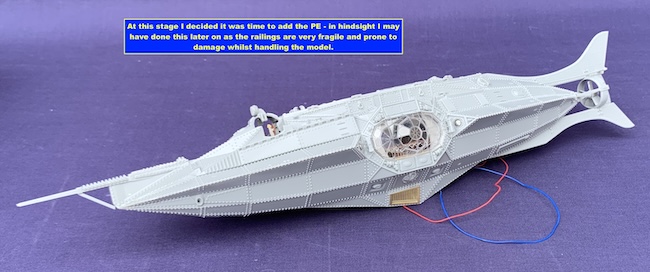
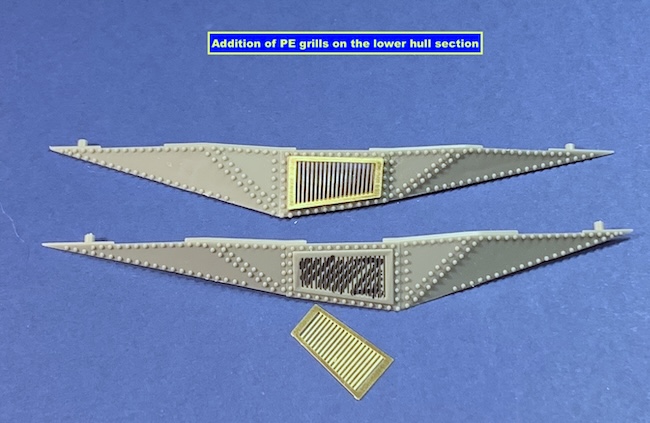
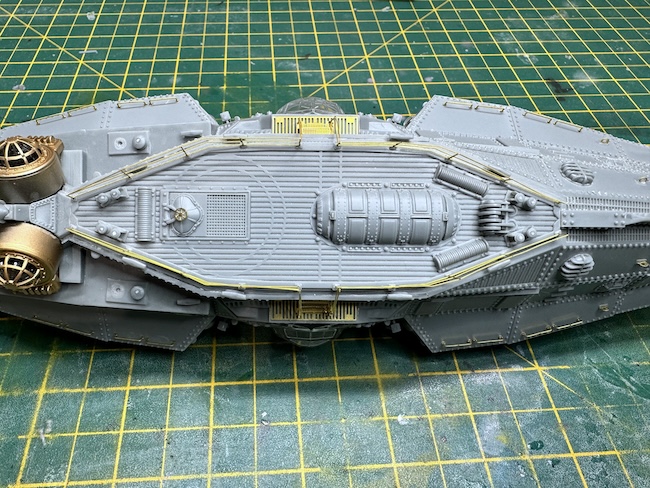
I had this point in the build decided to add the remaining PE. In hindsight leaving the railings off would have been a better idea as it was quite fragile and whilst I was working on the other areas I kept on damaging it and having to re-bend it into position.
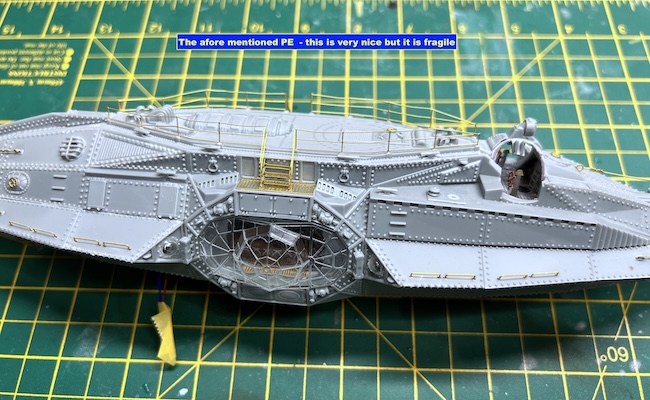
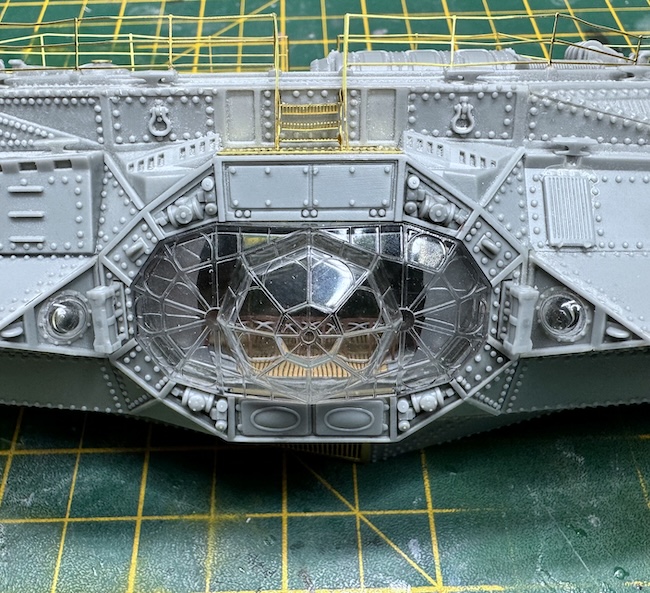
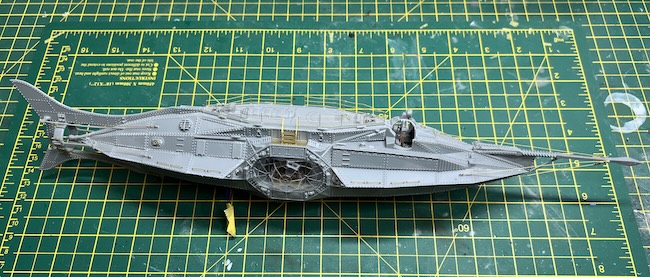
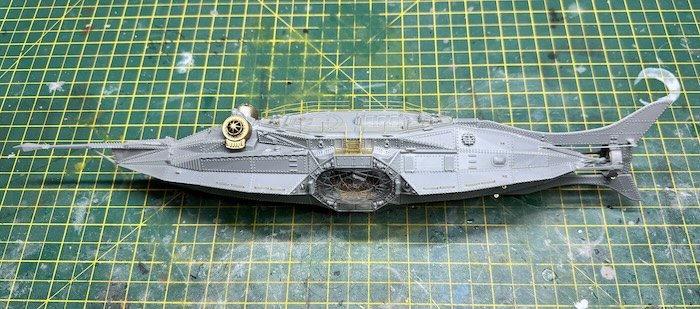
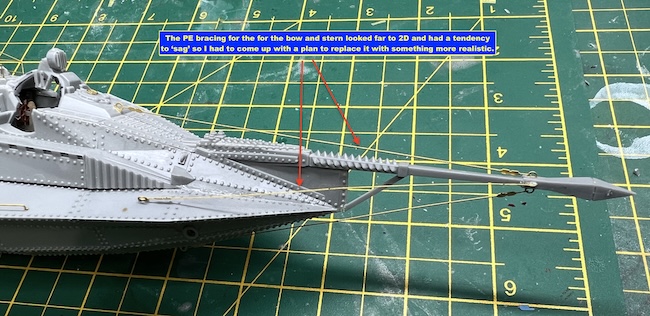
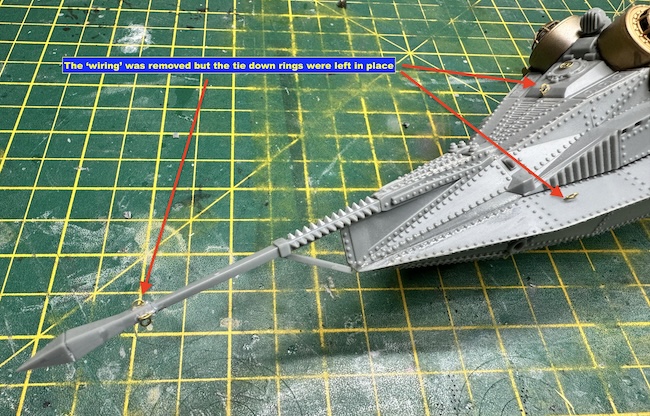
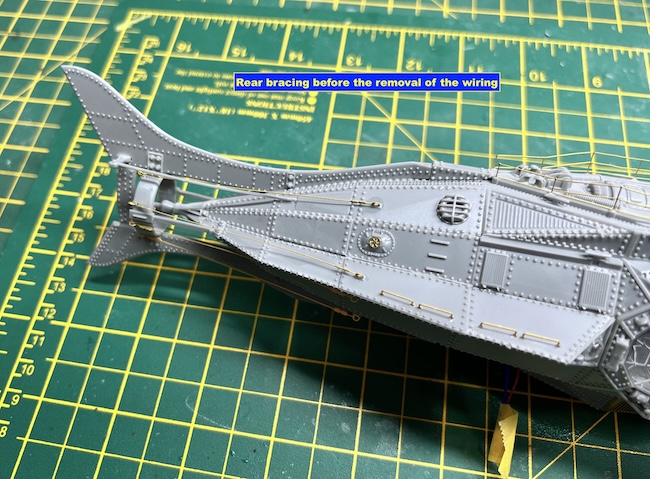
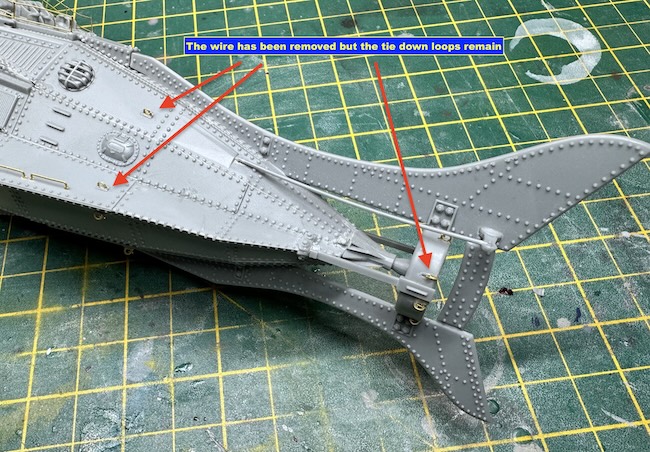
One part of the kit PE that I didn’t like was the PE bracing for the bow and stern as it had a tendency to sag and looked far too 2D. I ended up cutting away the wire sections but leaving the attachment loops in place. The wire sections would be replaced with Lycra thread later on as this looked a lot better.
Ask a question or add feedback:
You must be logged in to post a comment.