Painting
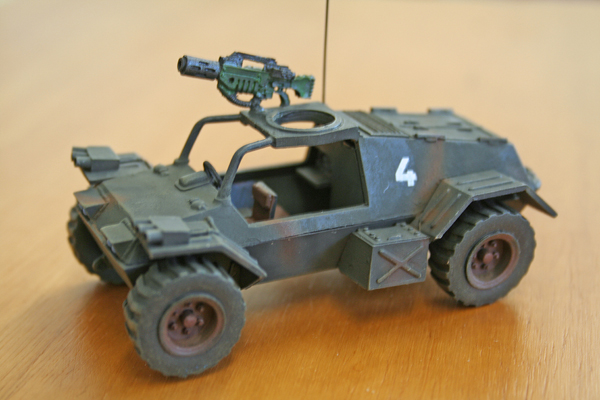
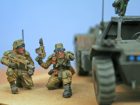
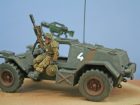
The vehicle was finished in Tamiya acrylics in a muted pattern. NATO Black was used as the base colour with NATO Green and brown streaks added. Adding a small quantity of desert yellow to the green, the highlight areas of the model were dry brushed. A thin wash of black mixed with green was applied to all surfaces to blend in the colours.

Markings on the vehicle were kept to a simple 4 denoting its number.
Setting
A sheet of 180 grade sandpaper was used to represent a concrete/pressed gravel surface having the texture desired. Cut to size, it was glued to the base with PVA glue and weathered with a mixture of light and dark washes airbrushed on in cloud patterns.
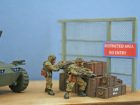
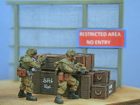
To give the impression of an enemy strongpoint, stored materials were represented by a stack of boxes taken from the spares box. In addition, a security fence was added to the base. Built from plastic rod and stock, wire mesh from a cooker splash guard was cut to fit and glued in place to represent the wire fence after the frame was painted.
As the frame had only a small surface are of contact that would allow it to be glued to the base, pins were added to the “legs” and drilled and glued into the base.
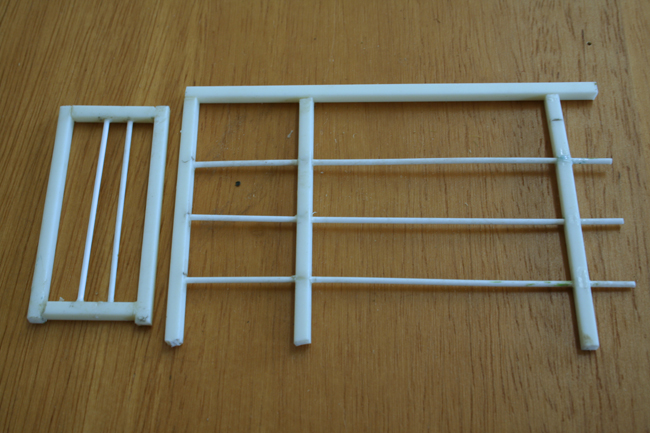
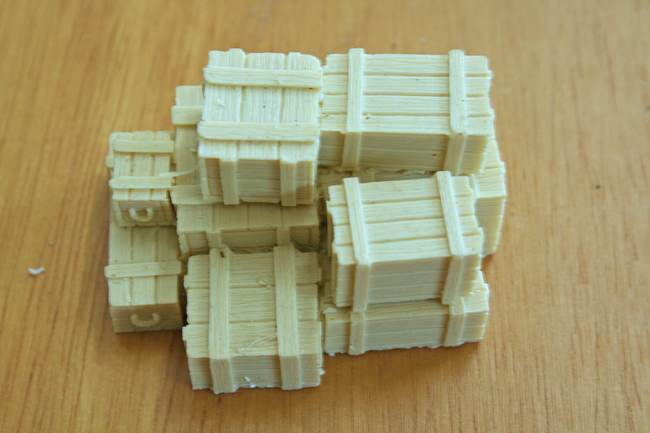
After painting these were added to the base along with the figures completing the model.
Steve N.
Gallery
Below are a series of images of the completed model. Click on a thumbnail to see the enlarged image.

You can download a pdf of the Full Article here.
(Download a free copy of Adobe Acrobat Reader here)
Ask a question or add feedback:
You must be logged in to post a comment.