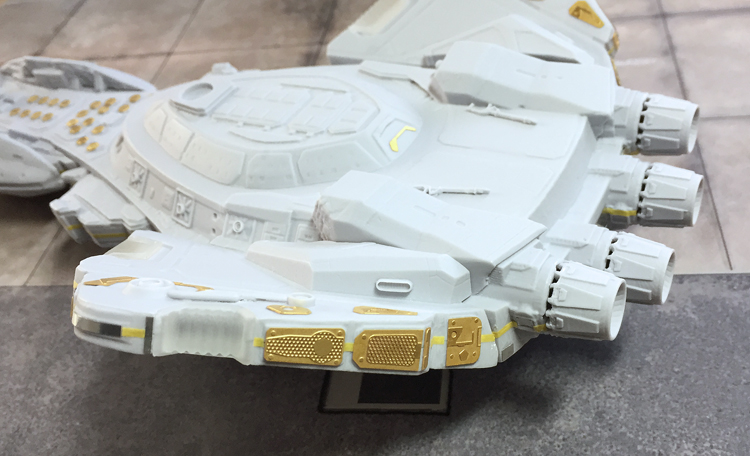
Just before we get to painting – add the Photo Etch (PE)
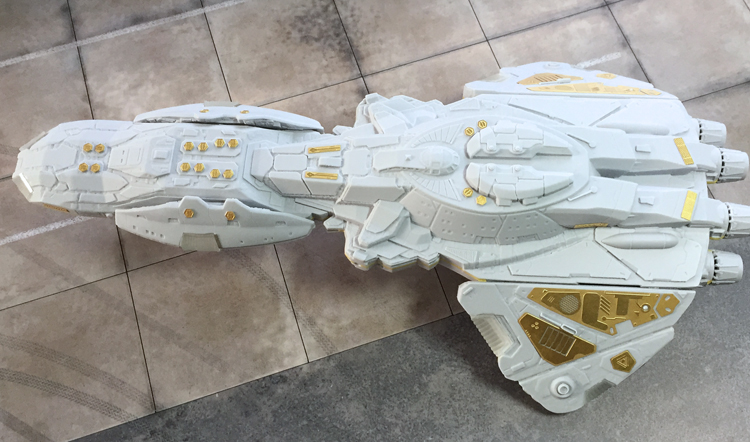
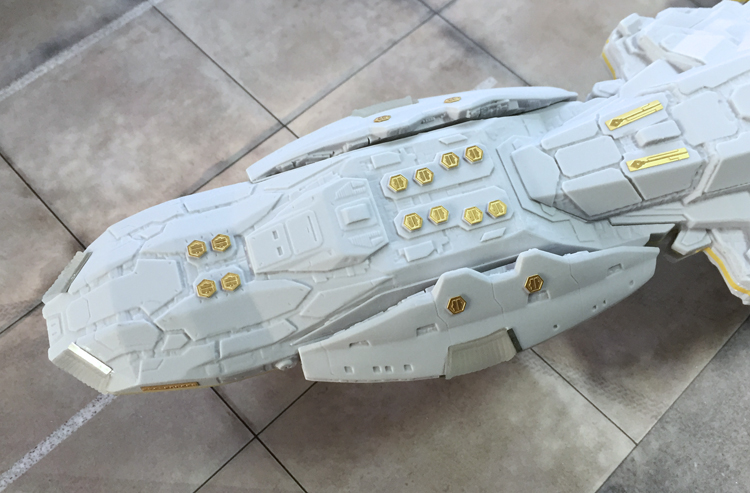
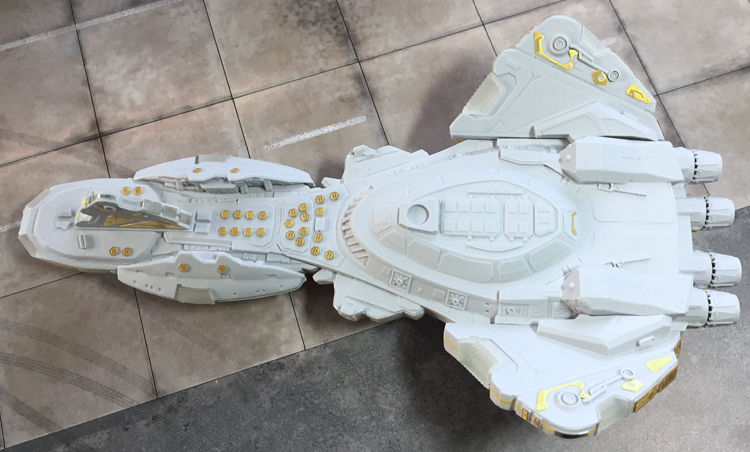
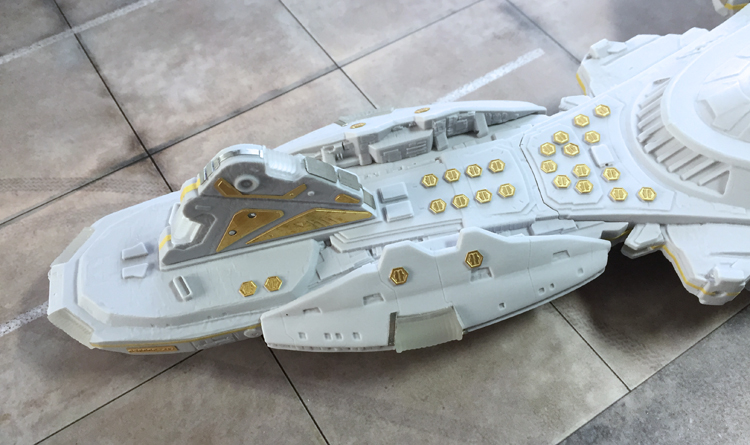
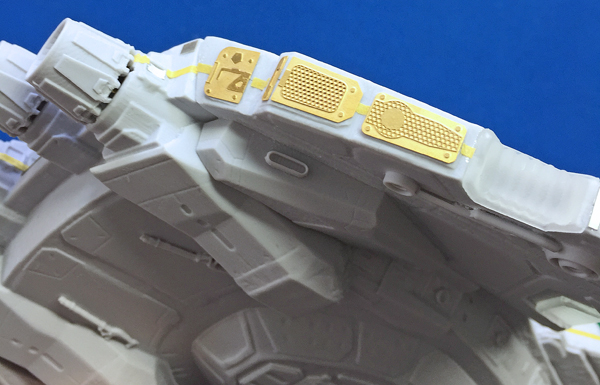
You get a decent PE fret with this kit and when it’s all on, the model starts to look the part and remember, the guns still need to be added and the plan is to add them at the end, after much, if not all of the painting and weathering is done. You’ll want to avoid damaging these delicate resin items.
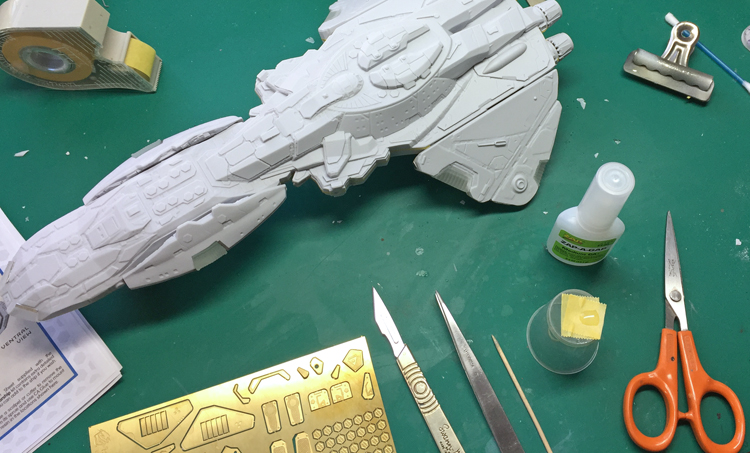
The video sequence is pretty much self-explanatory, so here goes… This is also available within our Techniques Bank area : Working with Photo Etch, getting started
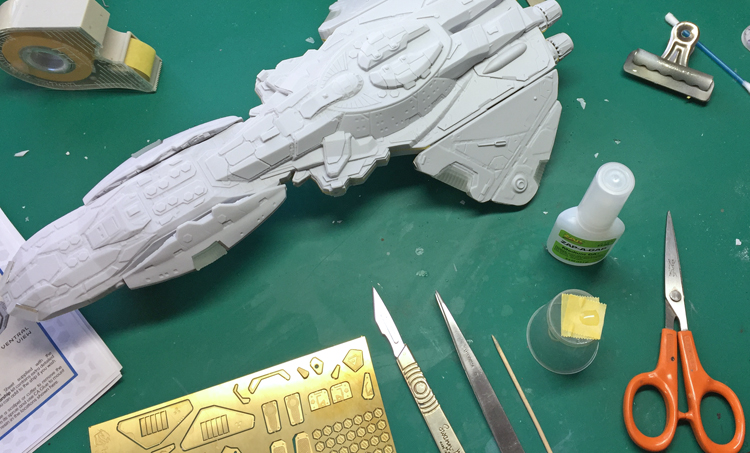
Video 1 – what you need to get started
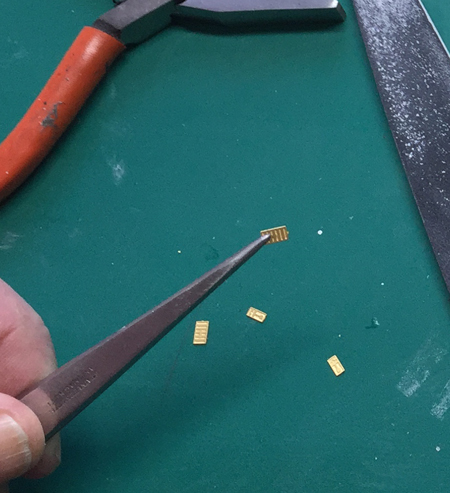
Video 2 – removing the parts from the fret and applying to your model
Video 3 – Tip – another option to remove the join gate/excess
Video 4 – Tip – troubleshooting – when a part has adhered properly
Video 5 – Tip – do you add glue to the PE or your model?
Video 6 – all done! Quick tour of your handiwork.
Here are a few pics showing the PE now on this ship…
