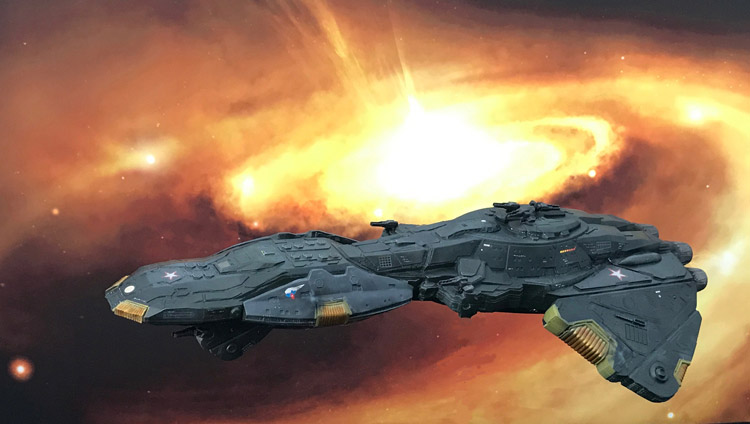
Battle scars
You may have noticed that I have carefully sprayed some light grey blast points where the vessel has been hit in engagements. Tamiya Light Grey is good for this – all heavily thinned to allow me to come in close with my airbrush and gentle backward pressure on the trigger – much easier to control the paint flow that way. Some tiny additions with silver on a small pointed brush and some black pastel chalk finish the job.
Final stages
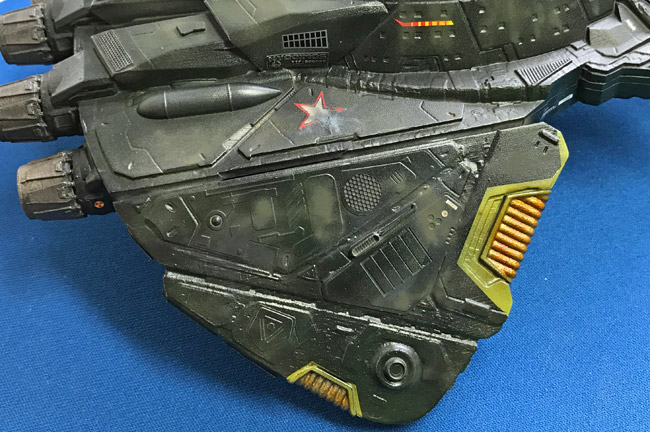
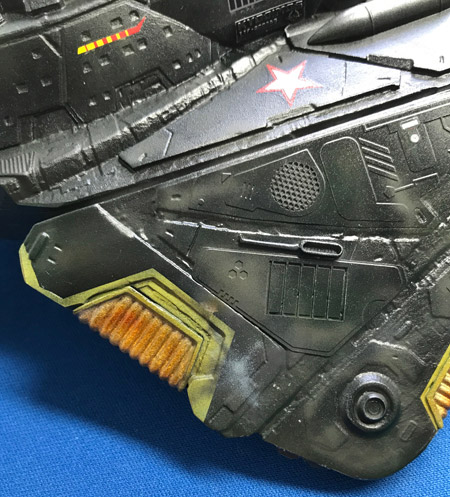
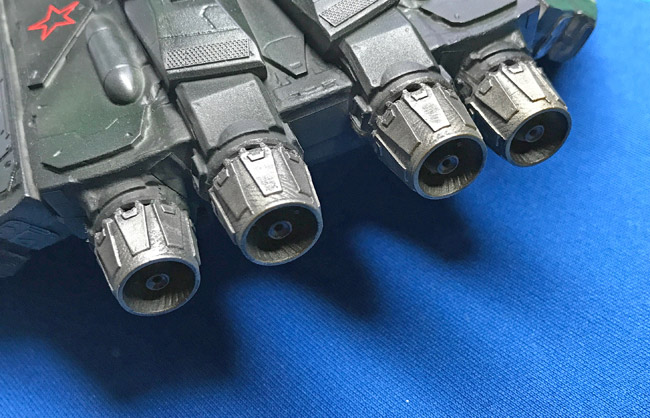
The engine outlets need to be painted and I like the new Vallejo Acrylic Metal Color – some great metallic tones are available and they hand paint very well over smaller areas. I applied the paint very sparingly using an almost dry-brushing technique. This has the effect of building up the final effect over the black base and has come out well I think.
Blending it all in together
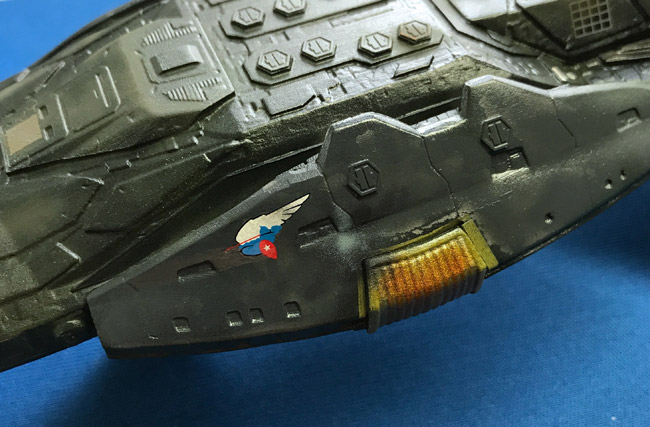
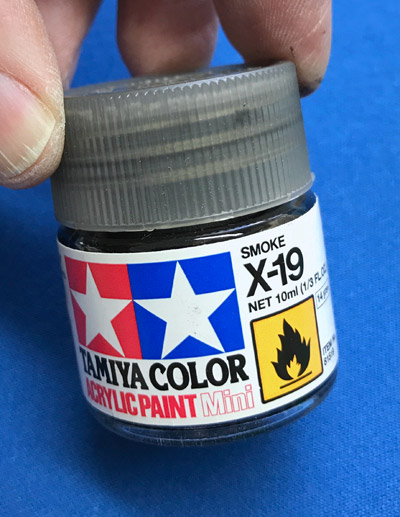
I’ve used some Tamiya Smoke (X-19) to help weathering the decals and some of the yellow paintwork, as well as the Orange.
Guns and we’re done!
All that remains is to clean up the resin guns, paint them up and add to your model – I chose some semi-logical positions for these and used cyano and kicker (accelerator) to secure them. They are still easily knocked off (yes…) and I then turned attention to photography.
Here’s a pic of the completed model – hope you like it?
