Scratchbuilding
With Alan Rowley
Some thoughts about scratchbuilding a model engine…
After several false starts, I came to realise that demonstrating how to scratch build a model engine is a virtual impossibility, as there are so many variations in engine design as to render almost every subject a unique case.
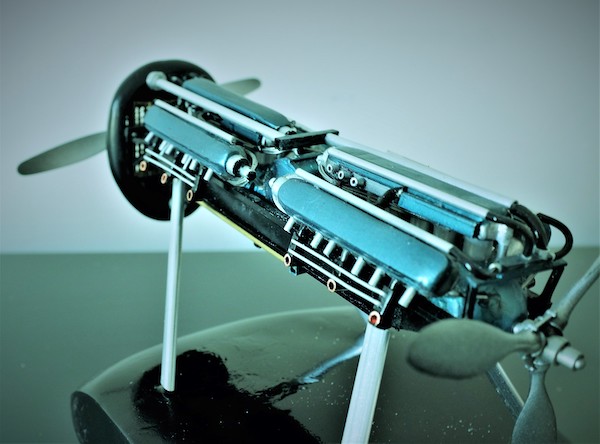
However, the addition of a model engine, either as further detail to your aircraft or more likely as an addition to a diorama can individualise your work and give it extra depth. As an example of a diorama, my subject engine, an obscure Isotta Fraschini, could even stand in a corner of a Condor Legion workshop next to a JU 87. If building a Rolls Royce Merlin to enhance your Battle of Britain workshop diorama is too daunting, have a go at a stripped-down Liberty engine, it could have been used for training purposes, or even come out of a Crusader Tank!
The objective of this article is to encourage the would-be scratch builder to just give it a try.
You can always buy a model engine, but…
One of the troubles with the many excellent aftermarket products available is that, putting aside the fact that none of them are going to be a low-cost addition to your diorama, you are buying 360 degrees worth of model, when you might only want a top view, or a part view of one side.
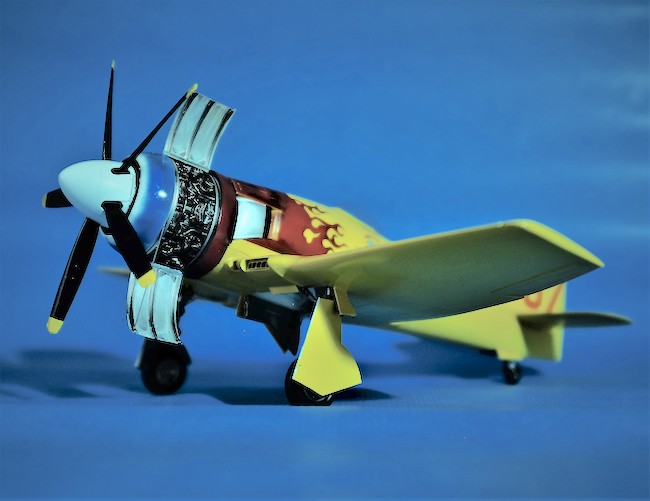
Heres an example (not Scratchbuilt!) of my Fisher models Sea Fury. Only one third of an incomplete side view is modelled, but it still looks great!

You can also quite legitimately get away with having your engine with bits missing as if it is under repair, so don’t be put off trying to model that complex upswept exhaust system. Aircraftman 2nd Class Albert Rowley had removed it for inspection! Furthermore, a factory-built replacement engine would almost certainly arrive without electrics, cooling hoses, externally driven accessories etc, so it would be a pretty basic stripped-down unit.
What you will need…
Fortunately, this is a low outlay project and other than rudimentary bits of drawing equipment most of what you will play with you will have lying around. I purchased some aluminium and brass tubing from my local model shop in Frome Somerset, along with some Milliput Putty.
I also have a basic drawing board, dirt cheap from eBay, and if you decided to buy one but then found yourself disenchanted with the whole outcome, you can always recoup your losses by giving it to a relative you don’t particularly like at Christmas.
Knowledge…
Roald Dahl’s Wonderfully Clever Pig not only “Knew what made an airplane fly”, but “knew how engines worked and why.” Fortunately, this isn’t going to be a working model, so that level of expertise is quite uncalled for.
It is always useful to know a little bit about what you are modelling however, so I will attempt to go through the basics, from the bottom to the top of a typical WW1 to early WW2 water cooled aero engine (much of this applies to all liquid-cooled internal combustion engines of the era, particularly the bigger AFV power units). Most liquid cooled engines of this time either had their cylinders in line (Usually four or six) or more often and for reasons of compactness and power to weight efficiency as a V8 or V12.
Some combined both, as did the example I will work on, the Isotta Fraschini Asso (Translation: Ace) W18 750 which is a V12 combined with a six cylinder in line down the centre, hence a “W” configuration engine.

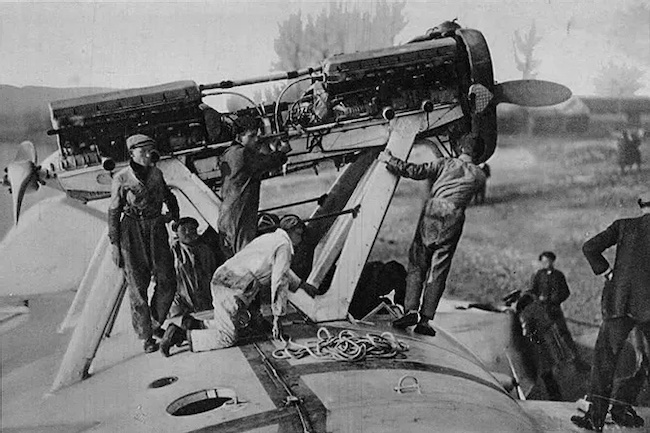
Illustration shows a typical twin Asso installation in a SM55. These engines are V12 500s, not W18 750s.
From the bottom…
Ask a question or add feedback:
You must be logged in to post a comment.